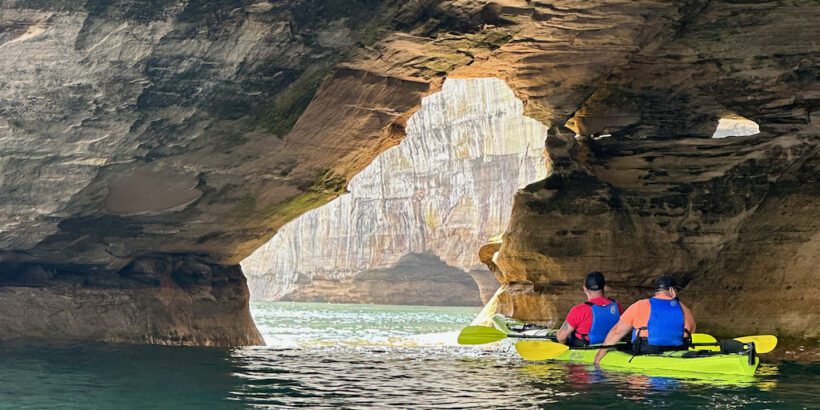
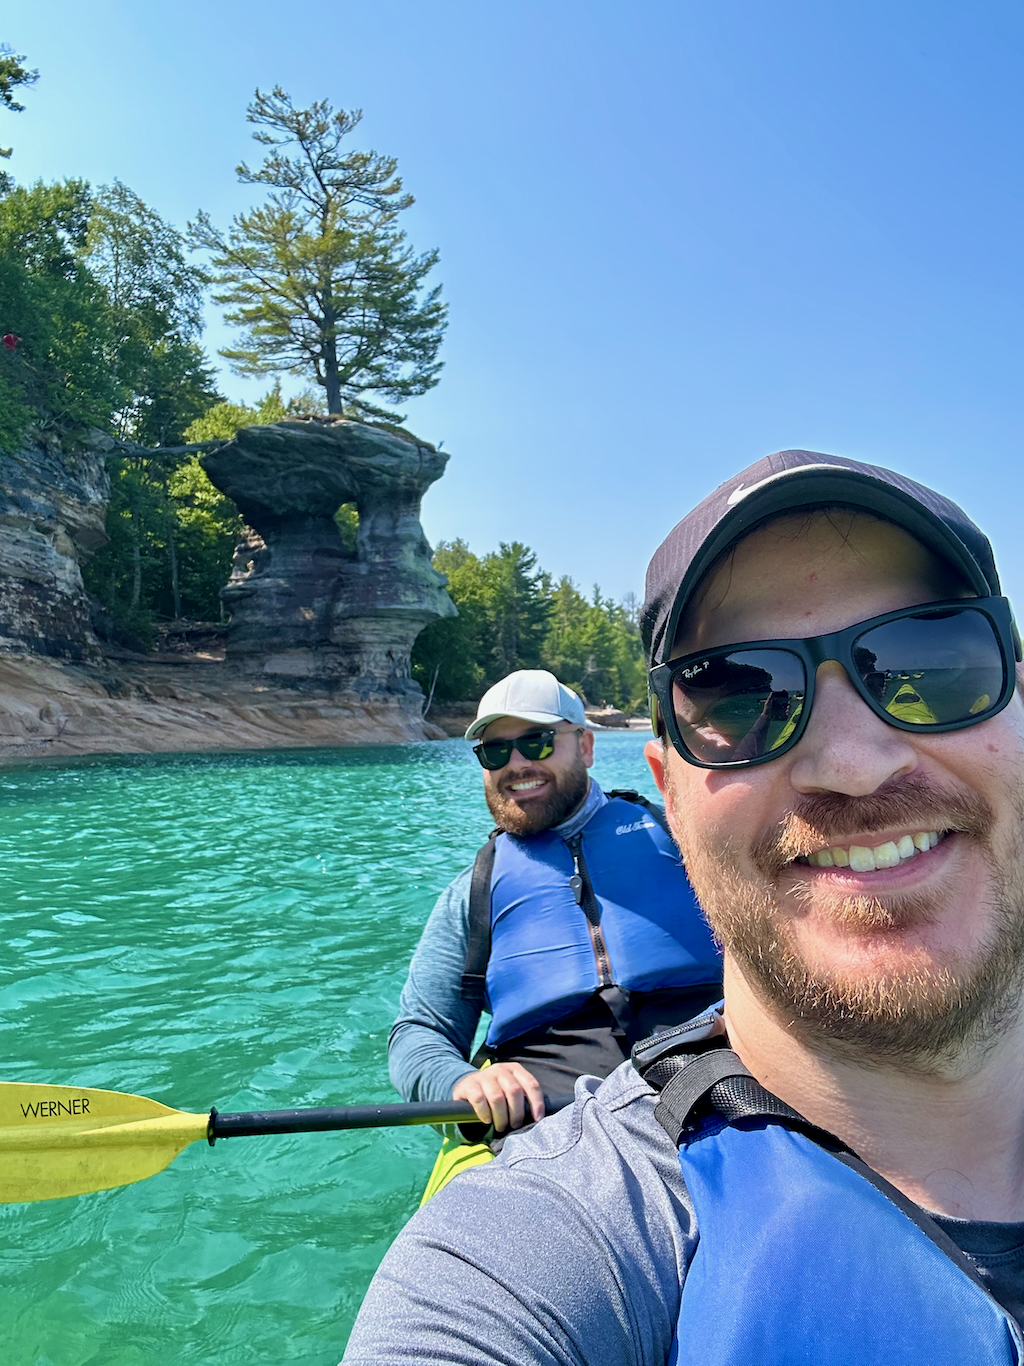
If you’re aiming for one of the most immersive Pictured Rocks experiences, a kayaking tour is undoubtedly one of the top choices. From paddling beneath colossal arches to navigating through narrow caves, this adventure promises unforgettable memories and some of the clearest water you’ll find.
In this article, I’ll provide you with all the essential information on booking a Pictured Rocks kayaking tour, along with some valuable tips to truly elevate your experience.
Table of Contents
Pictured Rocks Overview
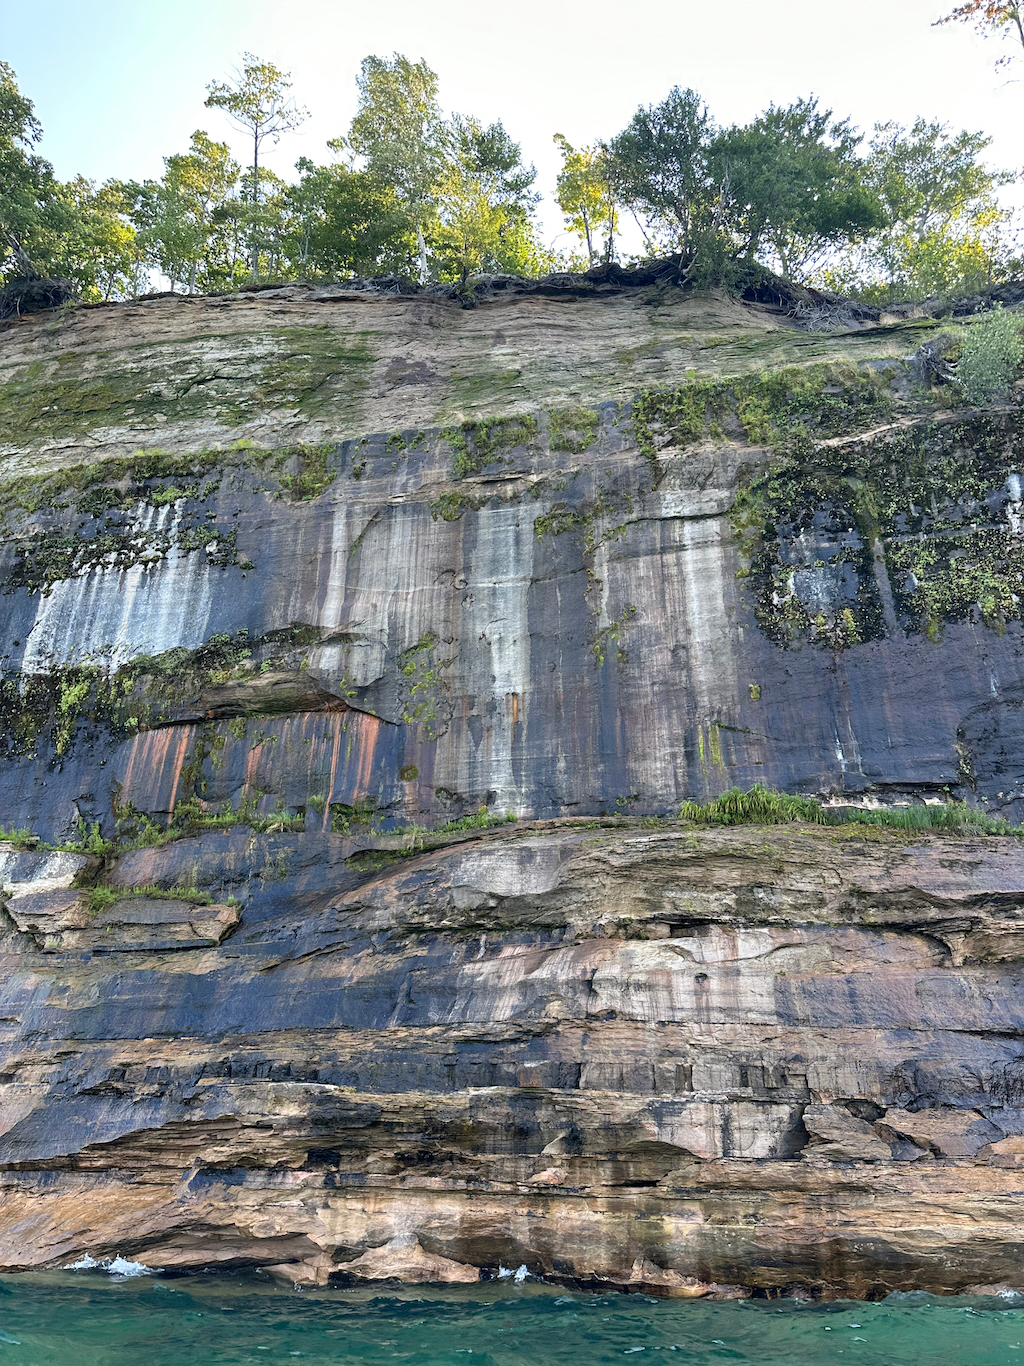
Pictured Rocks, one of just three national lakeshores, stands out for its breathtaking multicolored sandstone cliffs, formed as mineral-rich waters permeate the rocks and trickle over the cliff faces, leaving behind a vivid display of hues.
The colors you see correspond to different minerals such as: iron (red and orange), copper (blue and green), manganese (brown and black), and limonite (white).
There’s also a lot of cultural history here as Native American tribes, including the Ojibwa and Ottawa, have long inhabited this region, and their cultural presence is deeply woven into its landscape. Furthermore, European explorers and fur traders ventured along these shores in the 17th century, leaving their own mark on the history of the area.
In total, this remarkable coastline stretches for an impressive 42 miles and while popular for hiking and boar cruises, it’s also renowned as one of the nation’s premier kayaking destinations.
What is the Pictured Rocks Kayaking Tour?
There are two different kayaking tours that you can book with Pictured Rocks Kayaking.
The first is the Miner’s Castle tour which is designed for people who don’t have the time or interest in doing the longer kayaking tours.
If you’re in a time crunch this can be a good option but I would highly recommend the Ultimate Tour Paddle Route as you will be able to see all of the major highlights.
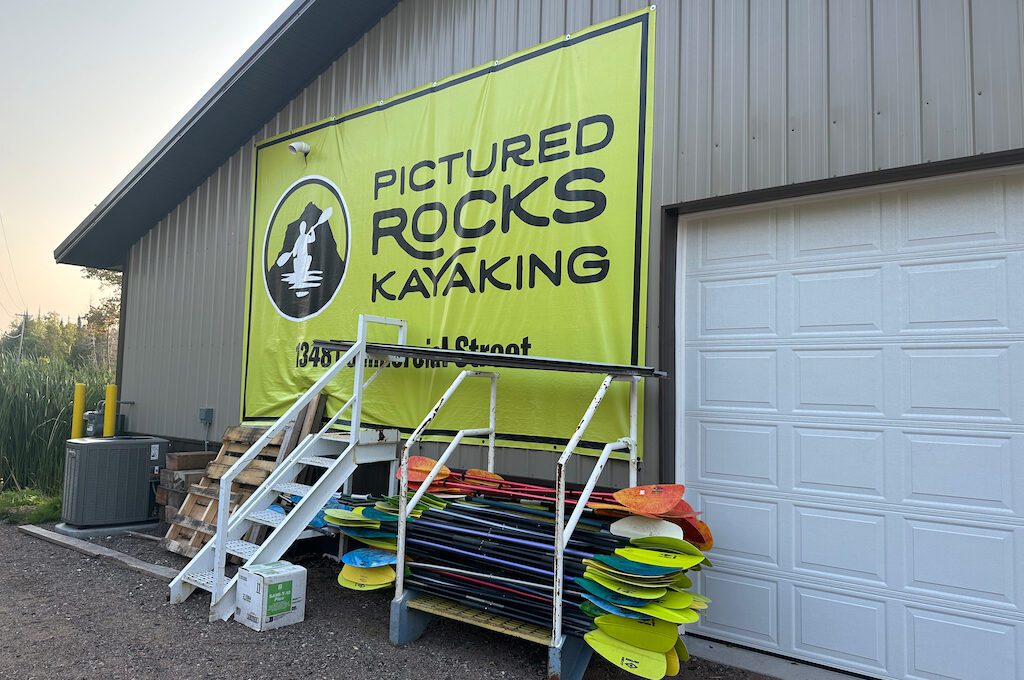
Our Pictured Rocks Kayaking Tour Experience
We booked a 9 AM Pictured Rocks kayaking tour and so to make sure we were getting there early, we left Ishpeming at 7AM. Remember, this tour will leave on time so you do not want to be late!
When it comes to physical activity we tend to knock these things out as early as possible but supposedly the best lighting is in the late afternoon or evening so you might want to consider doing one of the later tours if possible.
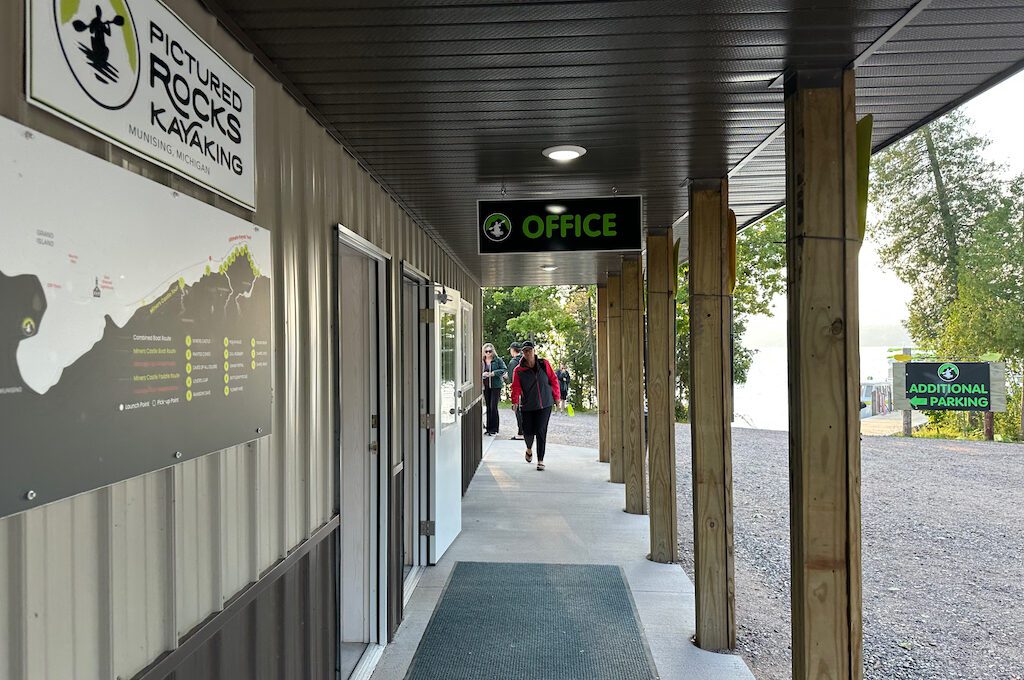
When we arrived there were several staff members pointing us on where to park making it really easy to get situated. I was also impressed that they had so many bathrooms at their facility both on the outside and the inside.
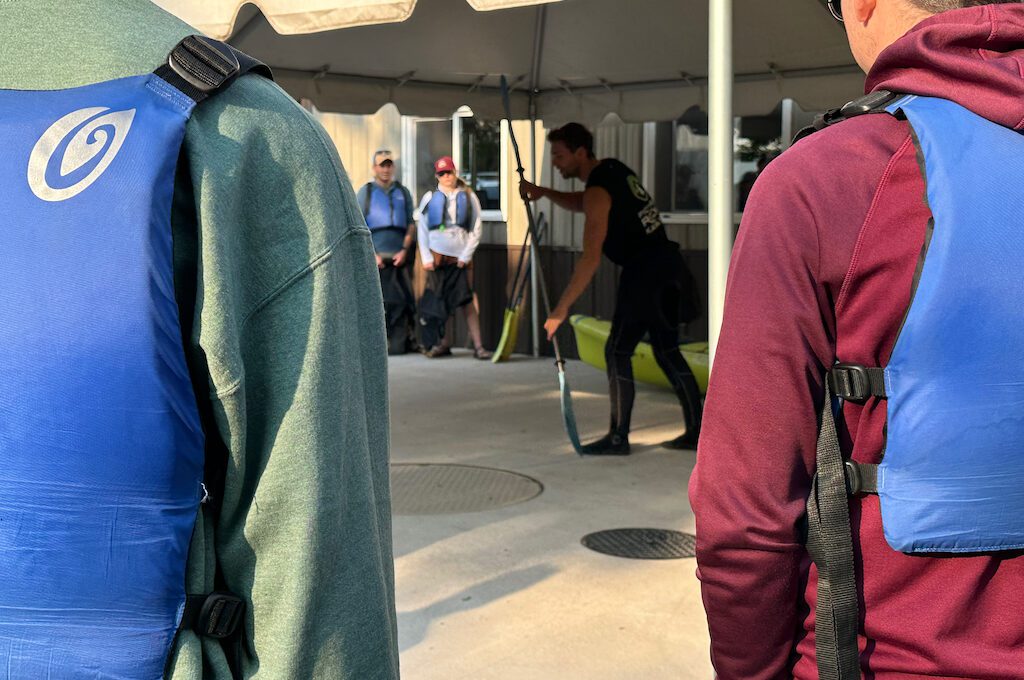
We went right to the check-in desk where we reviewed and signed the waiver and then checked in for the tour. After you check in, you’ll just hang out outside under the tent and wait for the safety briefing and orientation.
You’ll be issued a life jacket and a spray skirt that will help you stay dry in the kayak. The instructors will show you how to properly fit both of these things on and it’s very easy if you’ve never done it before.
You’ll also get a briefing on some tips for paddling as well as a safety briefing.
Here are a few things you need to remember.
The person in the back is the one who does the steering and it’s where the “control freak” needs to go. If you are the photographer of the duo you’ll want to be in the front.
The tandem kayak is quite stable. But make sure you don’t both look over the side of the kayak at the same time to admire the beautiful clear water because the kayak will start to tip. Also, always let the other person know when you are adjusting your seat position so that they are prepared for a bit of rocking.
And finally, always remember that that your paddles need to face the right direction (with the logo facing you).
I don’t think you need to go into a deep dive in paddling before doing the tour but if you wanted to get a good overview, I found the video below pretty helpful:
After the orientation, it will be time to load the boat and chances are it’s going to be a pretty packed house inside.
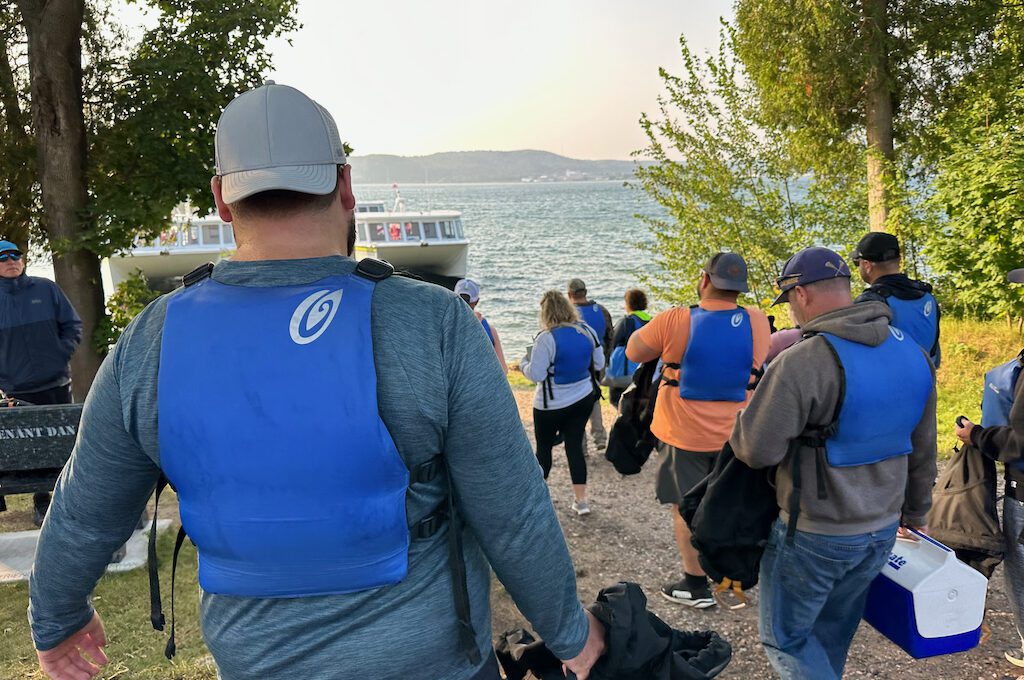
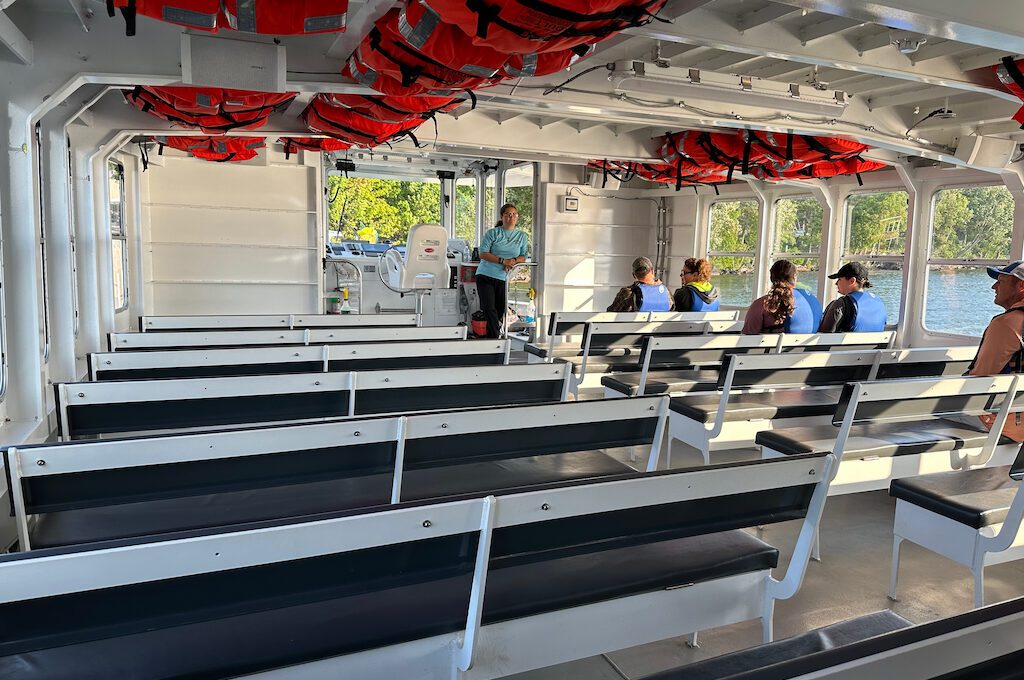
In terms of what to wear and what to bring, here are some valuable tips.
I saw people wearing everything from pants and sweatshirts to tank tops and board shorts.
Personally, I wore hiking pants and a long sleeve shirt for sun protection but if I could do it again I probably would wear athletic shorts or swimming shorts. For footwear, you could wear sandals or water shoes but tennis shoes also can be just fine (there are no pedals to worry about). Don’t forget sunglasses, a hat, and sunscreen. Bugs weren’t an issue.
One last suggestion is if you are prone to blisters, consider workout gloves that can help keep the hotspots away on the hands.
They do suggest you bring an extra pair of clothes just in case you get wet. I ended up getting my pants pretty damp despite the skirt on the kayak so I’d just bring keep some dry clothes with you in a backpack or in your vehicle.
We also brought water, beef jerky sticks, and chips to help us get by since the entire excursion is approximately five hours.
As far as what you will bring on the actual kayak that just varies. I saw some people bring nothing while others were bringing small backpacks, hydration bladders, little packs of snacks, etc.
I just brought one large water bottle with me on the kayak and placed it between my legs underneath the spray skirt. That did mean I had to undo it to get the water but it’s not that difficult to takeoff and on. You might be able to slip a hydration bladder through the spray skirt at your chest.
The ride out to the kayaking spot is going to take about 40 minutes. There was a little bit of wind but our boat had stabilizers so it never got bad at all. I always take Dramamine just in case but I probably would have been fine without it.
Sometime during the journey you’ll be assigned a group which is essentially a boarding group. In our case, there were six groups and we were assigned to group 5. We did not end up hitting the water until about 10 minutes after 10 AM.
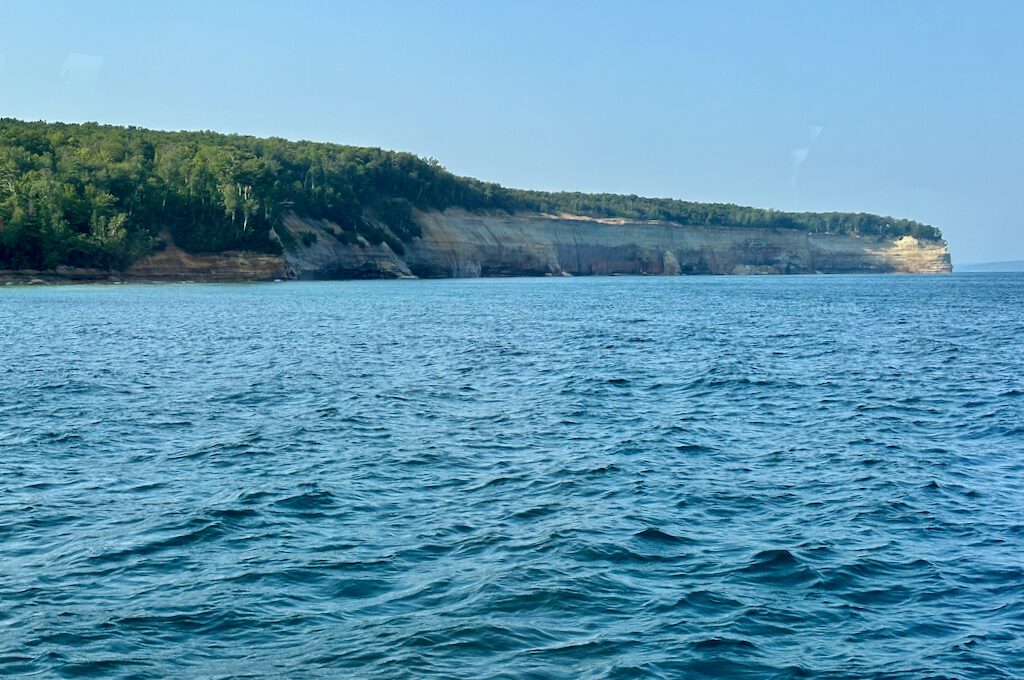
The “boarding process” is really great because they make it very easy to get in to your kayak, which is usually one of the major challenges of kayaking.
They will pull one of the kayaks from above and you’ll have bars to help you stabilize yourself as you sit into the kayak and then secure your spray skirt. This is yet another reason why I think it’s great for beginners.
Once we were seated, they gave us a little push and we were off to the races. We made our way towards the cliff face where our entire group would meet up along with our instructor who was in a red kayak for easy spotting.
You’ll want to hang around the group as it is required but they do give you some leeway so that you don’t always have to be bunched up together. It’s a win-win situation because, let’s face it, 1) kayak collisions are no one’s idea of fun, and 2) having your own slice of aquatic real estate is just plain delightful.
Speaking of crashing into things…. If you find yourself getting close to the rocks, use your hands to push off from them rather than your paddle and try to avoid colliding the kayak with them.
Also a few people did bump into each other. Often times you can just stick your paddle in the water to quickly brake the kayak. But if that’s not possible then just give the people a heads up that you are about to play a little bit of bumper boats and chances are the collision will not be that bad.
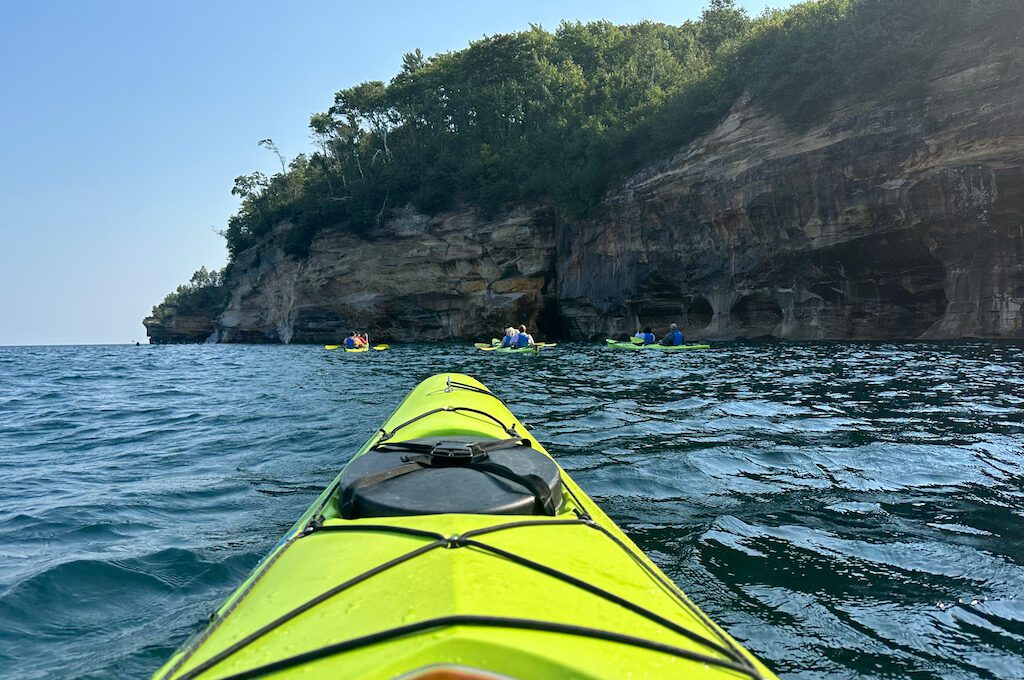
Once the gang’s all there, your instructor will provide a brief overview, and then it’s time to embark on a captivating exploration of 5 miles along this breathtaking coastline.
This was our inaugural kayaking experience, so everything felt entirely novel, yet surprisingly, it was relatively easy to get the hang of. Dealing with some wake proved a bit more challenging, but in the calmer stretches, we effortlessly glided through the serene waters.
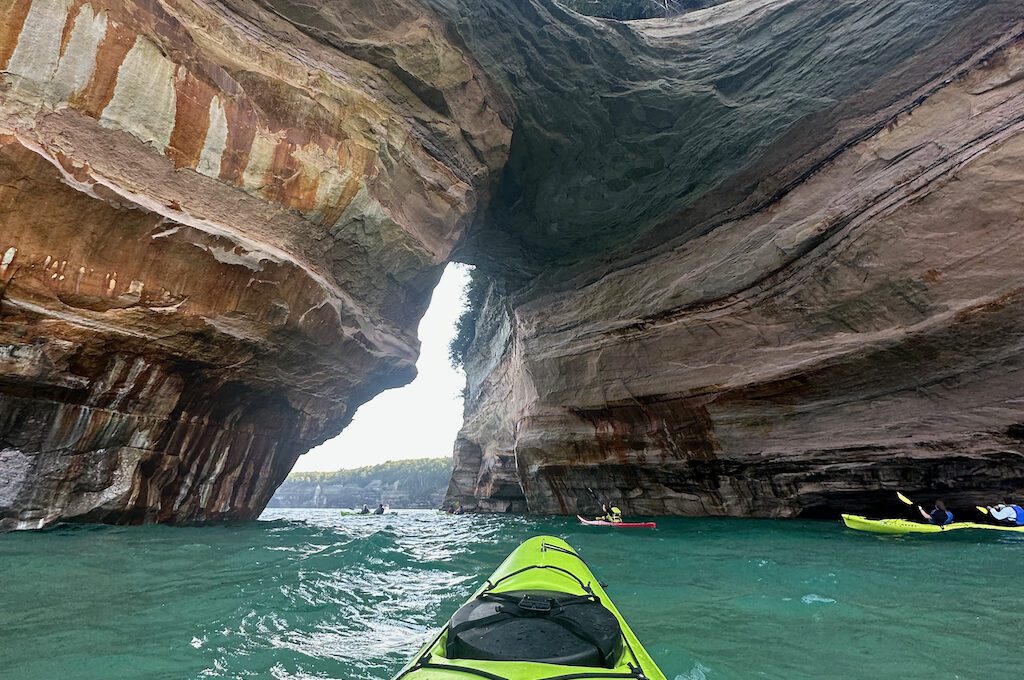
What’s nice about the tandem kayak is that you can take turns paddling if one person gets tired and you can also utilize one person to get more of the video or photographs you’d like to get.
As for what to do with your camera phone, some people purchased lanyards to hold their phone since if your phone does fall into the water, you are not permitted to recover it.
Remember, your arms will be getting tired and extending your arms out to get awesome video and photos while bobbing in the water can be a lot more taxing than you think.
What we did is simply place our phones between our life jacket and our chest. If your life jacket is snug it should be able to safely fit there without falling through.
Speaking of which, your guides can also take some epic photos of you so make sure you take advantage of that.
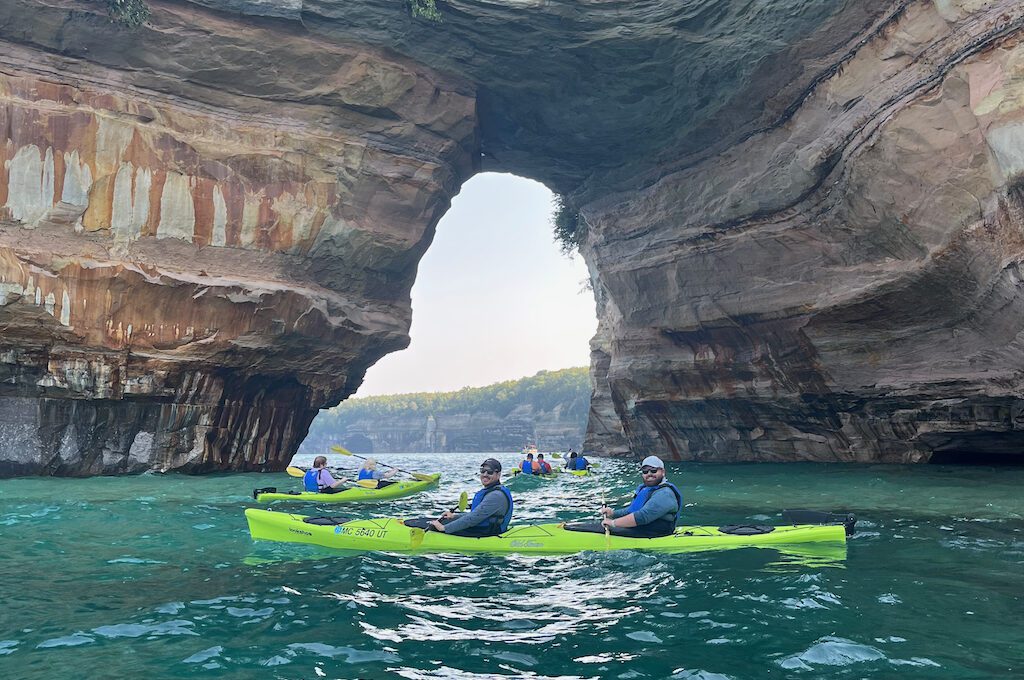
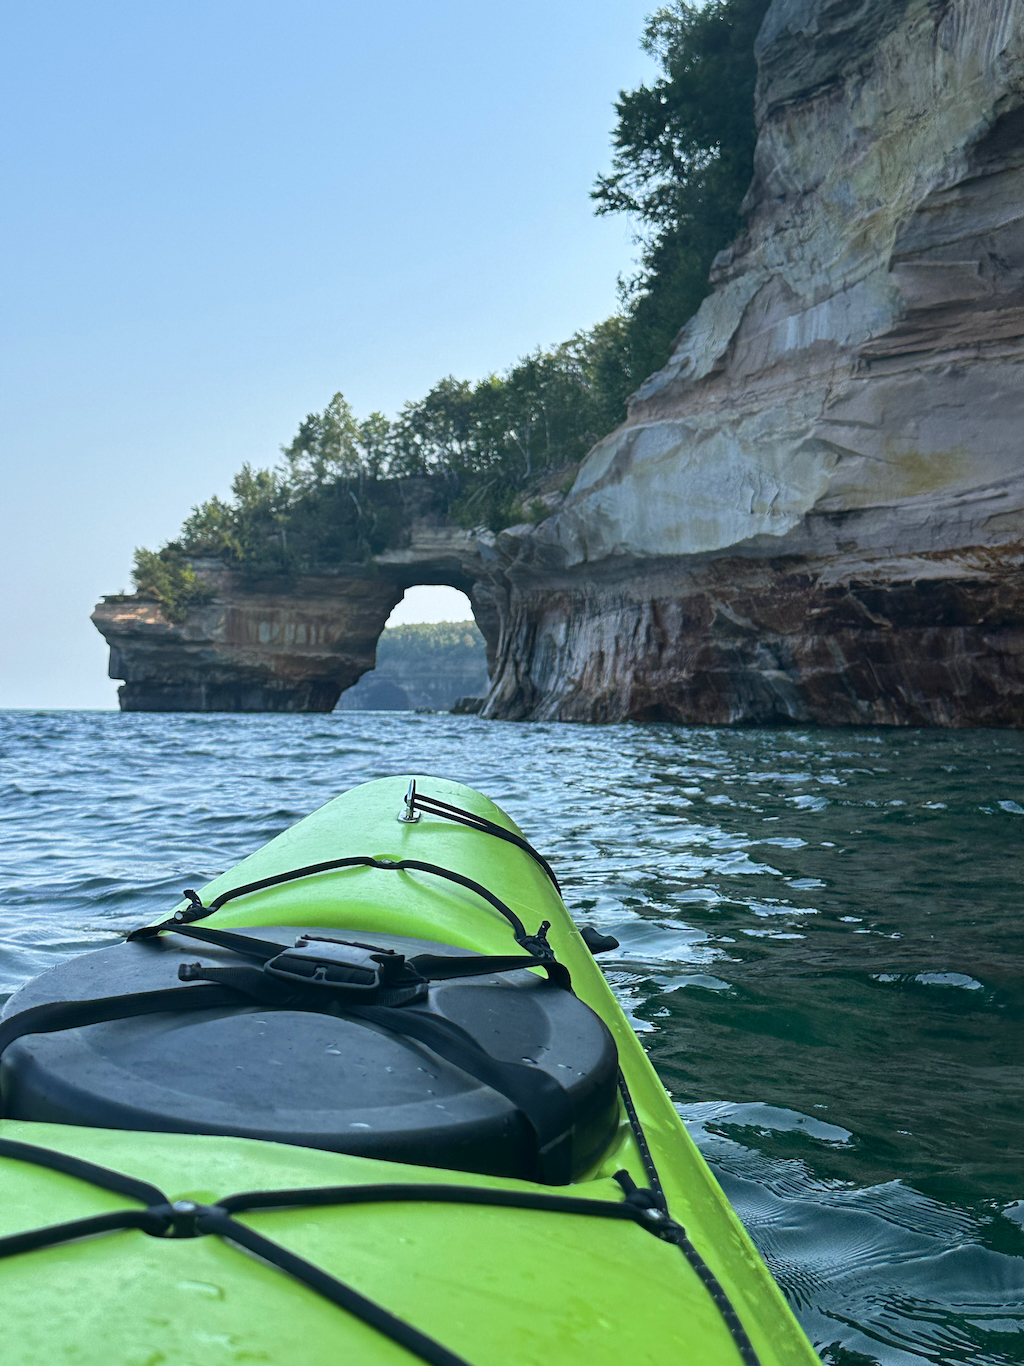
If you’re doing the 5 mile tour, you have around 13 different sites to explore. These range from gnarly looking rock formations and monumental arches to tight cave openings and underwater boulder fields. It’s an impressive and diverse line-up of sites.
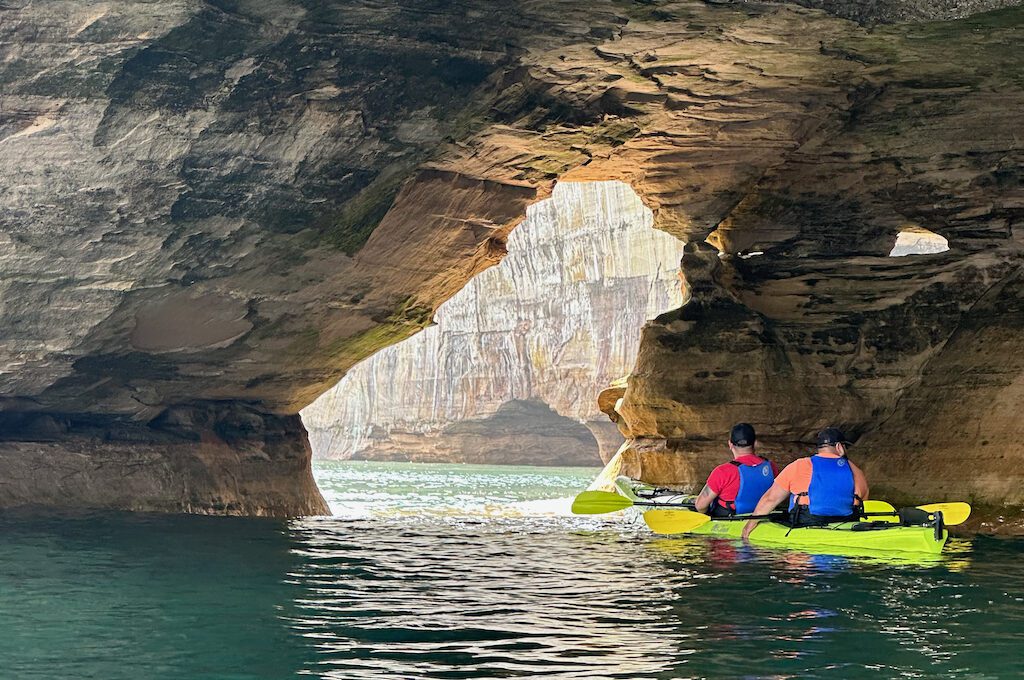
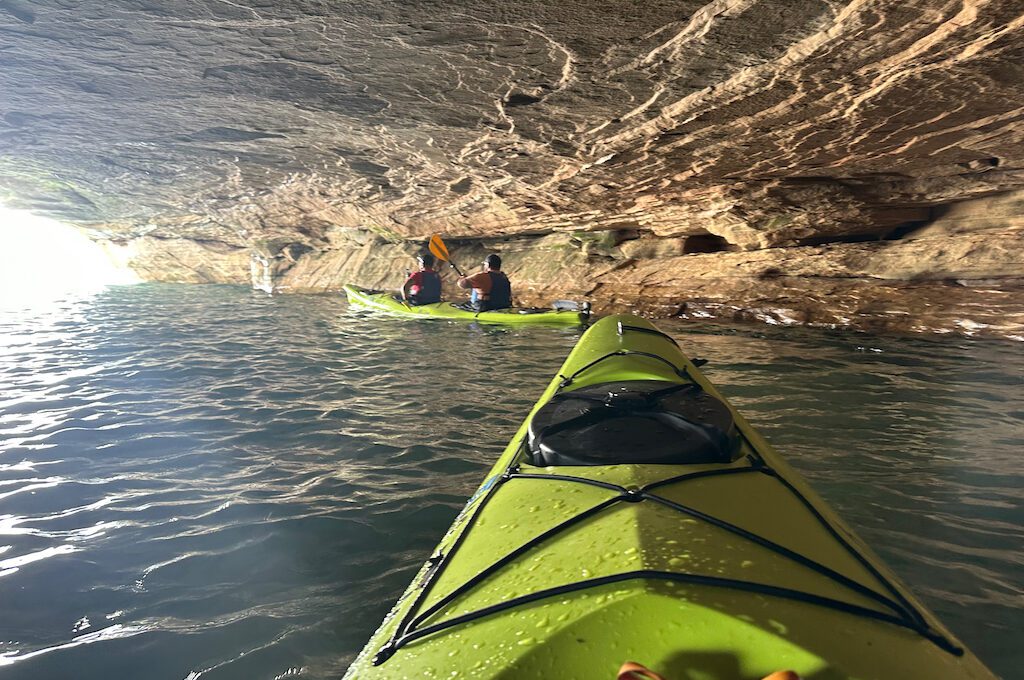
You’ll be so close to the cliff faces that you’ll be able to give them a high-five at times and have the mineral rich droplets that form the colors on the wall fall down on you.
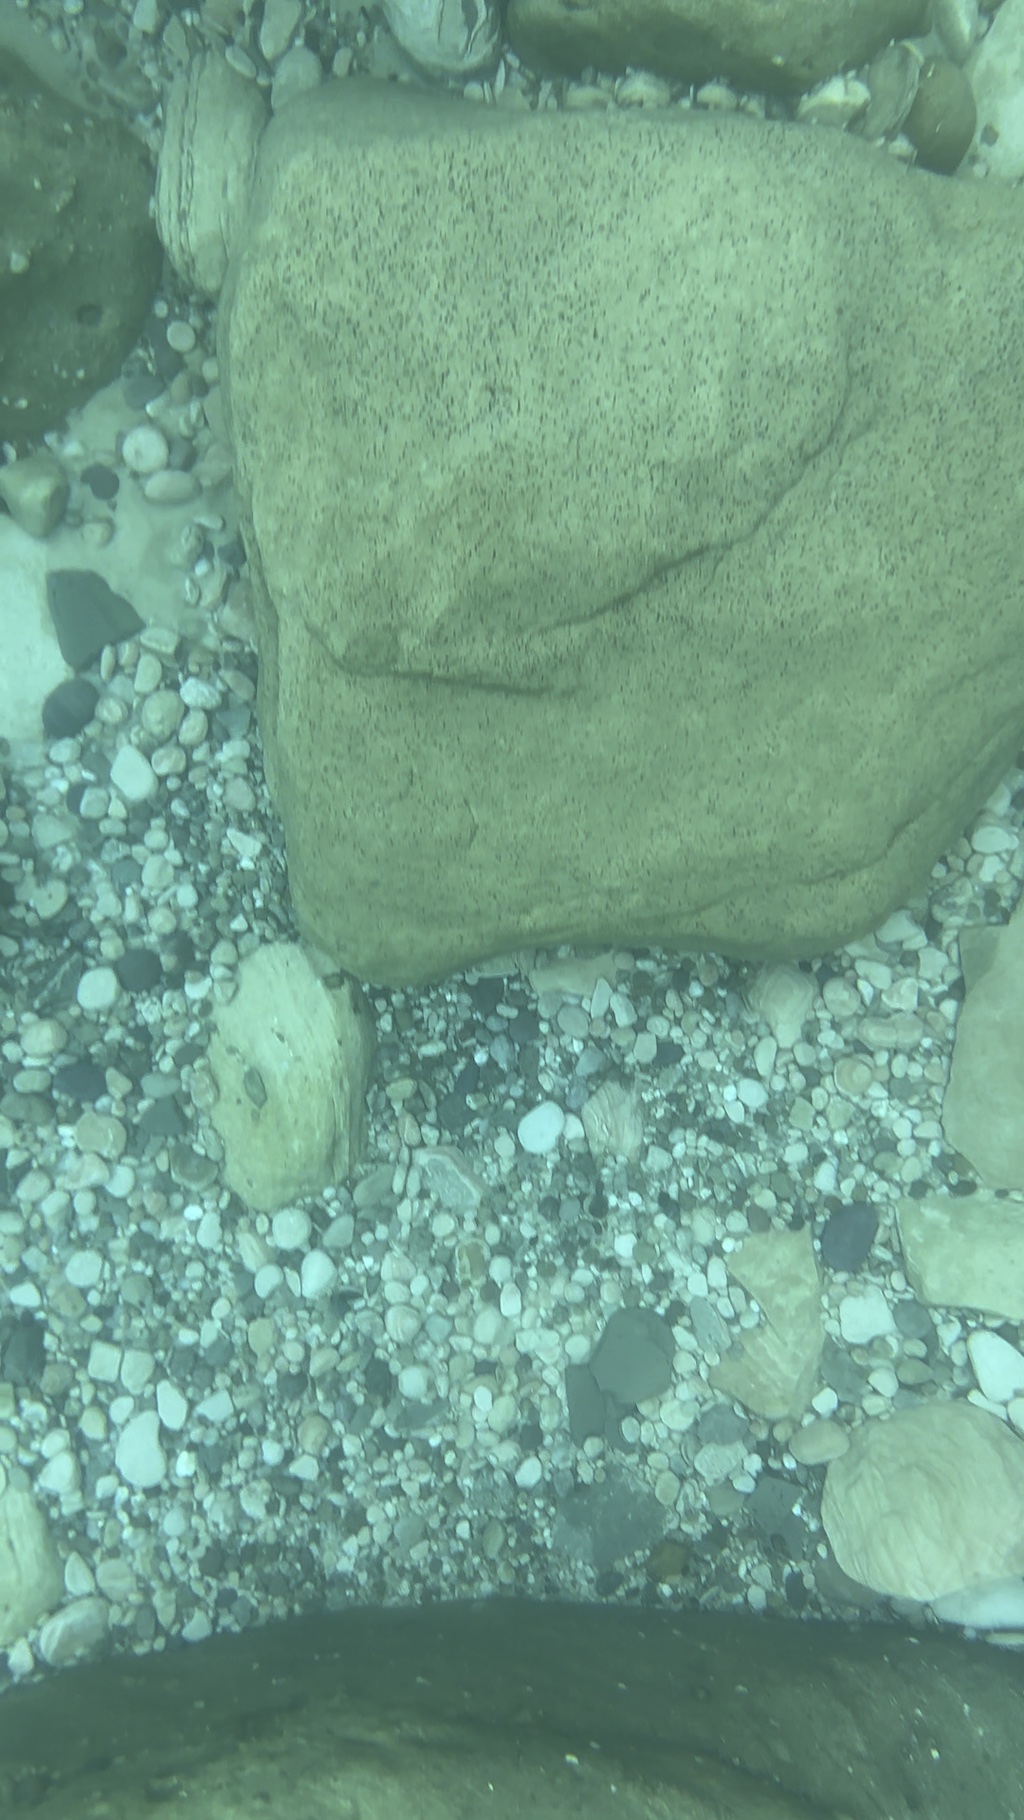
The water is incredibly gorgeous and very clear. At times, you can see the fine details of the dunes below or boulders and rocks like you’ve got some kind of aquatic X-ray vision. I dunked my phone under the water a few times to get some underwater shots but obviously only do that if you are confident with your grip.
It’s also pretty cold so you don’t want to fall into this water but it can help you cool down. I for one love dipping my cap into the water and cooling off my head or just submerging my hands in the water and cooling off that way.
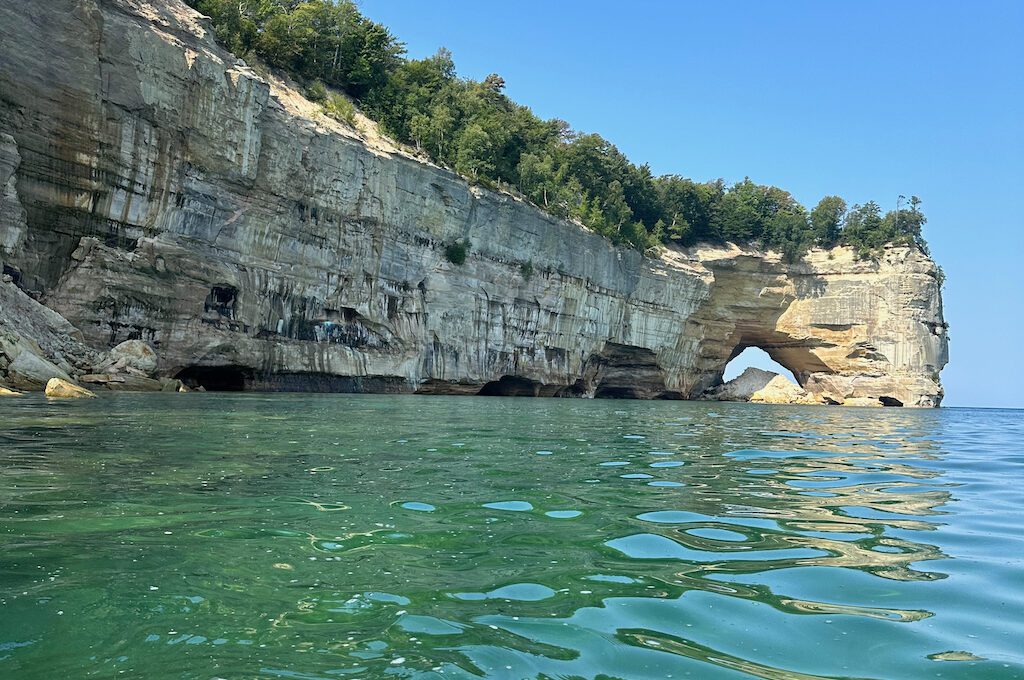
Ultimately, the trip culminates at Chapel Rock, an iconic Pictured Rocks landmark immortalized on the Michigan quarter, where a lone white pine tree grows atop a stone pedestal, defying the odds of nature.
At that point, you will have kayaked 5 miles switch for a beginner feels really good. Overall it’s a pretty good workout for your upper body but not so exhausting that you can’t enjoy the experience.
Final word
I think a kayaking adventure is one of the best ways to explore Pictured Rocks. The ability to get up close to these magnificent clear faces is truly special and the staff runs such a great job that it makes everything easier on you. The only thing I would’ve changed his maybe booking a tour in the evening for the different lighting but the morning trip also has its own charm as the sun begins to peak above the cliffs.
Daniel Gillaspia is the Founder of UponArriving.com and the credit card app, WalletFlo. He is a former attorney turned travel expert covering destinations along with TSA, airline, and hotel policies. Since 2014, his content has been featured in publications such as National Geographic, Smithsonian Magazine, and CNBC. Read my bio.

