Manoa Falls Trail is one of the most popular and beautiful trails in Oahu, Hawaii.
But is the trail worth it and what can you expect?
Below, I’ll give you a thorough guide so that you know exactly what you are getting yourself into when you head out to the Manoa Falls Trail.
What is the Manoa Falls Trail?
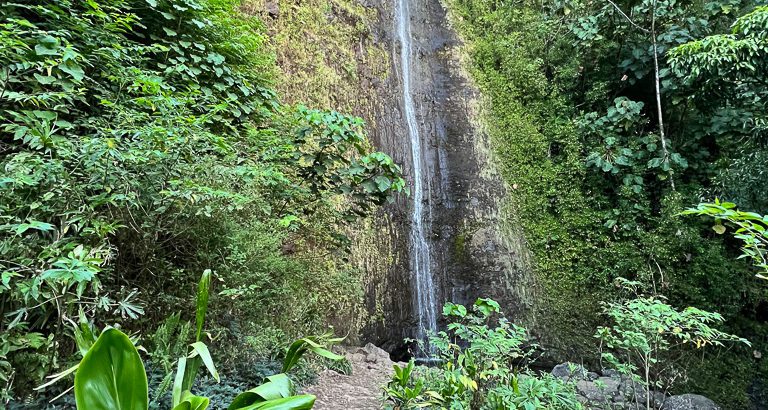
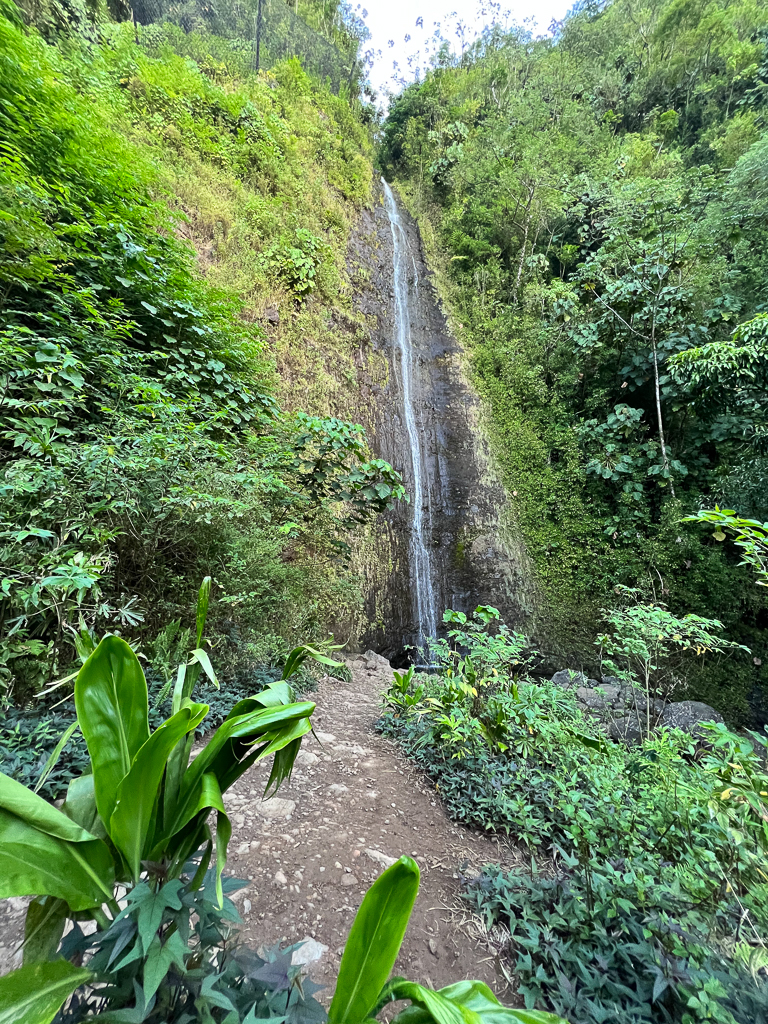
Manoa Falls is a short and relatively easy hike in Na Ala Hele, Honolulu, that takes you through stunning jungle terrain on your way to a beautiful 150 foot waterfall.
In total, we hiked 1.94 miles with 600 feet of elevation gain and completed the hike in 56 minutes.
Tip: Use the free app WalletFlo to help you travel the world for free by finding the best travel credit cards and promotions!
Where is the Manoa Falls Trail?
I struggled to find an exact address to the trailhead for Manoa Falls Trail.
However, if you put the following location in Google Maps it will take you very close to where the parking is: Mānoa Falls Trail, Na Ala Hele, Honolulu, HI 96822.
You basically just need to get to Manoa Road and then follow it until you get to the parking station.
It’s about a 15 to 20 minute drive from Waikiki and because you don’t have to do any off-roading to get to the trailhead, it’s extremely accessible even in a rental car.
That’s both good and bad because it means that everyone else can get there easily and you might have issues with crowds if you don’t start early enough.
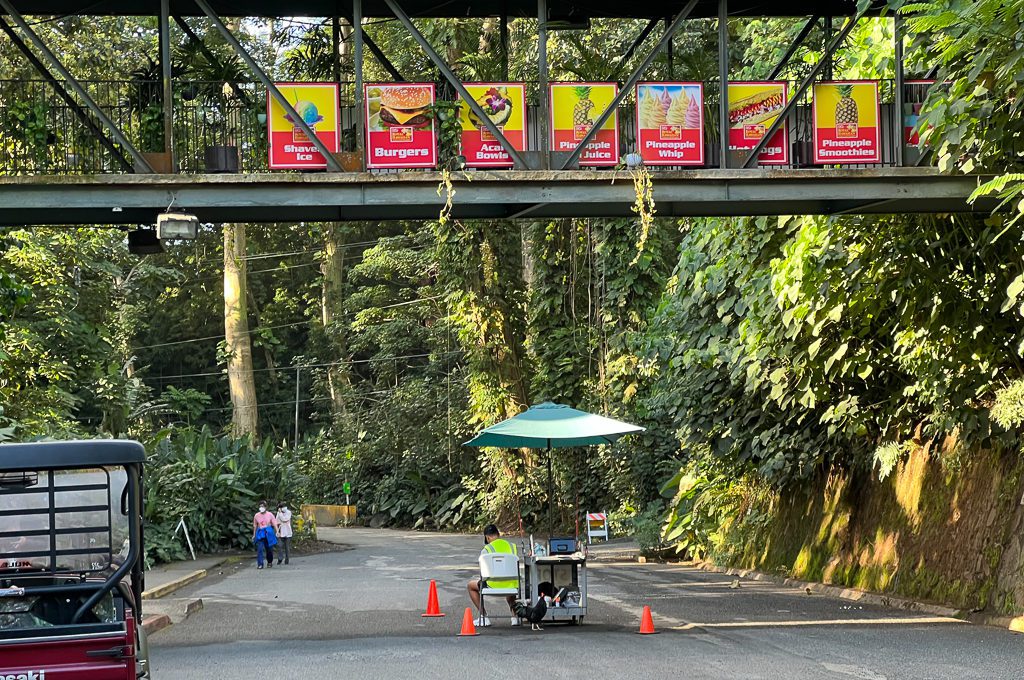
As you travel along Manoa Road, you’ll see someone at a little cart in the middle of the road who is collecting payment for parking and that is when you will know that you are close.
The parking lot sign says that the hours are 8 AM to 6 PM. However, we arrived at about 7:30 AM and there was an attendant already there.
The Manoa Falls parking fee was $7.28 and I’m sure that it steadily increases every couple of years.
I heard that you can park in the residential areas to avoid the parking fee but I’m always nervous to park in residential areas when I’m unfamiliar with the towing policies and local customs. Plus, I think that adds on close to half a mile.
I figured the money would go to support the park anyway so it was not a big deal.
Related: Jurassic Adventure Tour Review (Kualoa Ranch)
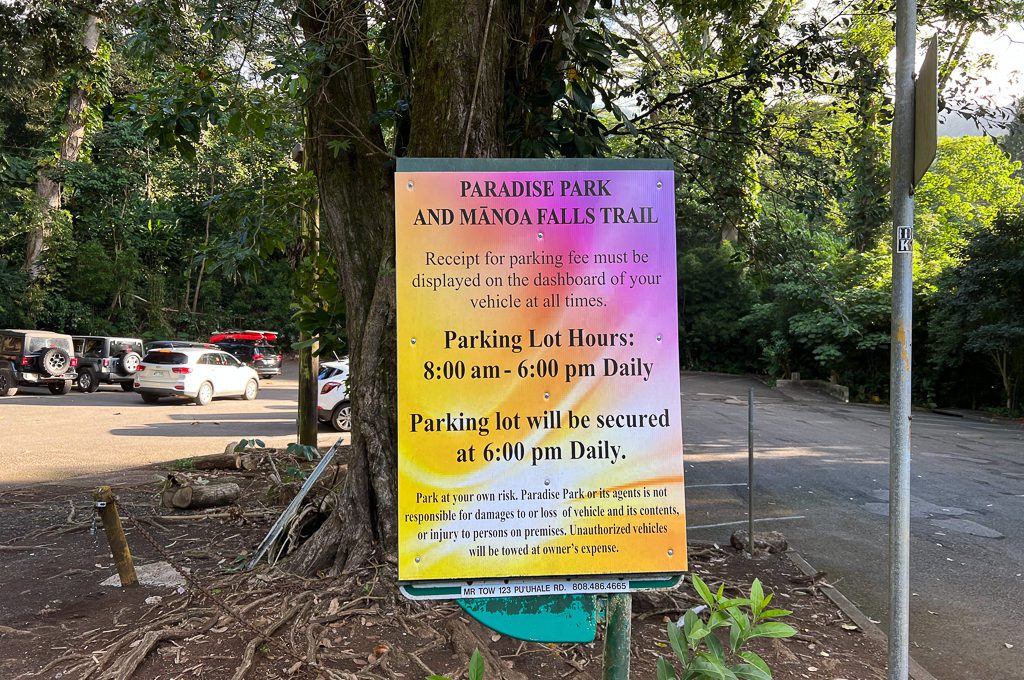
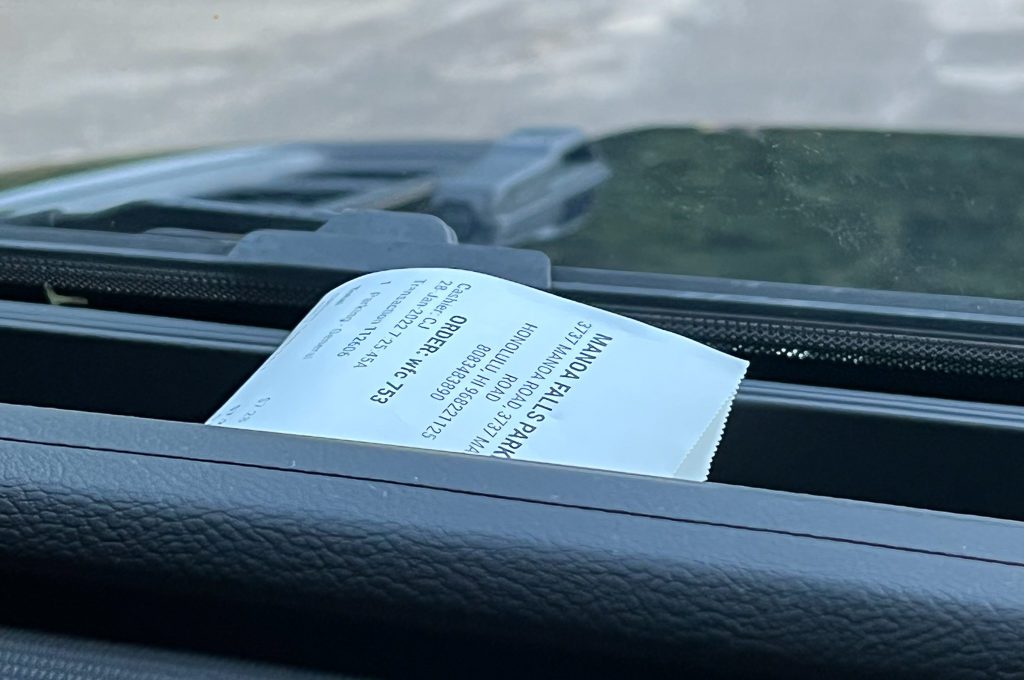
They will give you a little ticket which you need to display on your dashboard so that you avoid getting fined.
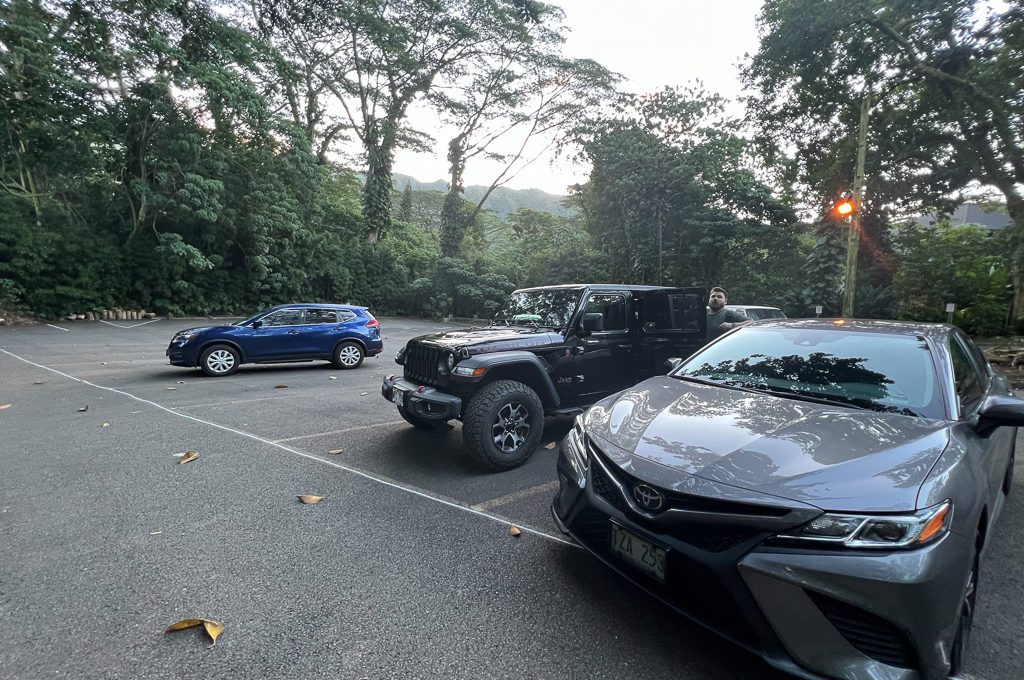
We arrived just after sunrise and did not have an issue finding an open parking spot. This trail does seem to get very busy so at times this parking lot might be full.
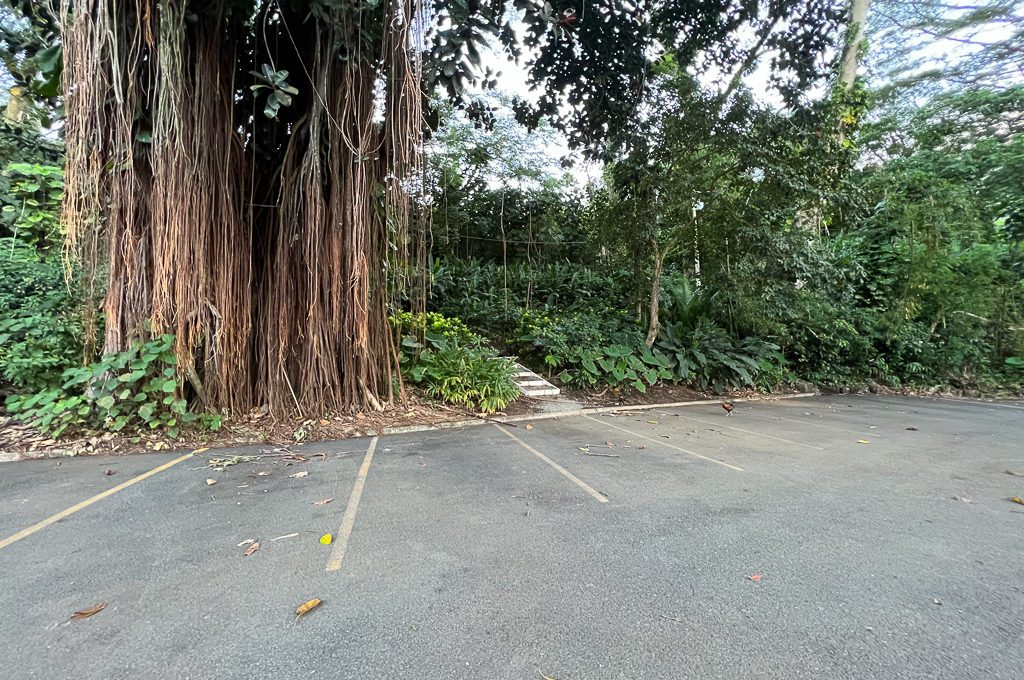
From that parking lot, you’ll see a little staircase poking out the vegetation and you’ll start there. The actual beginning of the trailhead is just a little bit ahead of you.
Read: Uber vs Turo in Honolulu, Hawaii (Which is Cheaper?)
On the way in, we spotted a couple of wild chickens and roosters. The roosters on Oahu are not nearly as numerous as the ones in Kauai but I always enjoy seeing them.
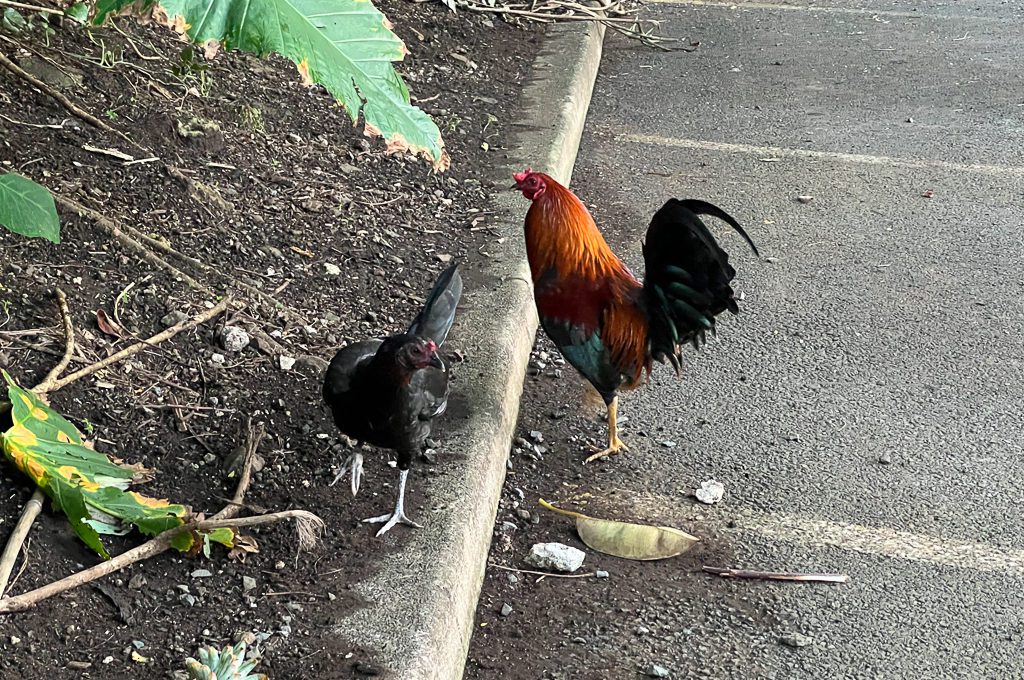
From that staircase, you’ll be walking along a paved road which I believe you might be able to drive on but it’s a short walk anyway so it didn’t really matter.
It’s possible that this road leads to more parking options but those might be for the Lyon Arboretum.
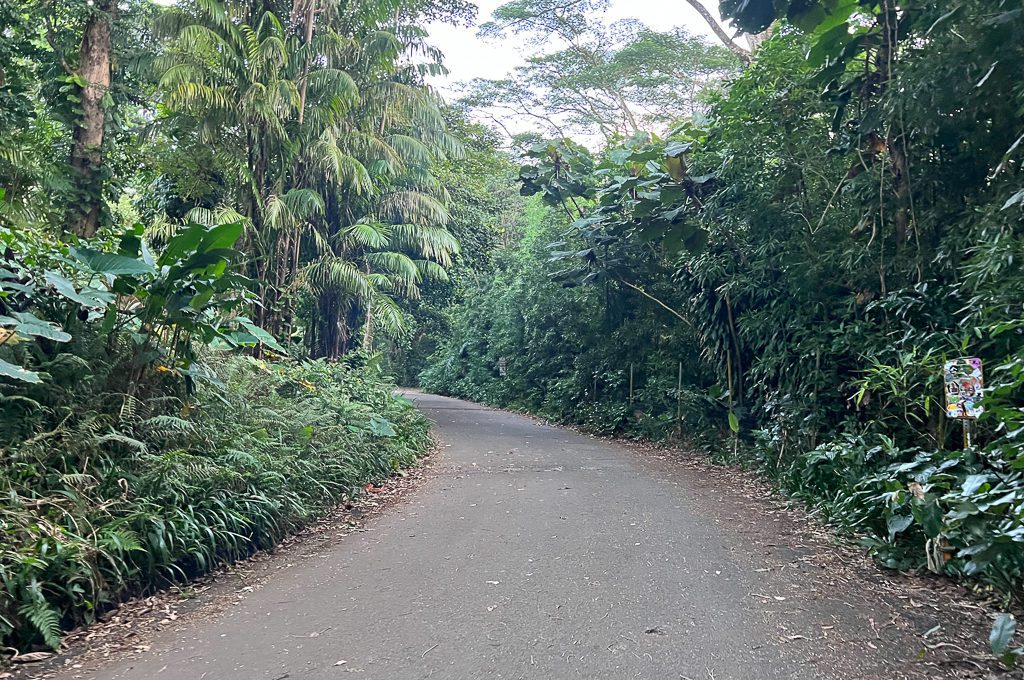
After a really short walk, you’ll see the trailhead sign which is pretty much impossible to miss with its bright yellow letters.
Related: Dole Plantation Review (Worth it or Tourist Trap?)
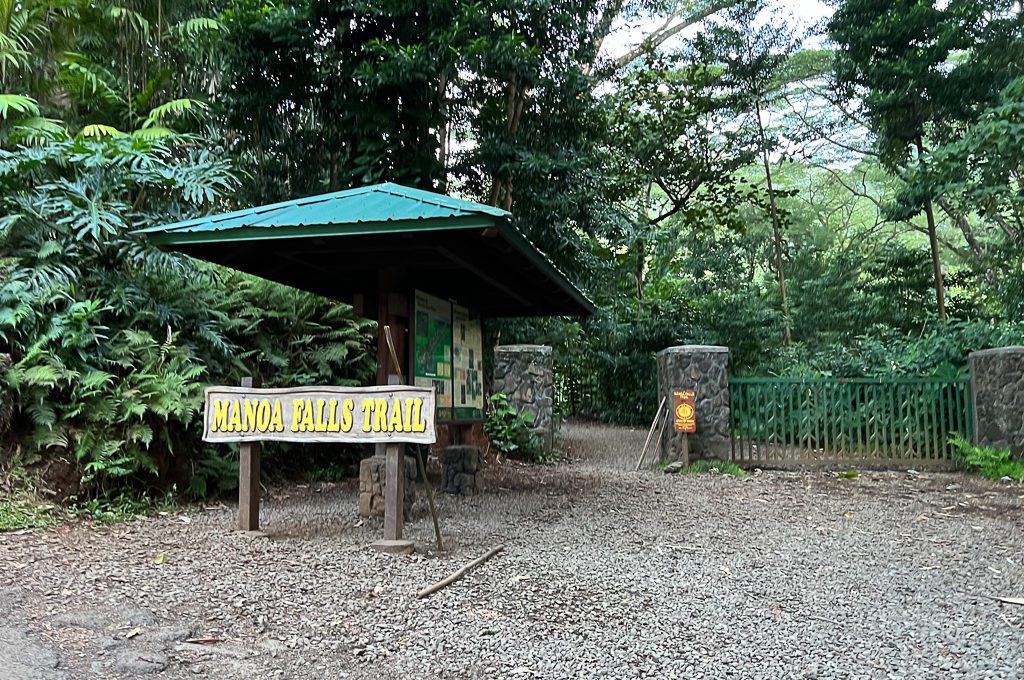
Manoa Falls Trail Experience
You can view my hiking map above to get a sense of the trail but below I’ll go into detail with a lot of photos and descriptions.
What’s great about this trail is that the stunning scenery doesn’t take long to arrive.
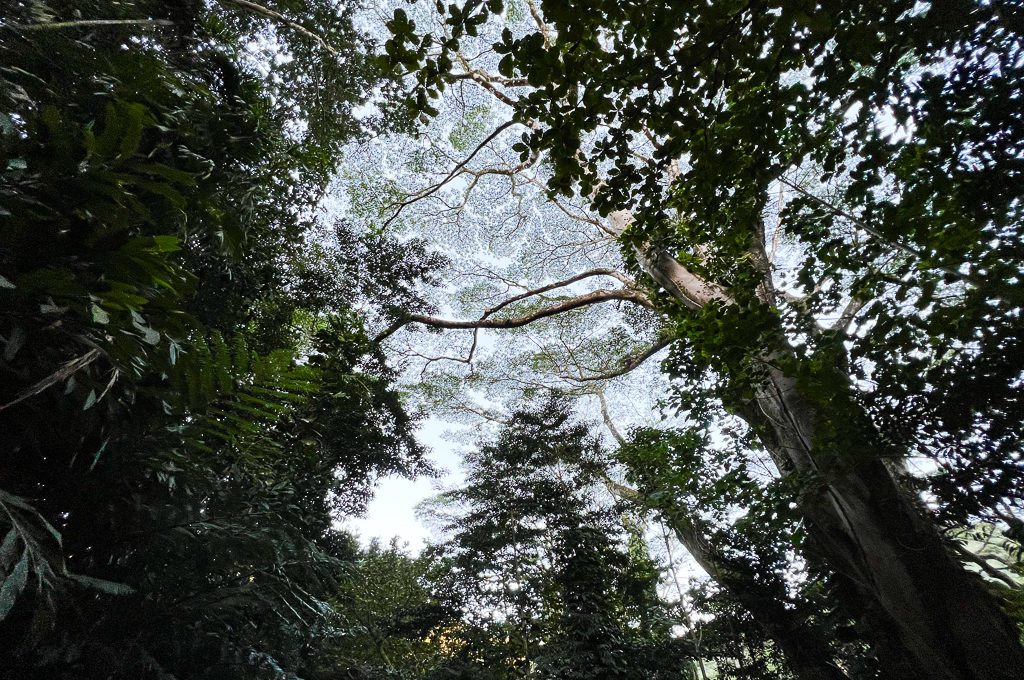
Once we stepped foot on the trail, I was immediately impressed by the canopy of trees above us.
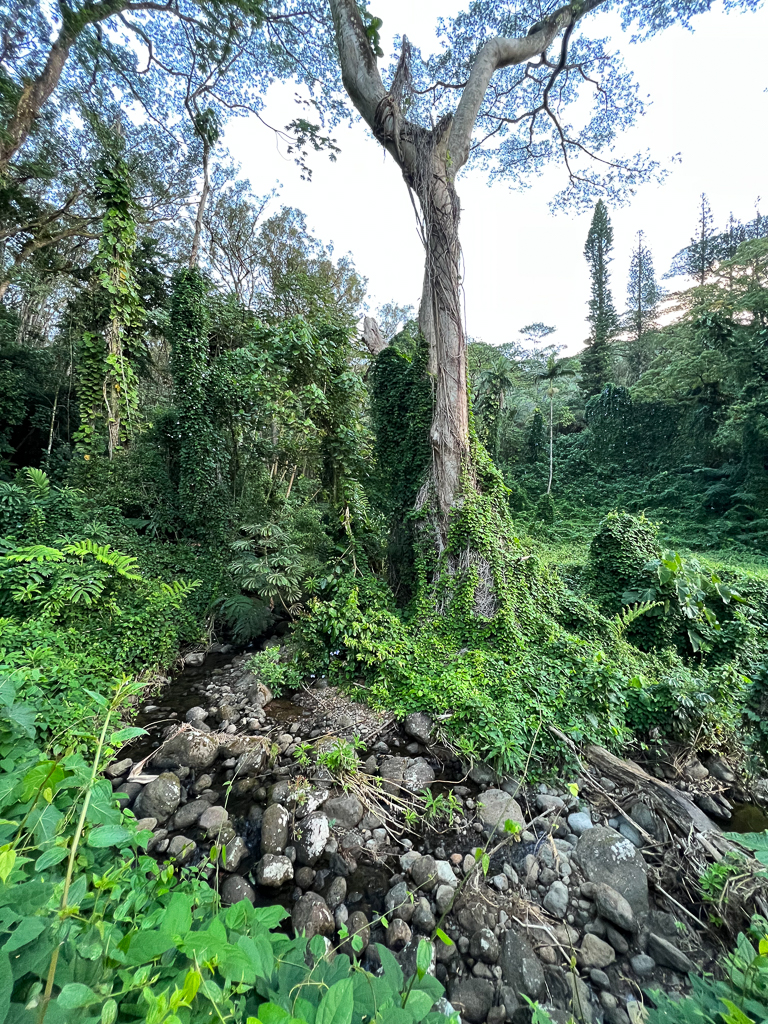
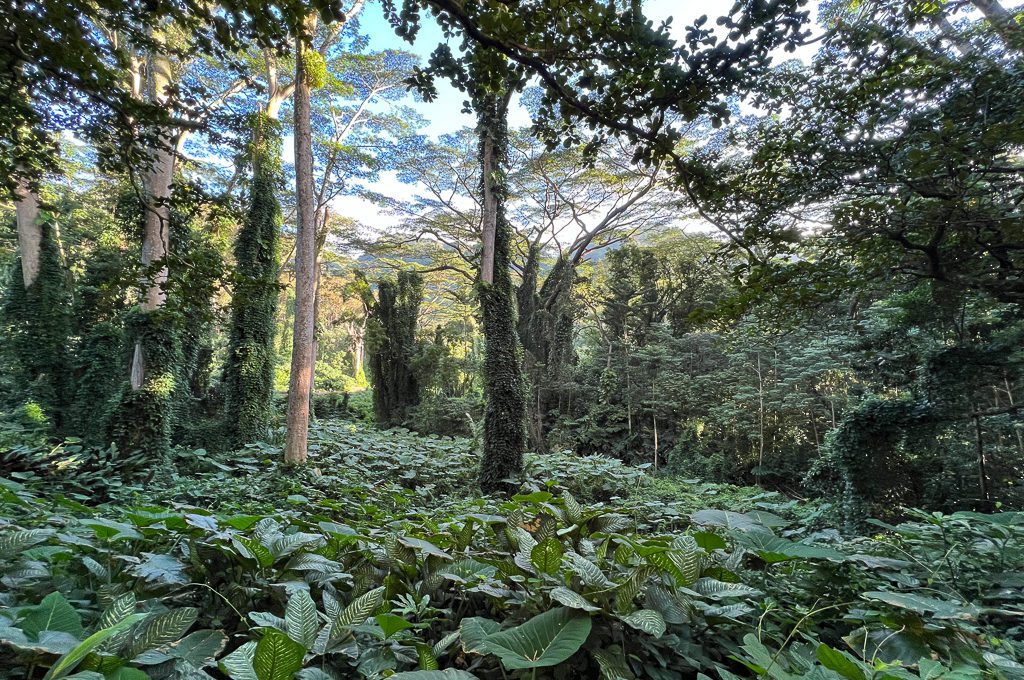
At about .2 miles into the hike you’ll head through a shipping container which will open up to a stunning area with vine covered trees that looks like something out of Avatar. We’re talking lush.
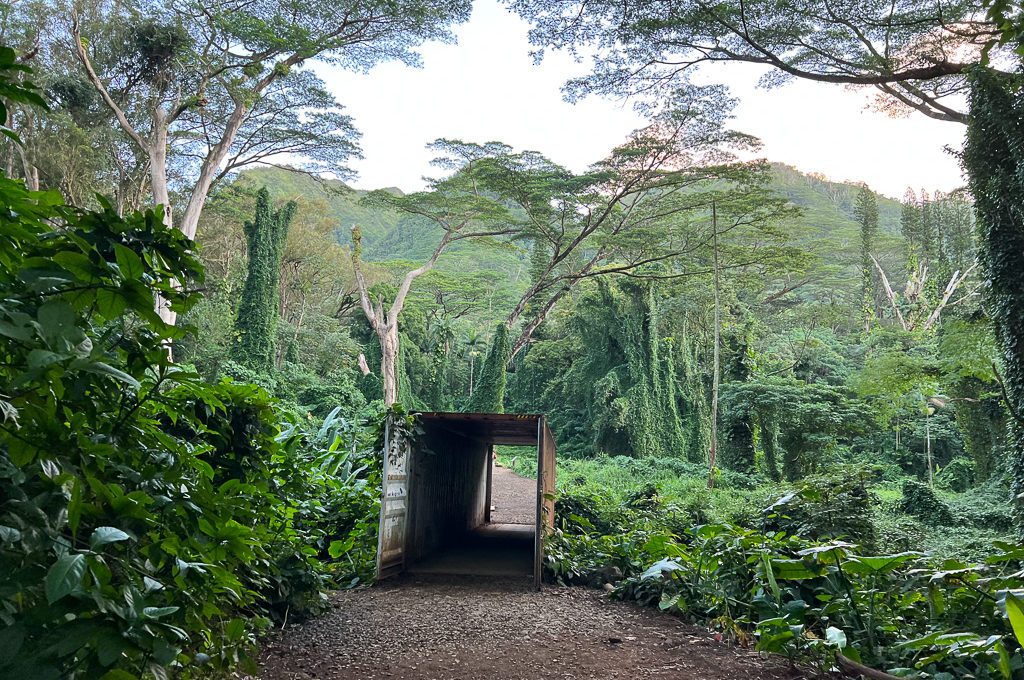
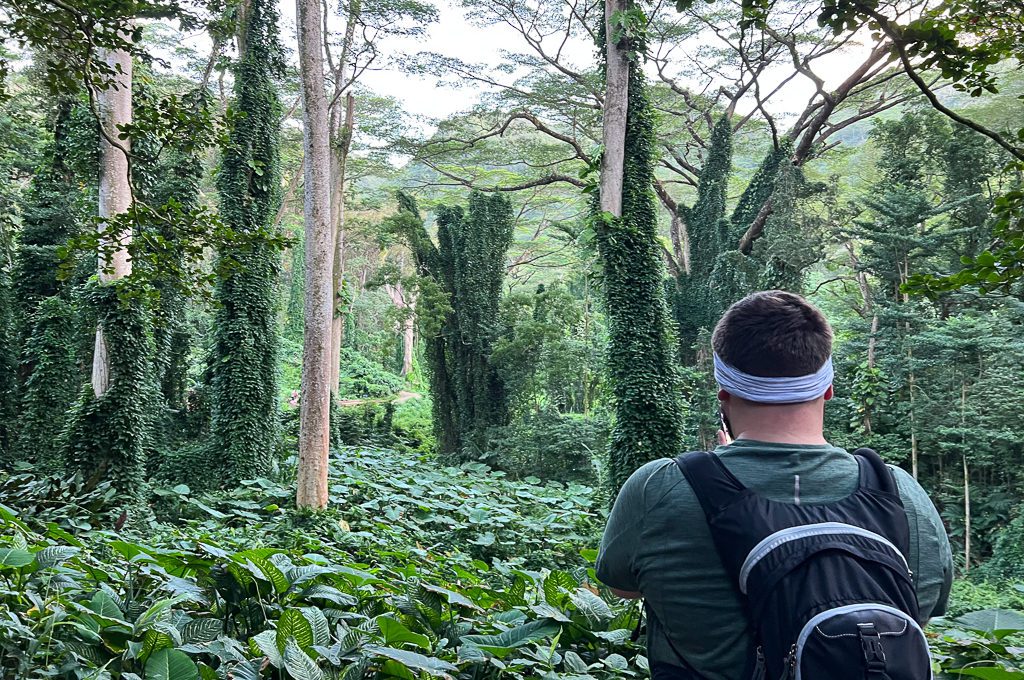
This was my first true encounter with Hawaiian vegetation and it seriously blew my mind. If you are new to Hawaii, this really is a perfect introduction to the beautiful jungle landscape.
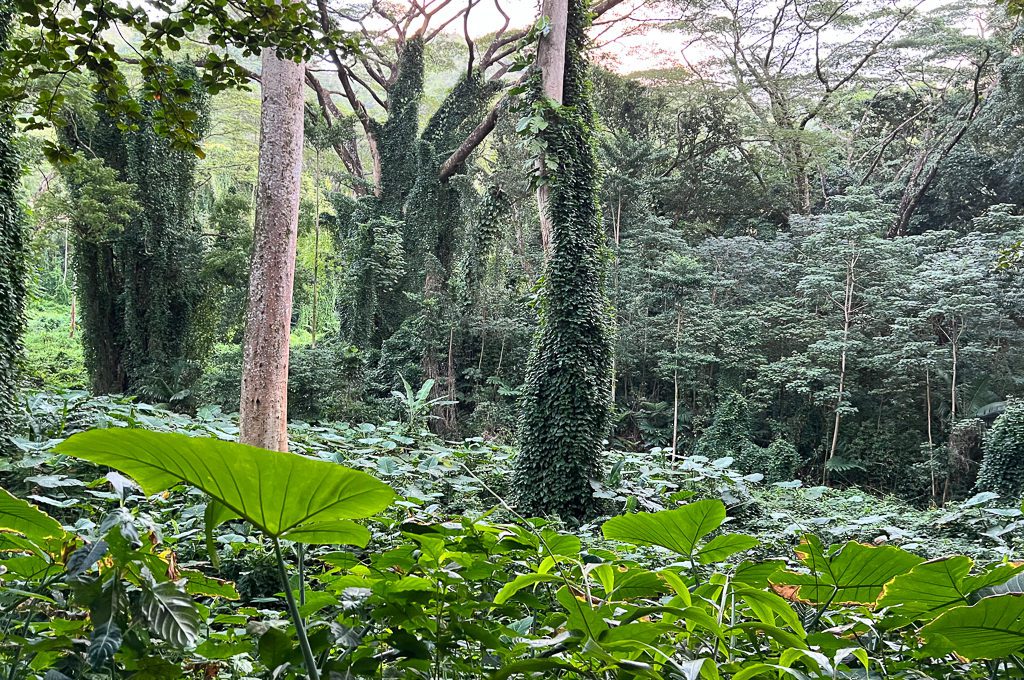
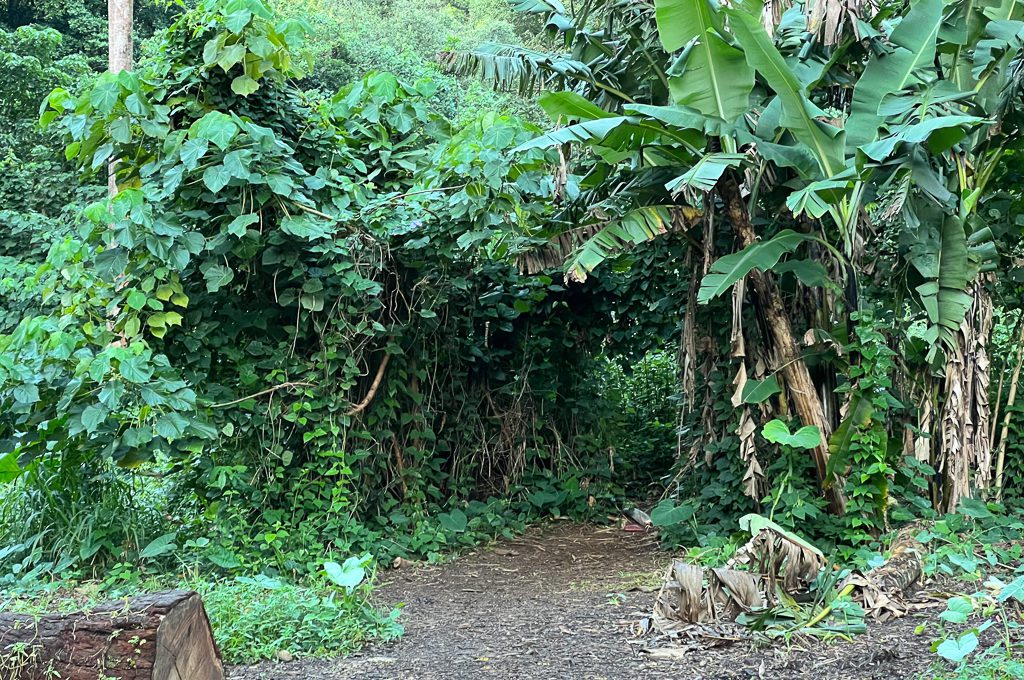
The Waihi Stream runs through this area which adds a lot of beauty to the scene and probably explains the super dense vegetation.
Once you pass that area up the scenery gets tighter and you’ll be on your way to the falls.
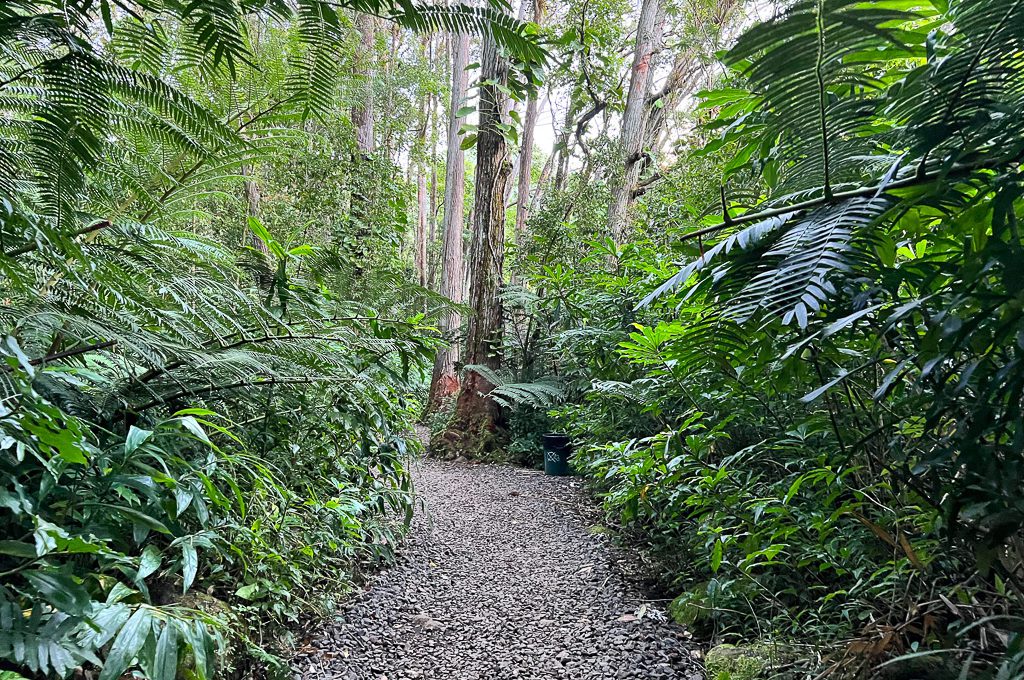
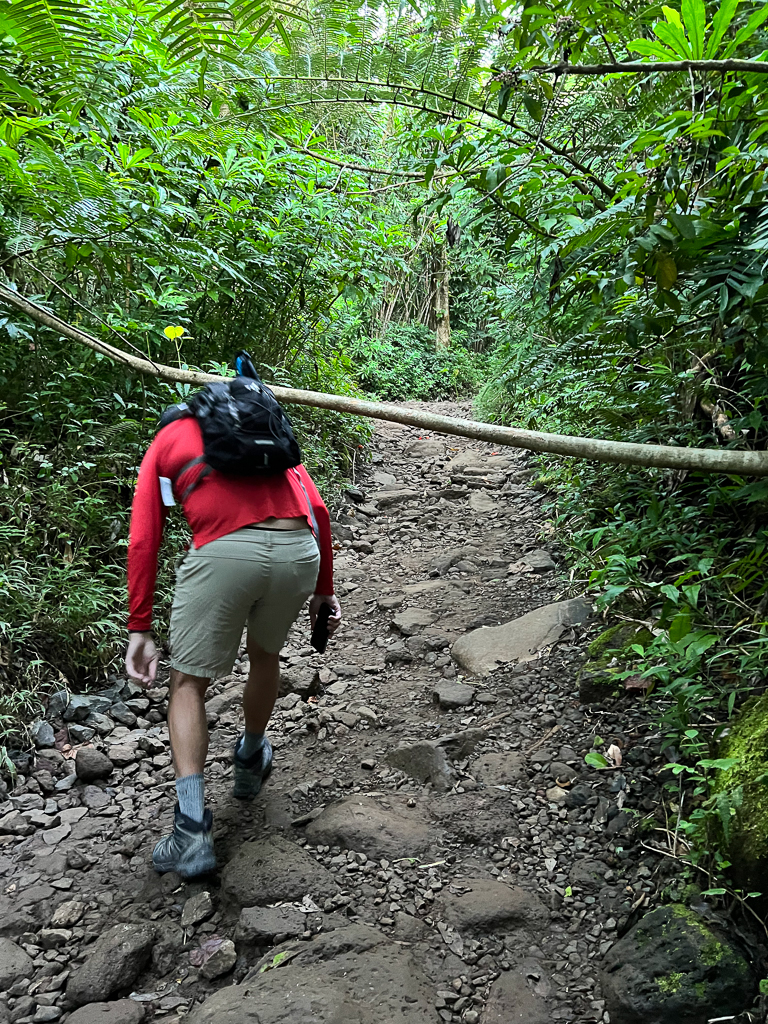
The trail throughout the hike is pretty easy to navigate — I couldn’t imagine getting lost.
If you are doing the trail after a rain then I could see things getting pretty slippery at a few spots, though. That’s probably the biggest challenge this trail has to offer. Otherwise, I’d rate this trail as easy.
Also, you need to watch your head on a couple of occasions because you may have some branches hanging pretty low.
Don’t be like me and forget you have a trekking pole sticking out of your backpack.
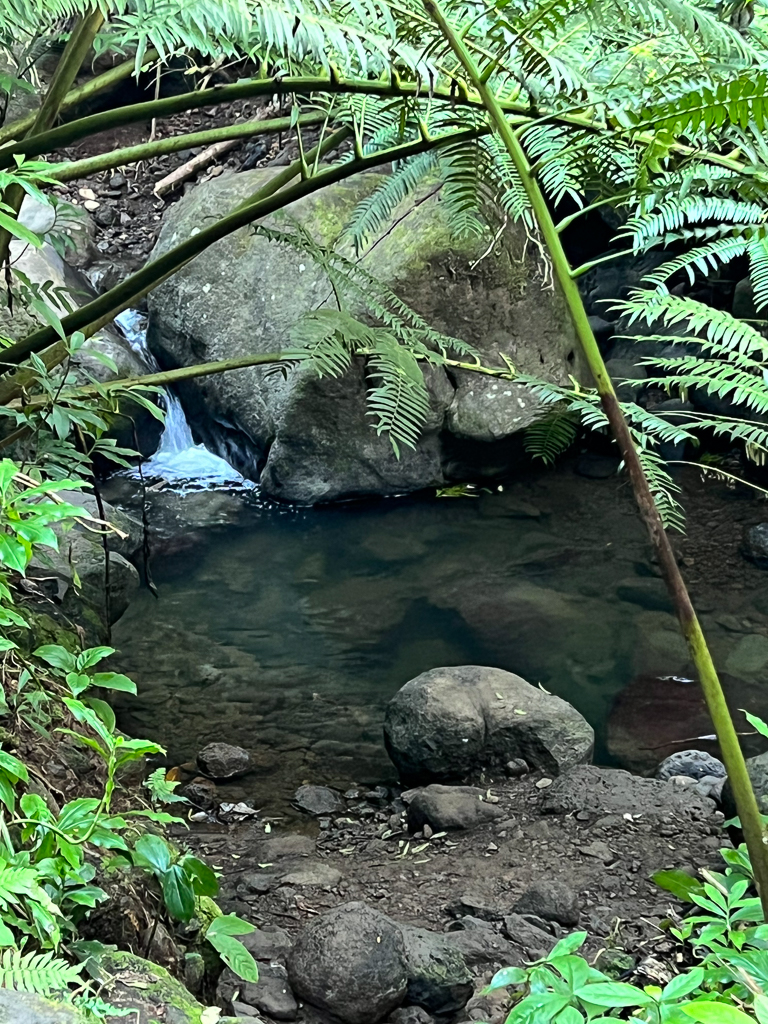
On a couple of occasions, you’ll head over a few peaceful stream crossings. You won’t need to cross the stream yourself but the creek will be running by your side. Be looking to your side so you don’t miss a few nice photo ops.
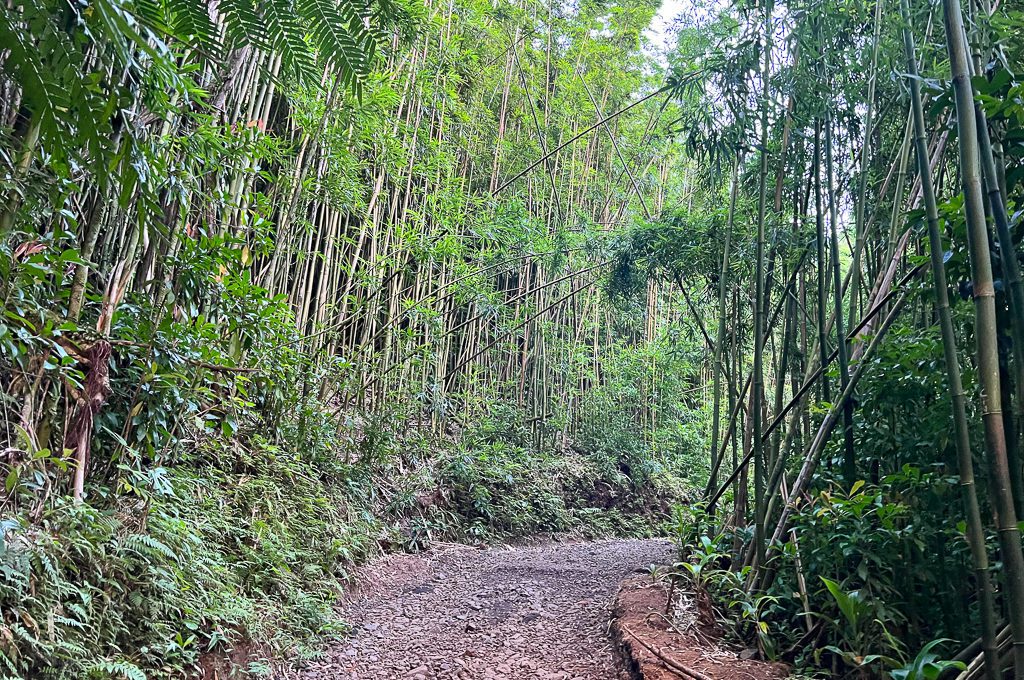
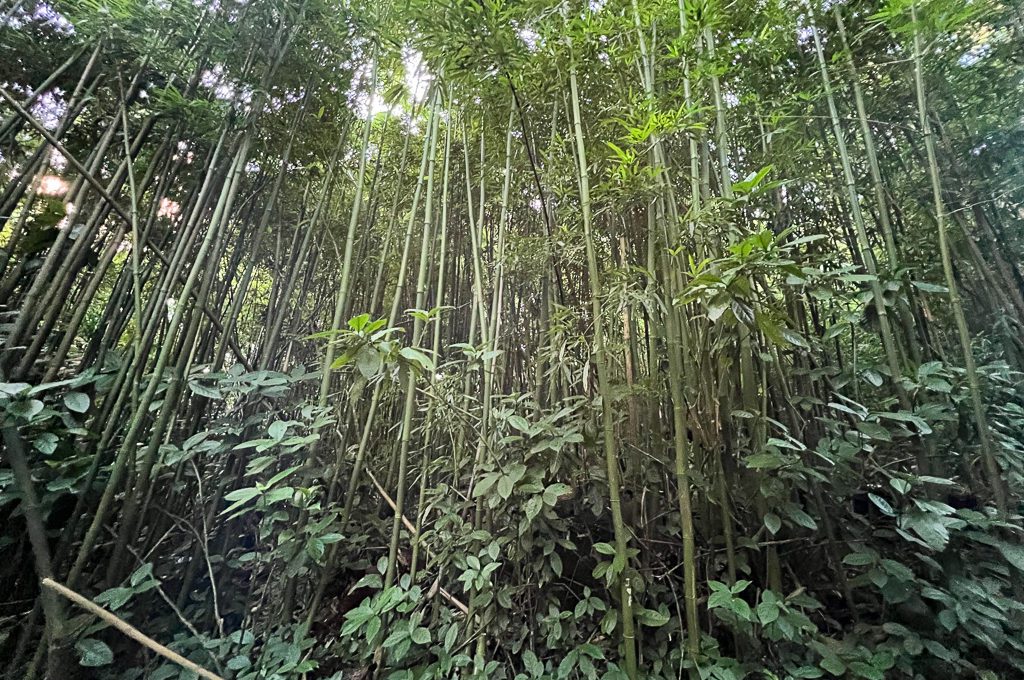
At about .6 miles into the hike you come across a beautiful bamboo forest.
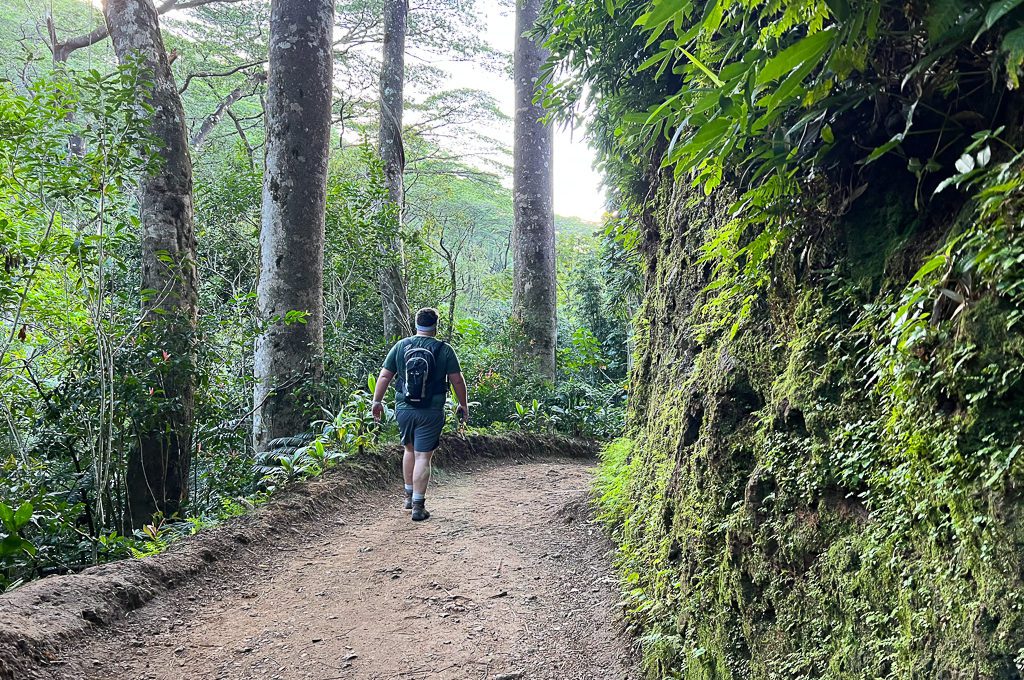
After that, you’ll encounter this little area that has a few interpretive panels to give you some background information on the area’s wildlife. I didn’t realize how many species have gone extinct in Hawaii.
Other than birds, we did not encounter any wildlife on our hike but you could hear those birds making all sorts of noises throughout the jungle.
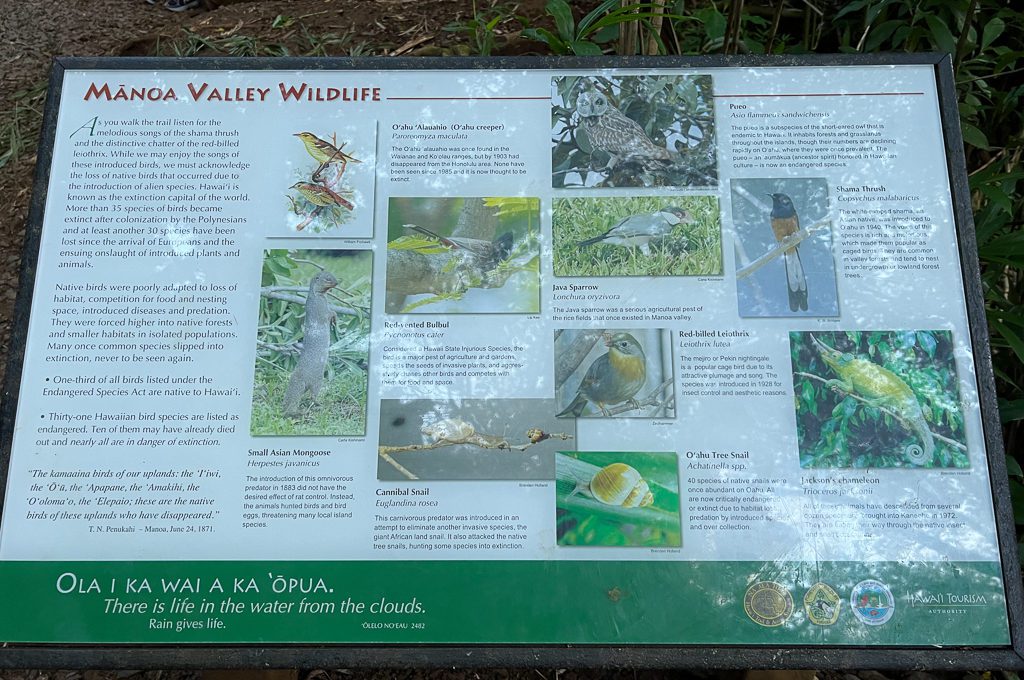
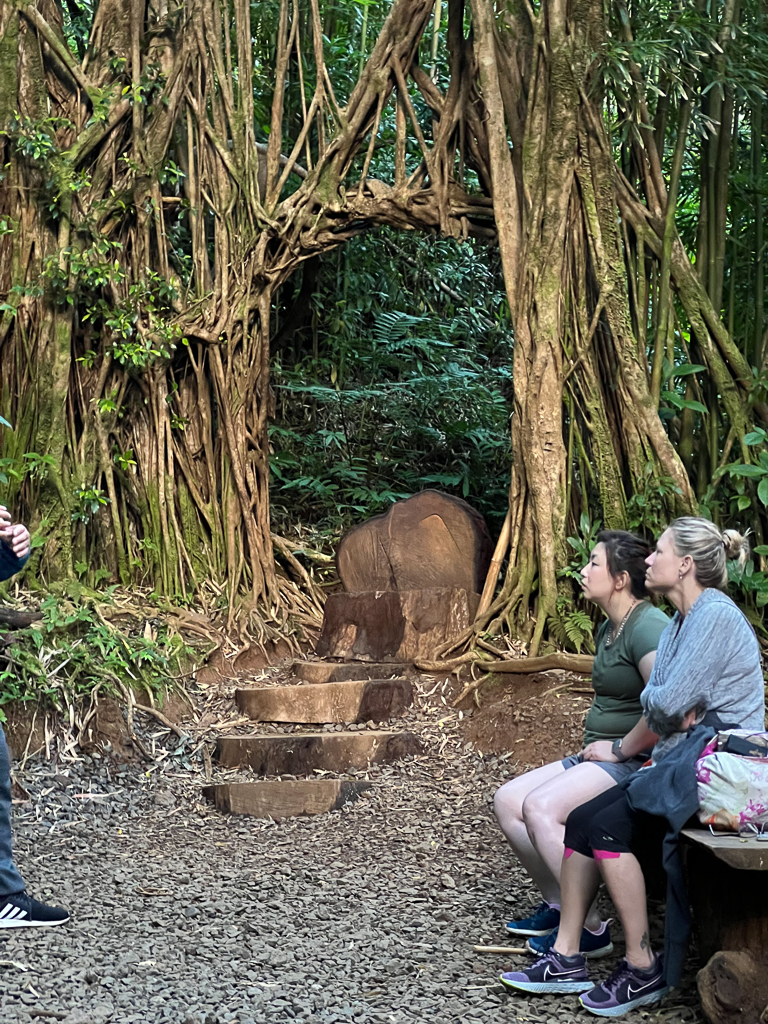
This spot also has this gnarly looking archway to check out under the trees.
After this point, you’ll begin the steepest part of the hike. You’ll be gaining about 250 feet in about a quarter mile. That’s a decently steep grade but because it is only about a quarter mile, it’s not bad.
Because of the steeper terrain, this is where you need to be careful if you’re dealing with wet or muddy conditions. I found the trail to be just a little bit slick but we also visited during a pretty dry time.
I could see this stretch of the hike being a little bit treacherous if you’re coming during a wet time, especially on the way down.
So just take your time and you should be good. If you have a trekking pole or two it might be a good idea to bring it out for this stretch of the trail but it’s really not that bad.
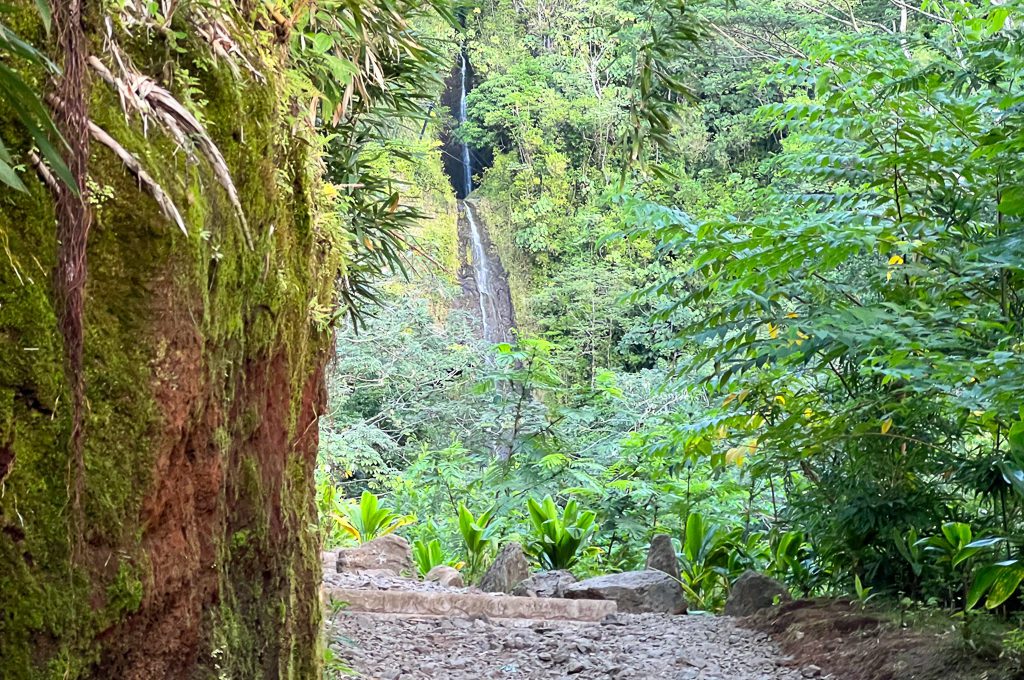
Just when you start to feel a little bit of a burn in your legs, you’ll probably see the falls in the distance. At this point, you’re very close to the end and so hopefully the sights and sounds of the falls will keep you going.
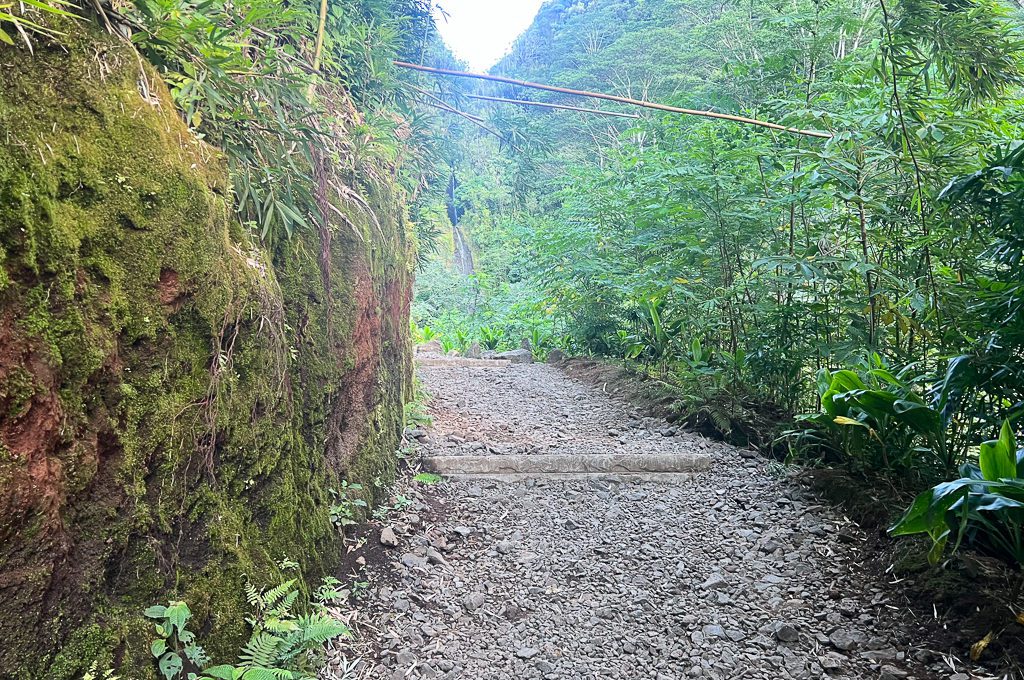
Notice how there are two tiers to the waterfall.
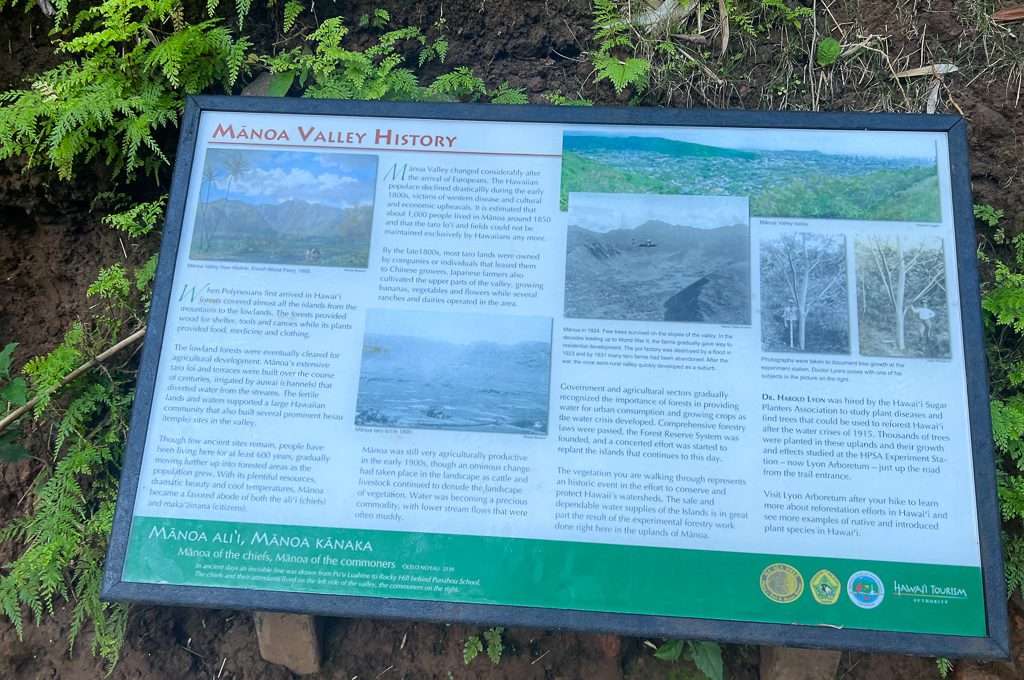
As you get close to the falls, there’s another interpretive panel that will provide some history on this area.
You’ll also see a trail junction for the Aihualama Trail. I heard that the trail was not that impressive but I can’t personally vouch for that.
It also looks like there is another trail located off the Aihualama Trail that will take you to Upper Manoa Falls.
I believe that trail requires route finding, scrambling up slippery tree roots, and is considerably steeper than the trail to the lower Manoa Falls.
I wouldn’t attempt that trail unless you are very confident in your climbing abilities. The views from up there look pretty amazing, though.
However, we did not venture on any of the side trails because we had a few scuba dives coming up and were trying to conserve energy.
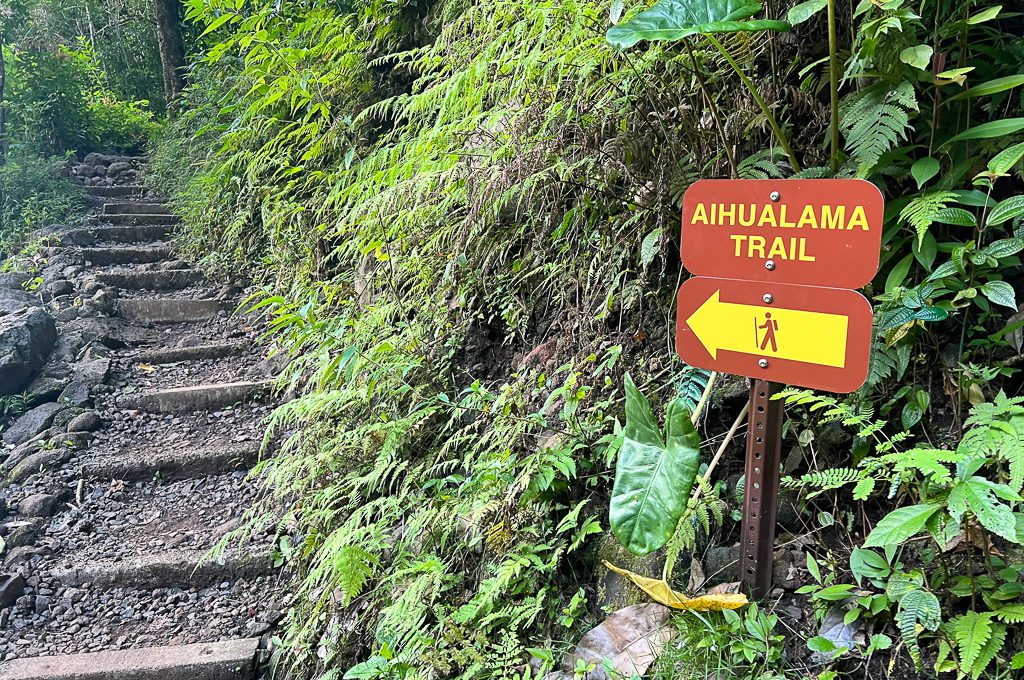
Anyway, once you pass the Junction for the trail, you are basically at Manoa Falls!
There had been little rain when we visited so the falls were not exactly raging but it was still a pretty cool site.
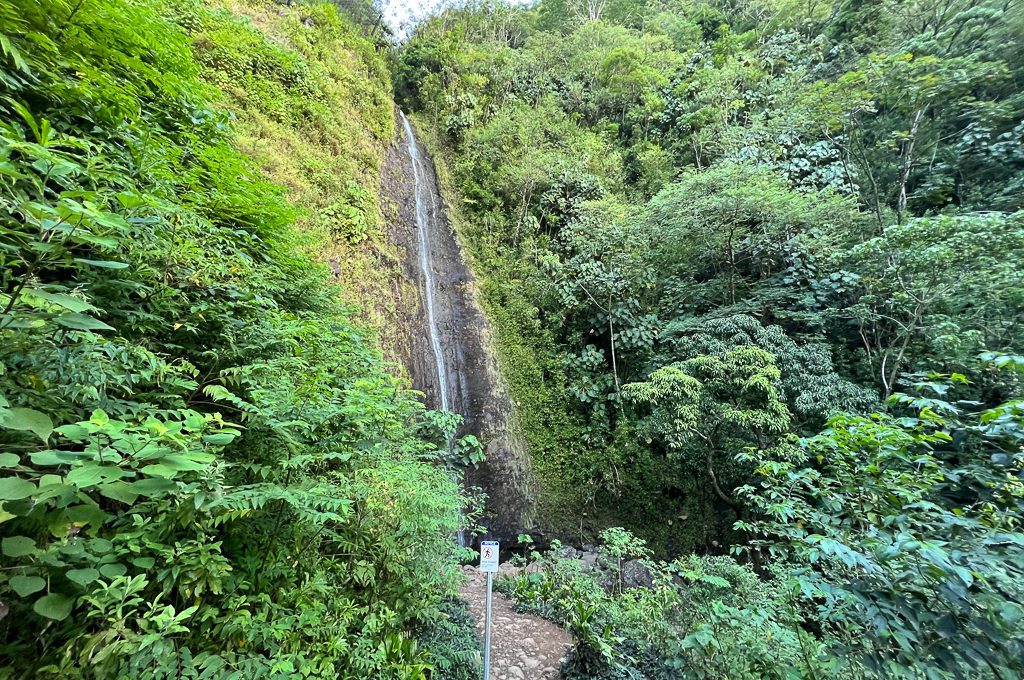
We started early in the morning and were lucky that we were able to enjoy the falls to ourselves.
But as we were making our way back to the trailhead things start to pick up so just be aware that this trail looks like it can be extremely busy.
Once you get to the falls, you’ll notice a few signs that prohibit you from going forward.
There’s a few things to say about the signs.
First, it’s confusing because they say something along the lines of “do not proceed further.”
Yet, they are positioned in different areas so it makes you wonder why are they telling you “do not proceed beyond this point” when each point is located at a further spot.
One thing I realized in Hawaii is that these type of “DANGER: YOU WILL DIE” signs are located in many spots and often times it almost seems like more of a suggestion….
For example, we were headed to a beach area that had a sign that said do not proceed yet we continued on with a lot of other people and it was not a problem despite police hanging out right by the entrance.
It seems like these signs almost function more like warning signs about dangers like fallen rocks or steep and slippery terrain.
Perhaps given the high volume of tourists who tend to be inexperienced adventurers they feel the need to place the signs at the spots?
I’m not saying to ignore all of the signs or that you won’t get in trouble for disregarding them but they just don’t seem as “official” as you might think.
(I would definitely respect trespassing signs for private property, though.)
As far as getting into the water at the base of the falls, it’s said that the water contains some type of bacteria that can cause Leptospirosis, which is common in tropical climates.
Reportedly, it can cause mild to moderate flu-like symptoms that can last for up to 1 to 2 weeks
People still get in the water for those amazing photographs but if you’re not one to risk your health, you probably don’t want to take the chance.
The way back is pretty quick and easy but again going down is usually more difficult on slippery terrain so be careful.
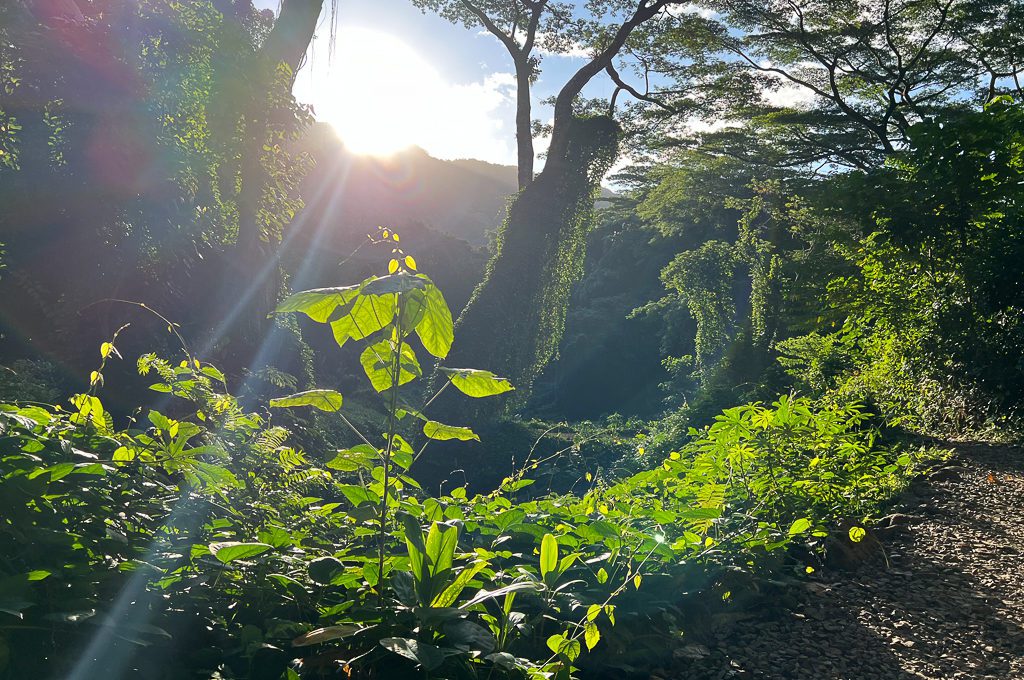
The sun was just coming up above the tree line on our way out which made for some really beautiful lighting so I highly recommend a morning hike here.
Paradise Park
The entrance to Paradise Park is located right before you arrive at the parking lot. It’s basically right where the guy sitting in the middle of the road collecting payment for parking is located.
If you’re not aware, Paradise Park is an abandoned exotic bird zoo. It was once a major tourist attraction but was closed down in 1994.
Now, it is overrun with jungle terrain and it’s been featured in some movies like Jurassic World and shows like Lost.
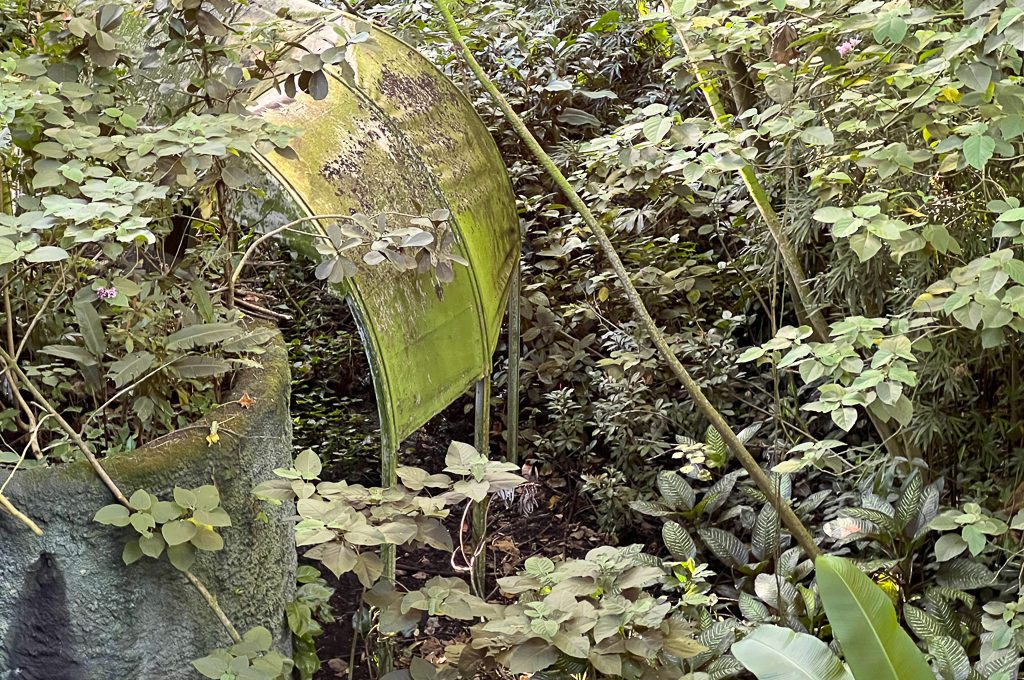
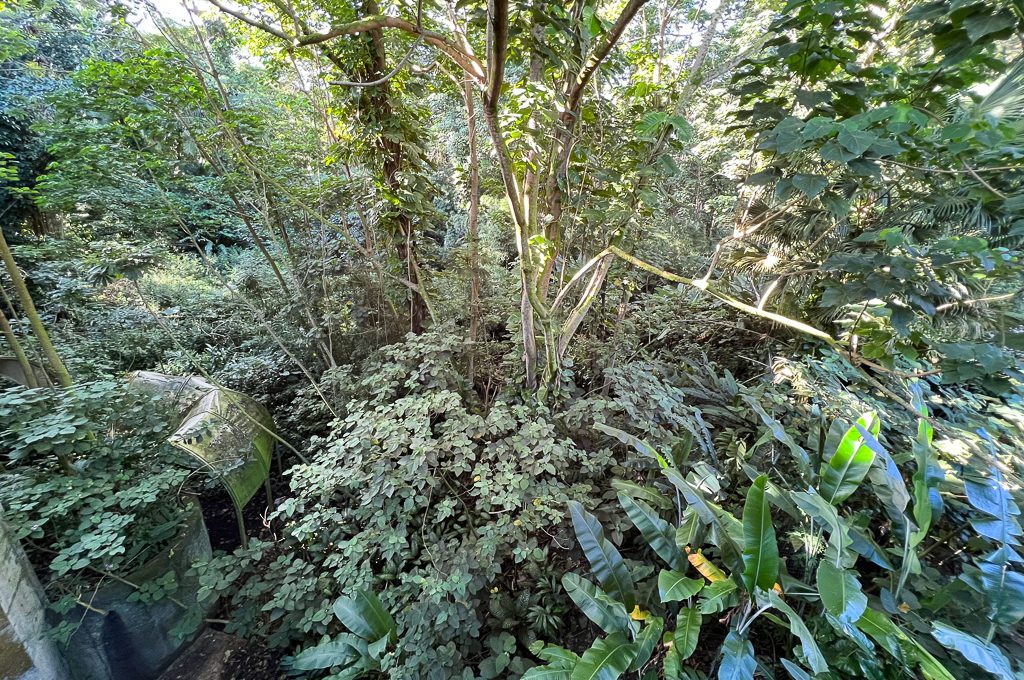
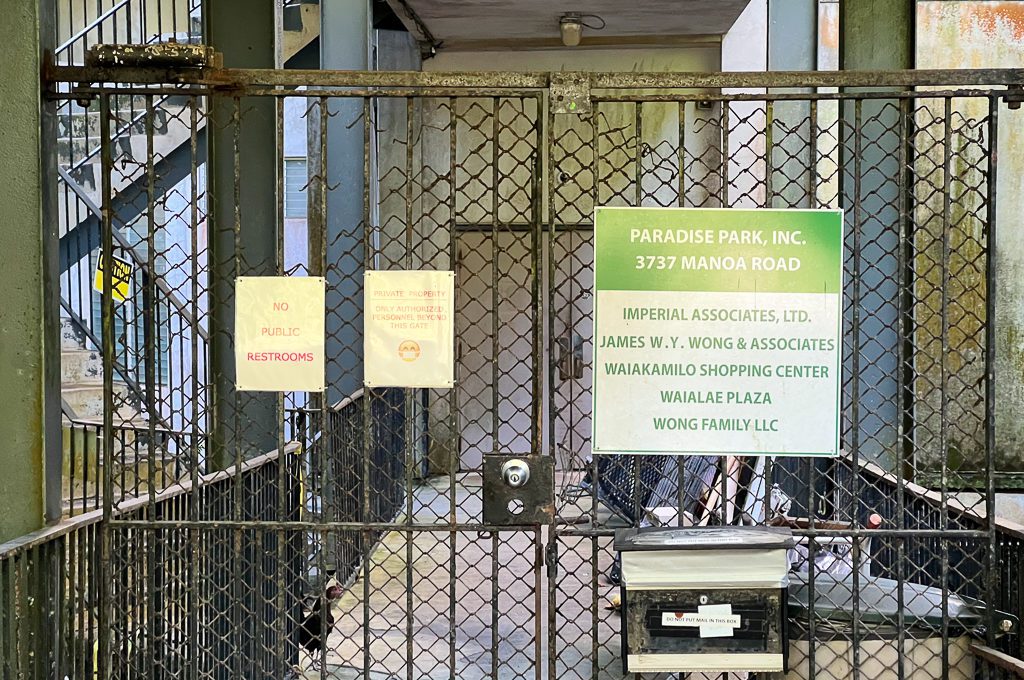
Based on my research, I thought Paradise Park would be some area you could explore on your own but that was not the case. It was completely closed off to the public.
The only thing it offered was a little shop/restaurant where you could buy things like pineapples and other refreshments like Dole Whips and some types of food. (They did have some bathrooms, too.)
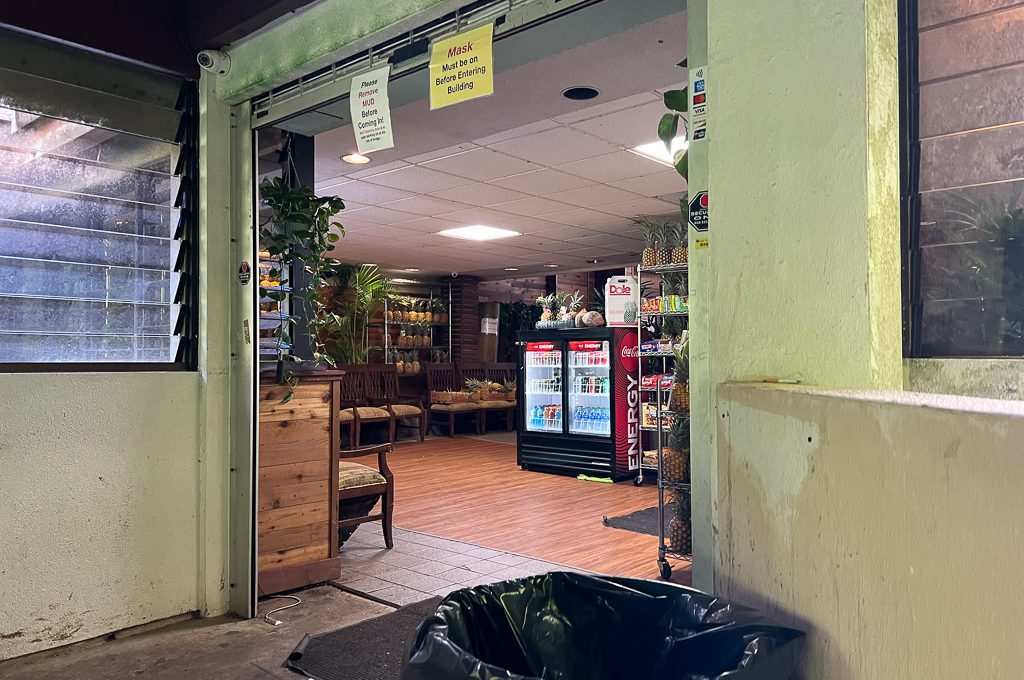
I’ve seen videos of people exploring Paradise Park so either things changed or they just decided to trespass.
You can still get a glimpse of it from one of the walkways but as far as exploring everything (legally), that’s not really an option as far as I can tell.
Final word
Manoa Falls is a great hike for people looking for a beautiful introduction into the jungle terrain of Hawaii. Given it’s easy access and close proximity to Waikiki, this is a great first hike to do in Hawaii to get your feet wet.
You’ll just need to start early to avoid the crowds and think about if you want to venture on any of the side trails that will be more of an adventure.
Daniel Gillaspia is the Founder of UponArriving.com and the credit card app, WalletFlo. He is a former attorney turned travel expert covering destinations along with TSA, airline, and hotel policies. Since 2014, his content has been featured in publications such as National Geographic, Smithsonian Magazine, and CNBC. Read my bio.

