There are endless trails to do in Kauai, Hawaii and one of the more popular trails is the trail to Hoopii Falls, a site that also has connections to Jurassic Park.
In this article, I’ll tell you everything you need to know about the falls including how to get there, where to park, and what to expect while hiking.
Table of Contents
What is the Hoopii Falls Trail?
The Hoopii Falls Trail is a short and easy to moderate trail that takes you to a beautiful waterfall which pours out into the wide Kapaa Stream. It was the site of the amber mine in the 1993 classic movie, Jurassic Park.
The trail is just under 3 miles roundtrip if you go all the way to the bottom of the falls and also check out the upper falls on one of the side trails. The elevation gain is approximately 230 feet.
Plan on this trail taking about 1.5 to 2 hours depending on how fast you hike and how long you want to linger.
Related: Jurassic Park Filming Sites in Hawaii Ultimate Guide (Full List)
Tip: Use the free app WalletFlo to help you travel the world for free by finding the best travel credit cards and promotions!
Where is the Hoopii Falls Trail?
Hoopii Falls trailhead is located at: 5936 Kapahi Rd, Kapaʻa, HI 96746.
It’s found on the east side of the island near Wailua which is where we did the hike to the Jurassic Gates/T-Rex Paddock.
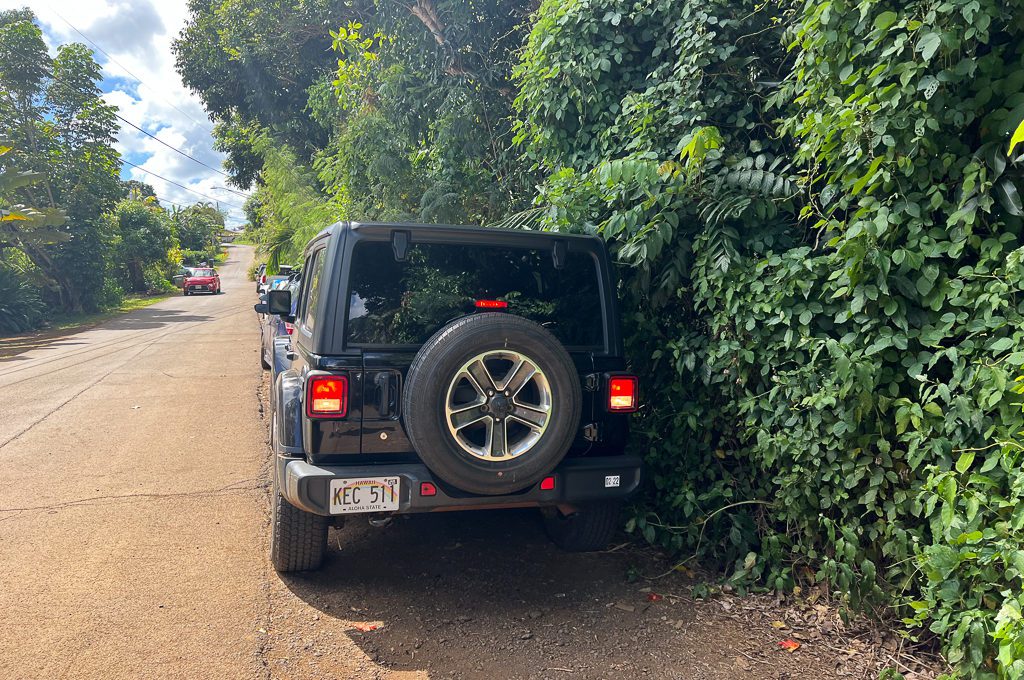
At the Hoopii Falls trailhead, they allow you to park on the side of the street next to the trailhead which is what we did and didn’t have a problem.
But it does look like this trail gets pretty busy so you may have to find somewhere else to park at times and just walk to the trailhead.
Just do your best to stay out of the way since this is a residential area.
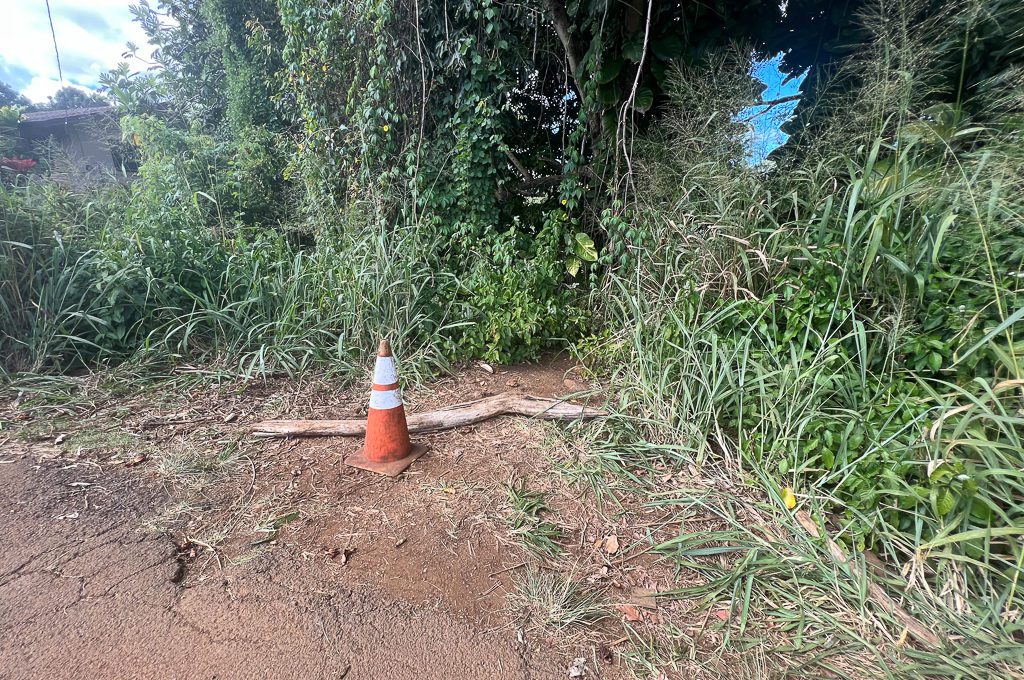
I noticed a cone and a log marking the trail entrance but there actually are a few different entrances that you could choose from.
Hoopii Falls Trail
As mentioned, there are a few different entry points for the trail.
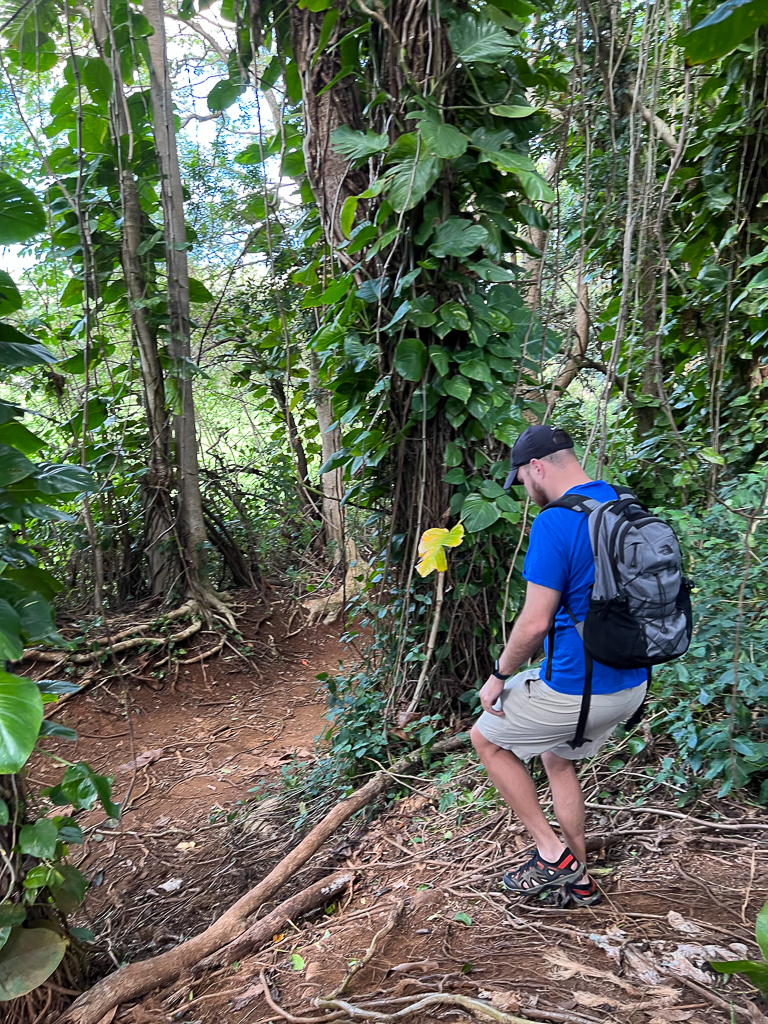
You can choose whichever one you’d like but be prepared for an initial steep descent on some. Nothing too bad but it could be slippery.
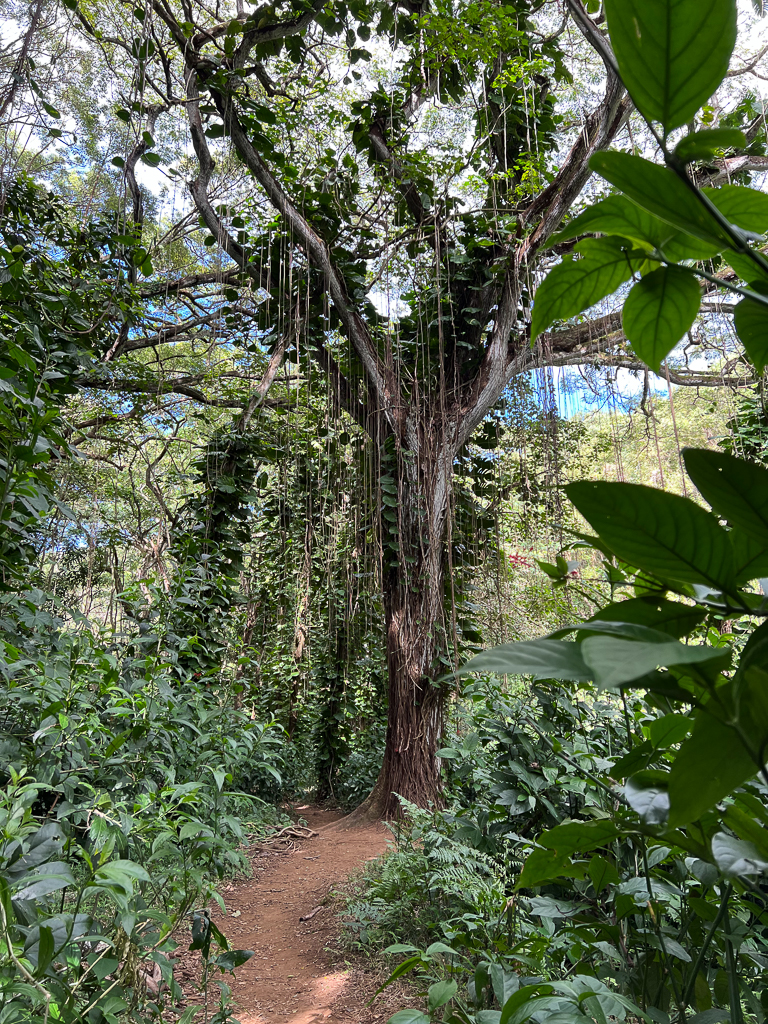
Initially, it will feel like you are still very close to a residential area but soon it will feel like you’ve just been transported into the heart of Isla Nublar.
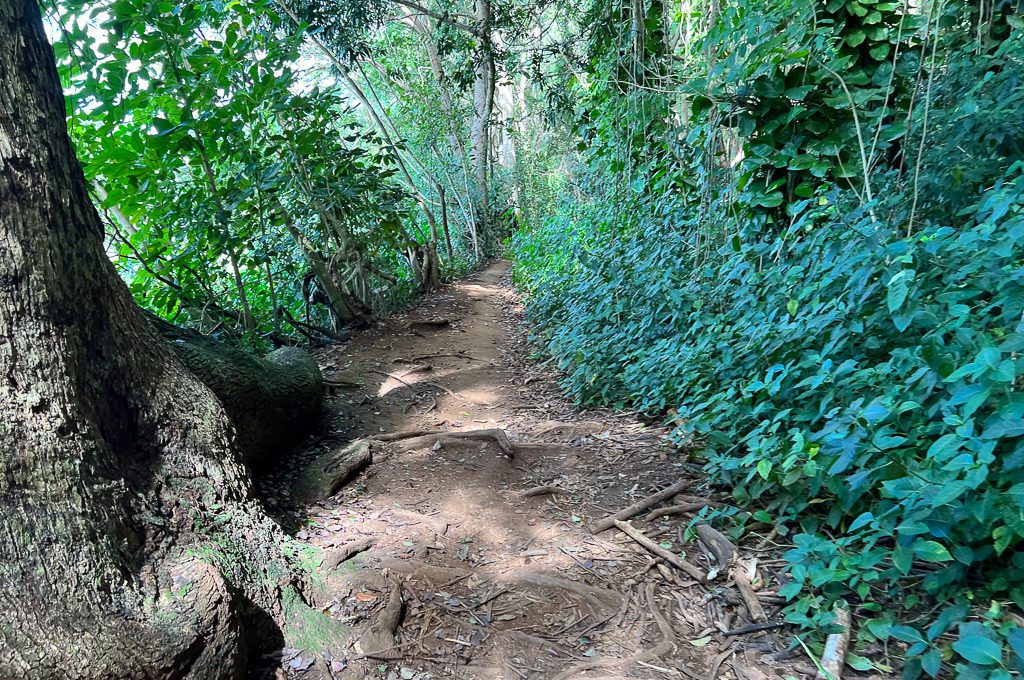
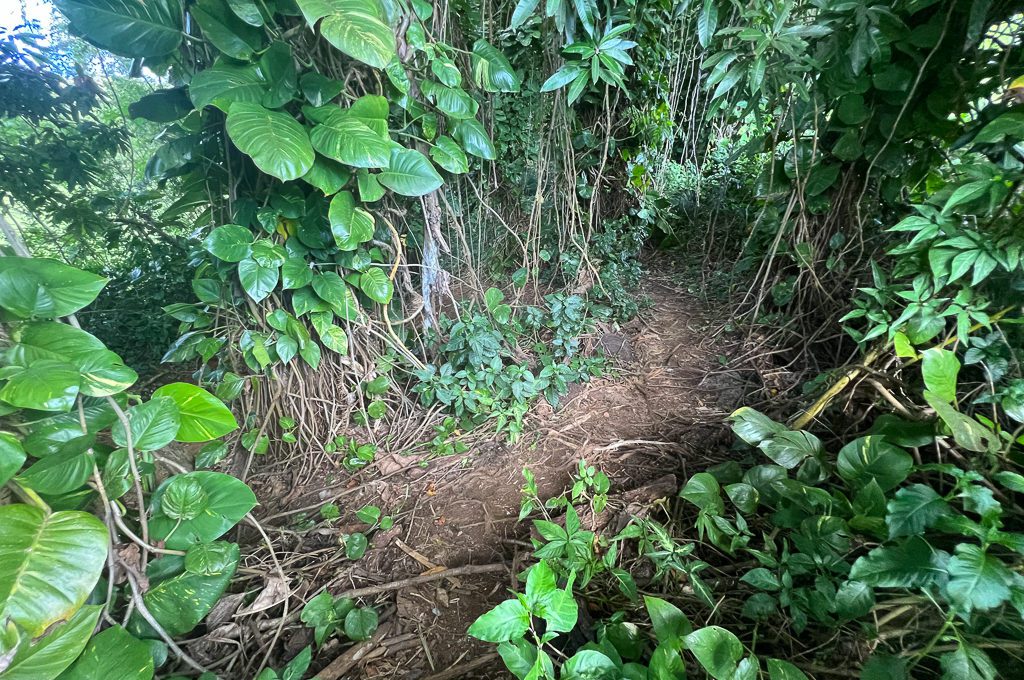
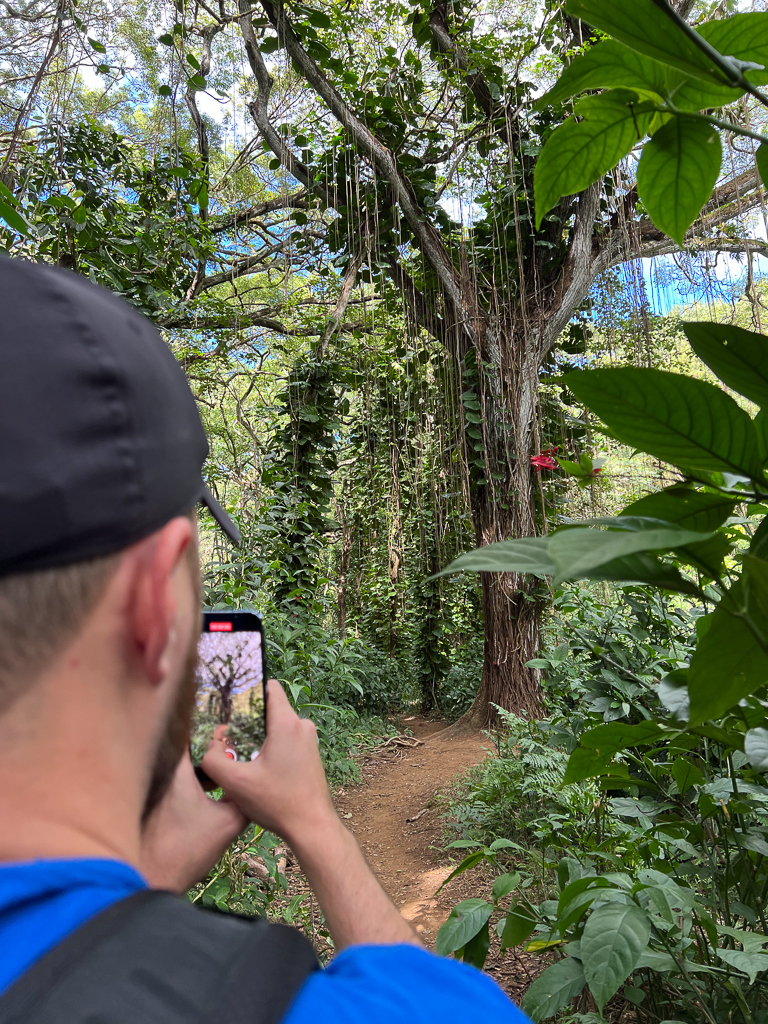
If you’re like me, you’ll be very impressed by all of the jungle scenery.
The vegetation is so lush that you should have a lot of shade which makes this hike very doable even on warmer days. Still, I would bring at least one bottle of water.
Bug spray and sunscreen would also be a good choice.
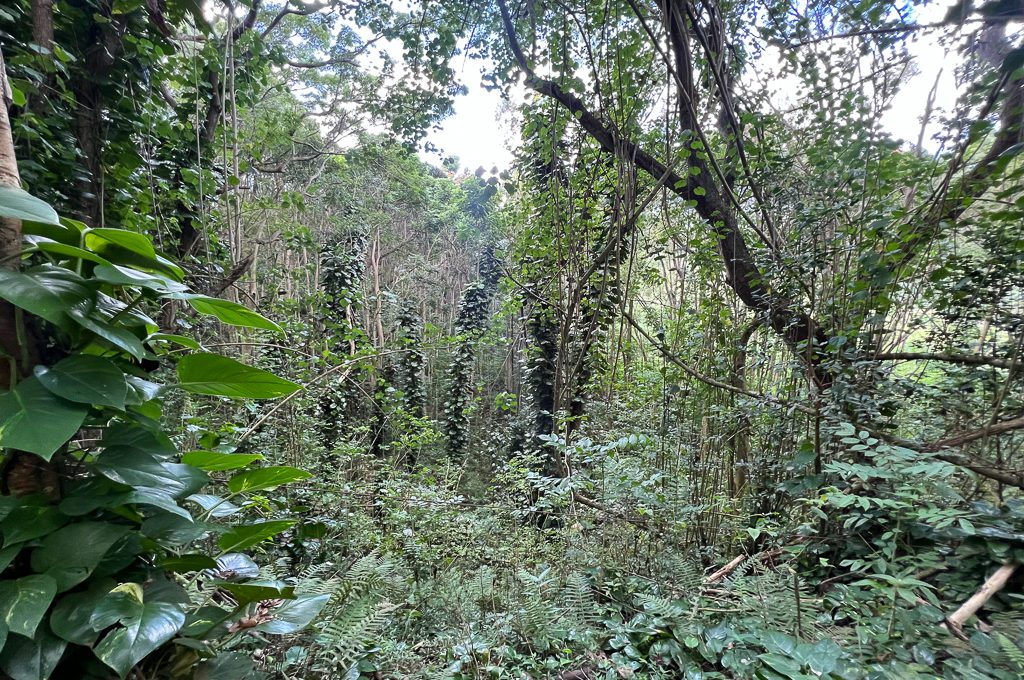
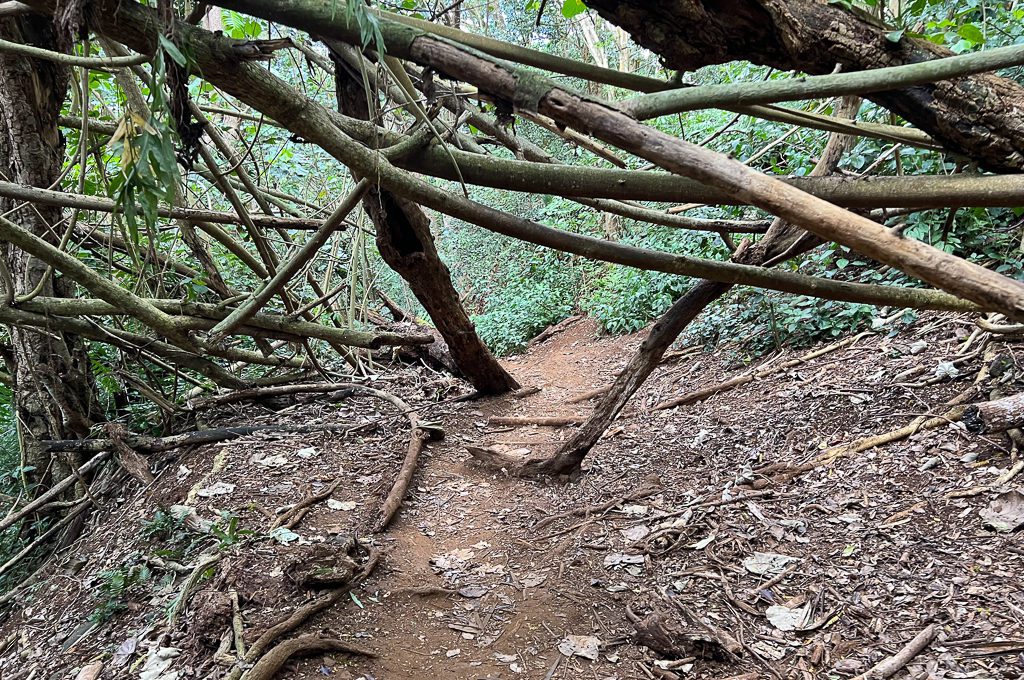
From your entry point you’ll be following the trail down and at about .3 miles you’ll hit the Kapaa Stream.
You’ll hike along the stream so don’t feel the need to get wet and cross it. You might be tempted to get in the water but keep reading below for why that may not be a good idea.
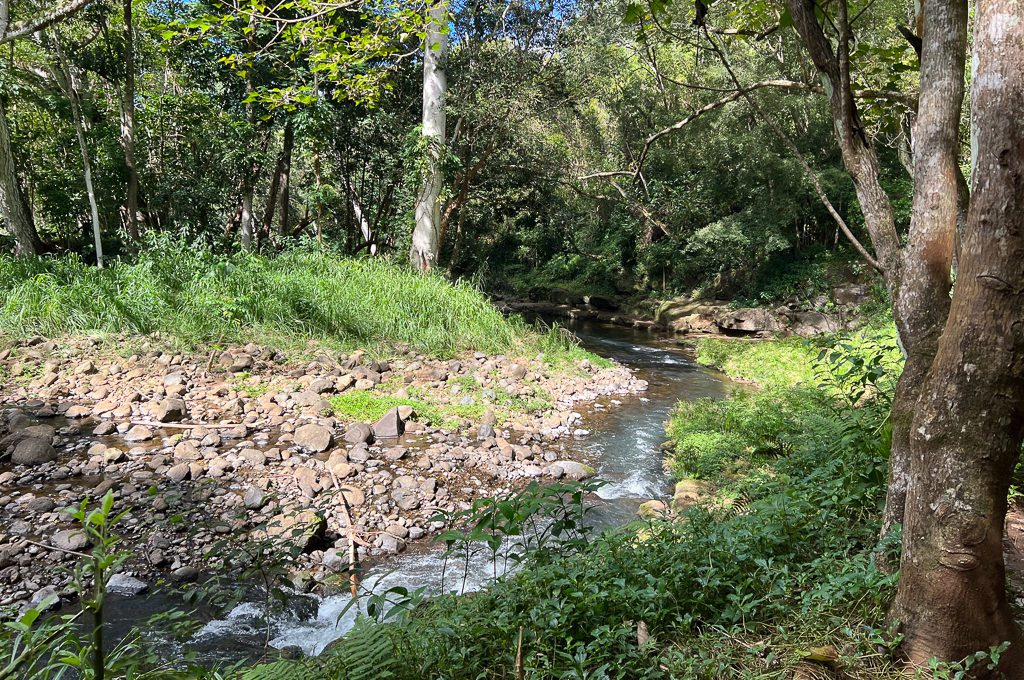
At around half a mile into the hike, you’ll hit the turn-off on the left to the upper falls.
This is a short but somewhat steep descent down to a mini canyon where you’ll find the upper falls. I think this is a popular cliff diving spot but I can’t personally vouch for the water depth level so you want to check it out yourself.
Even if you don’t jump in though, it’s a nice spot to just sit down and relax. Just keep in mind that because these falls are closer to the trailhead, it might be a lot more busy here.
Once you’re back on the trail, you have more beautiful jungle scenery to admire as you stroll through this heavily shaded area. Seriously, I could not get enough of this picturesque jungle vegetation.
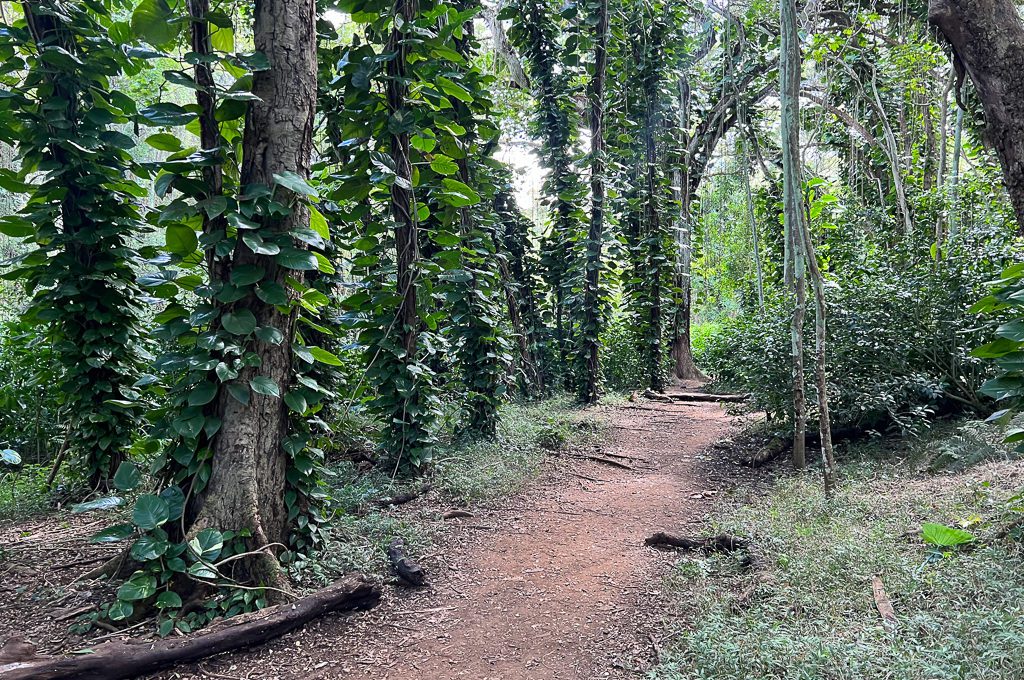
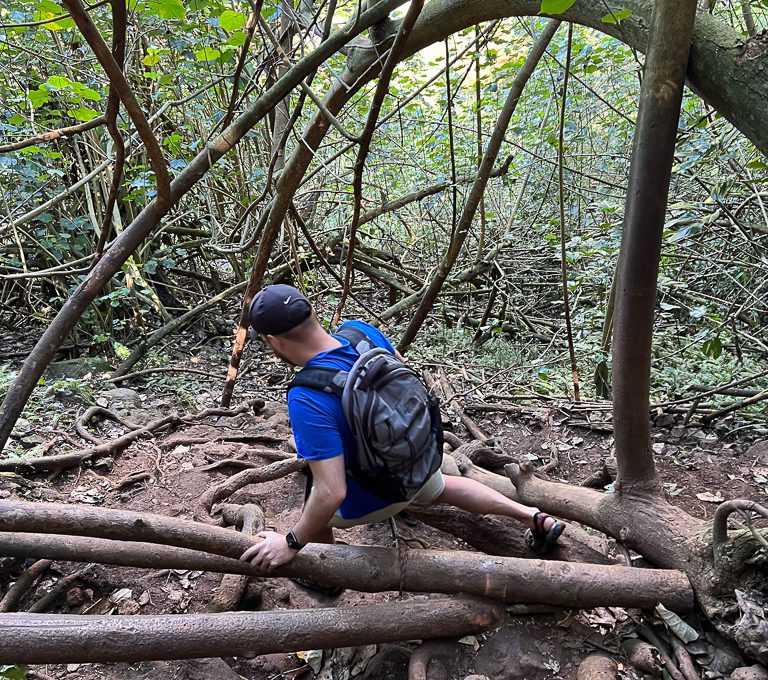
Watch out for all of the roots and hanging branches because it’s very easy to knock into something here.
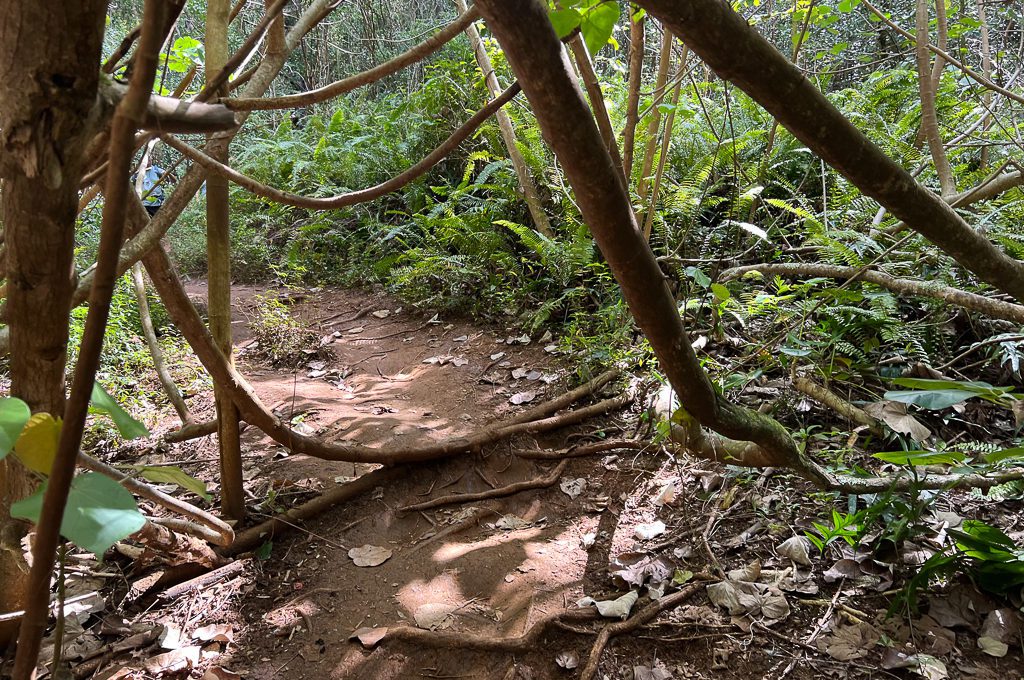
While much of the trail is easy to navigate I would recommend using AllTrails just because it is easy to get turned around in a couple of spots.
You’re not hiking in a very vast area so you will probably find your way back to the trail relatively quickly but just to make things easier, I would use an app to help you navigate.
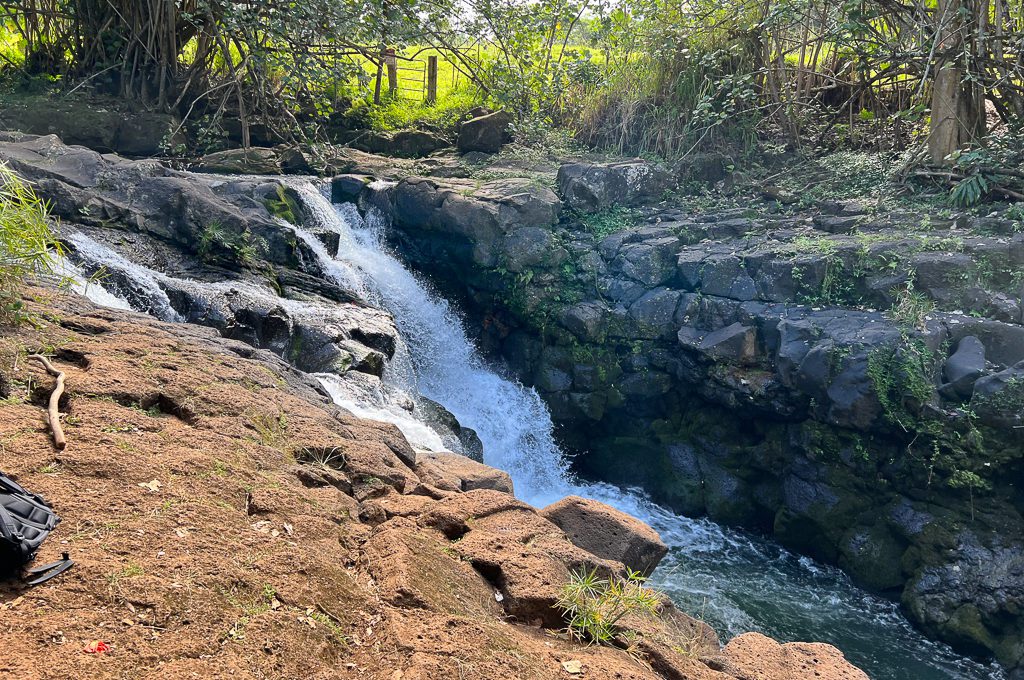
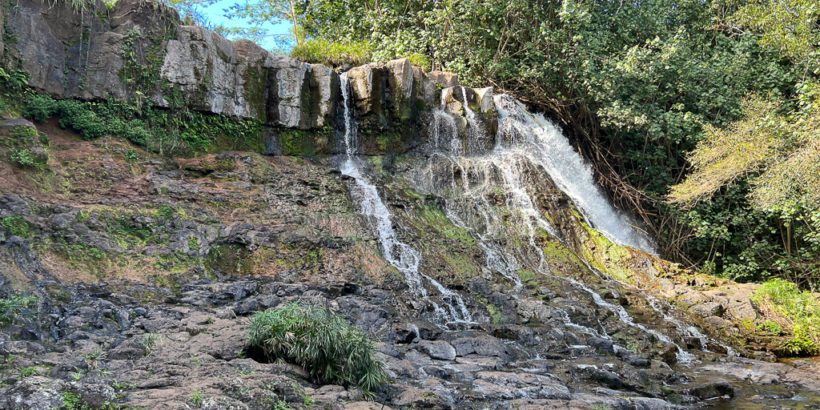
Just over 1 mile into the hike you should arrive at Hoopi Falls.
If you’re looking to get that Jurassic Park scene of the guy coming across the stream you can see that from the top of the waterfall but you’re going to have to continue ahead and scramble down in order to line up the shot. (I’ll explain how to do that below.)
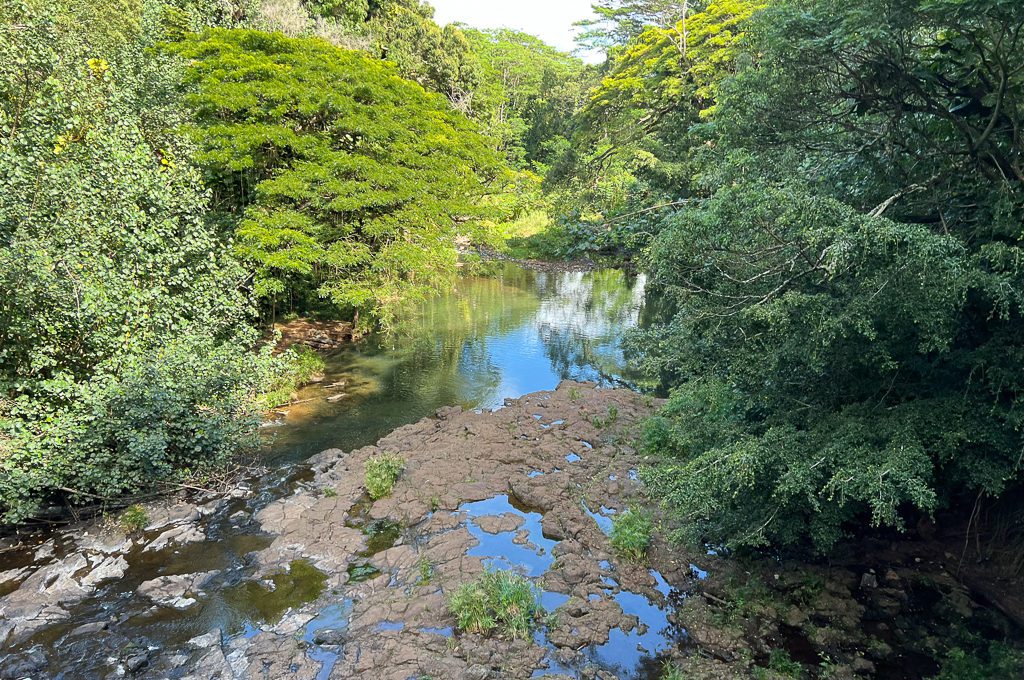
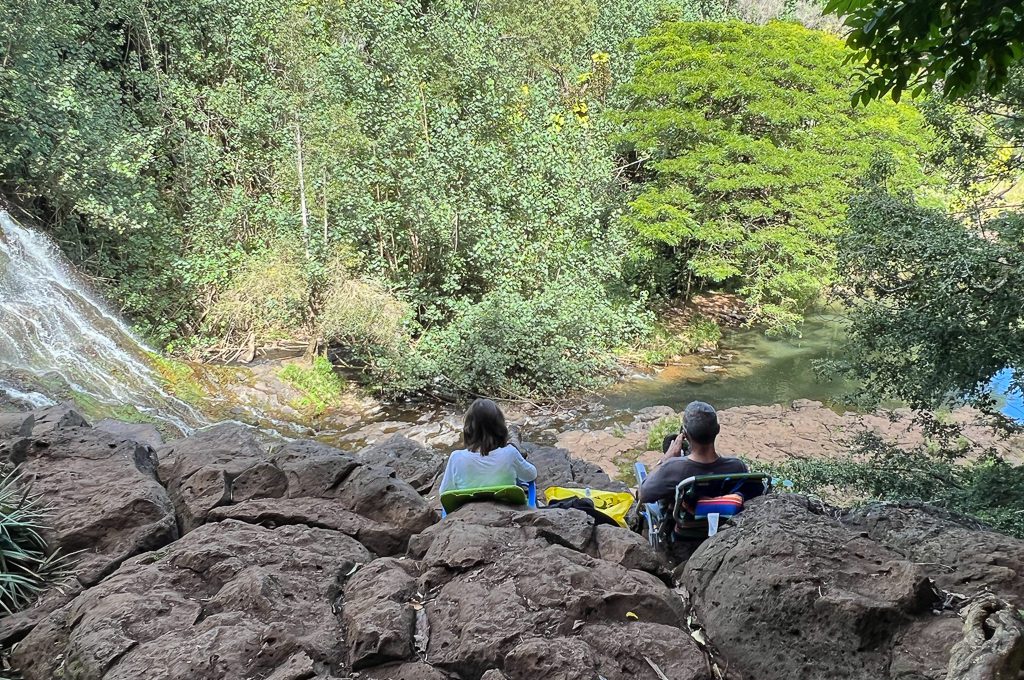
if you’re looking down the waterfall, there’s an area to the right side where you can relax and take in the scenery.
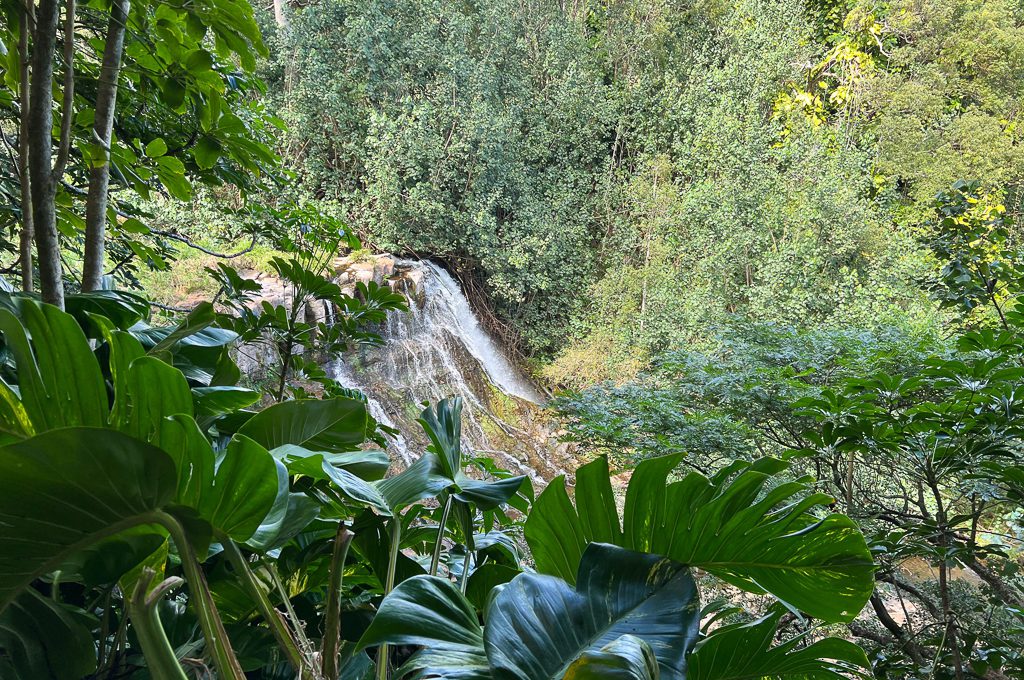
One couple even posted up with reading material and lawn chairs in the perfect position.
As mentioned, if you want to get down to the bottom of the stream you’re going to have to get back on the main trail and proceed a little bit farther down and then scramble to the stream below.
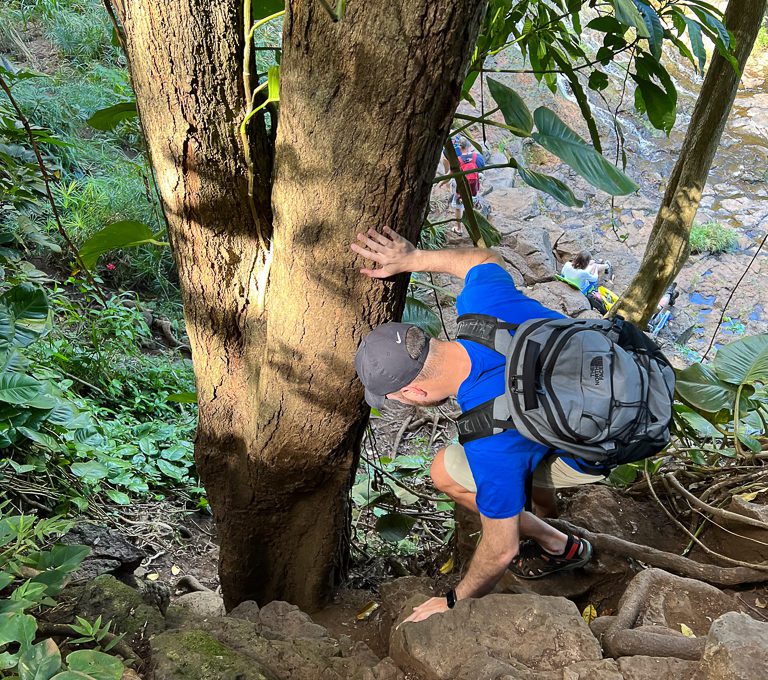
If you’re standing near the top of the waterfall, you can take a shortcut by scrambling up the rocky area pictured below or you can backtrack a little bit to get back on the trail.
(I’m headed back down the shortcut in the picture below.)
Once you’re back on the main trail you go down stream just a little bit (probably a few hundred feet) and then you should see an offshoot of the trail on the left.
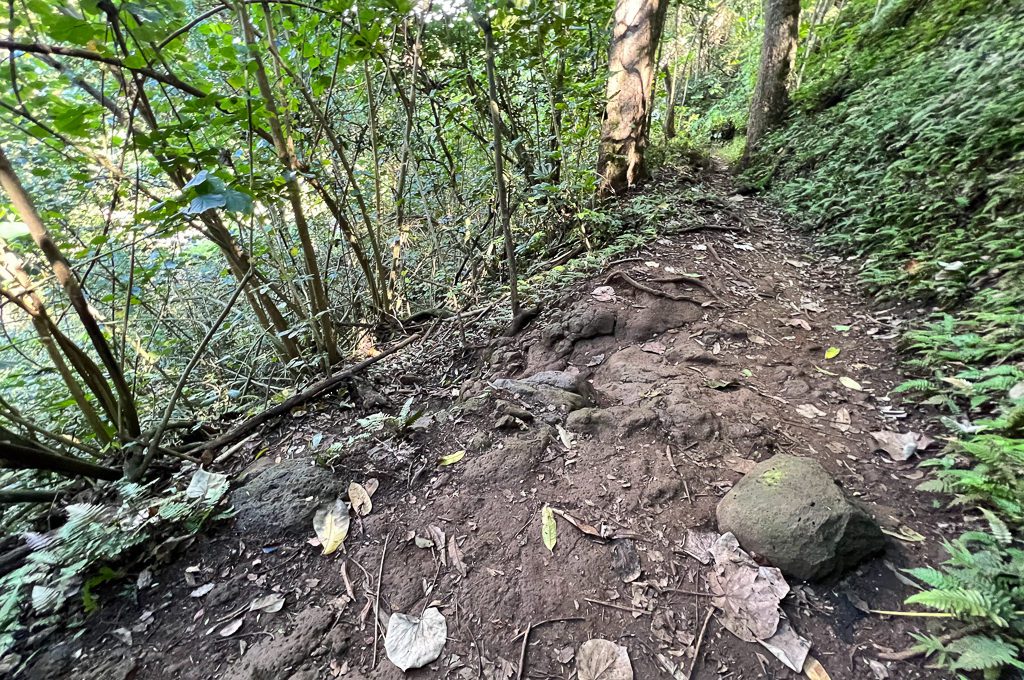
It’s a little bit difficult to detect but you will know you are on the right path if you look down and see some rope tied to the trees to help you get down.
Make sure that you test out the rope before you use it because there is no telling when the last time it was replaced.
You can use the branches and logs to help you get down as well. It’s a pretty steep area and while it is very doable, you just want to take your time.
You’ll head down about 30 feet and then back toward the direction of the waterfall and eventually you will see the trail open up to the rocky area below the falls.
The falls itself is nice although I wouldn’t necessarily rank it as one of the most impressive waterfalls I’ve seen, especially when compared to waterfalls like Jurassic Falls.
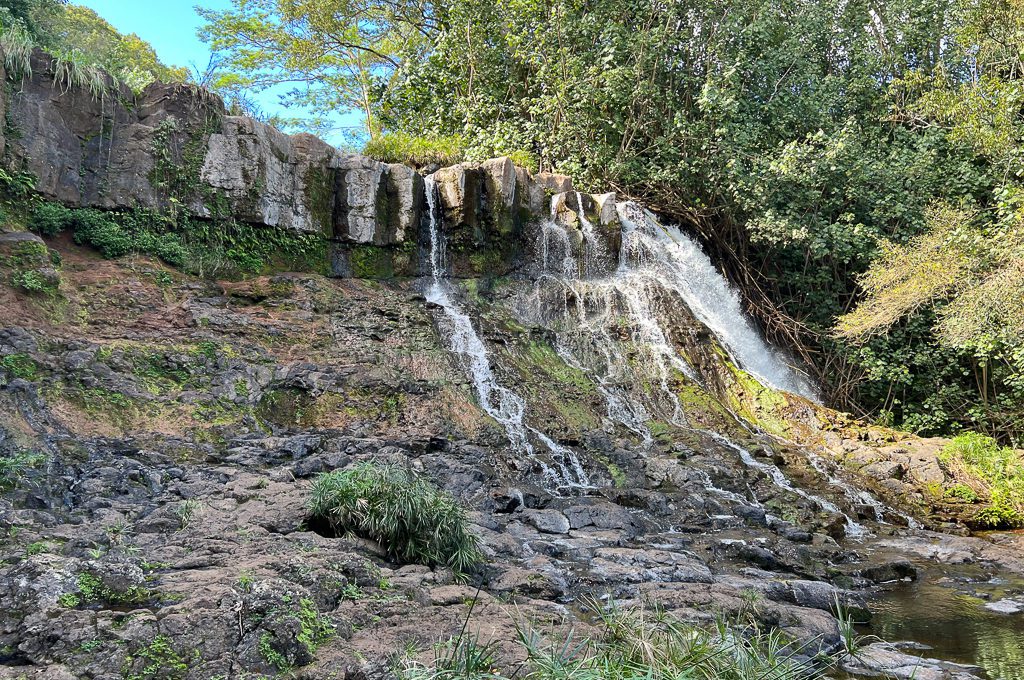
Once you get to the base of the falls, you will be in prime position to line up your Jurassic Park shot!
Towards the beginning of the movie, Donald Gennaro, the lawyer sent to inspect Jurassic Park, is transported across a stream to the Mano De Dios Amber Mine located in the Dominican Republic.
That stream is the stream directly beneath the Hoopi falls.
You’ll be walking across a bunch of rocky pools to get to the edge of the stream, so don’t slip (like the lawyer did in the movie).
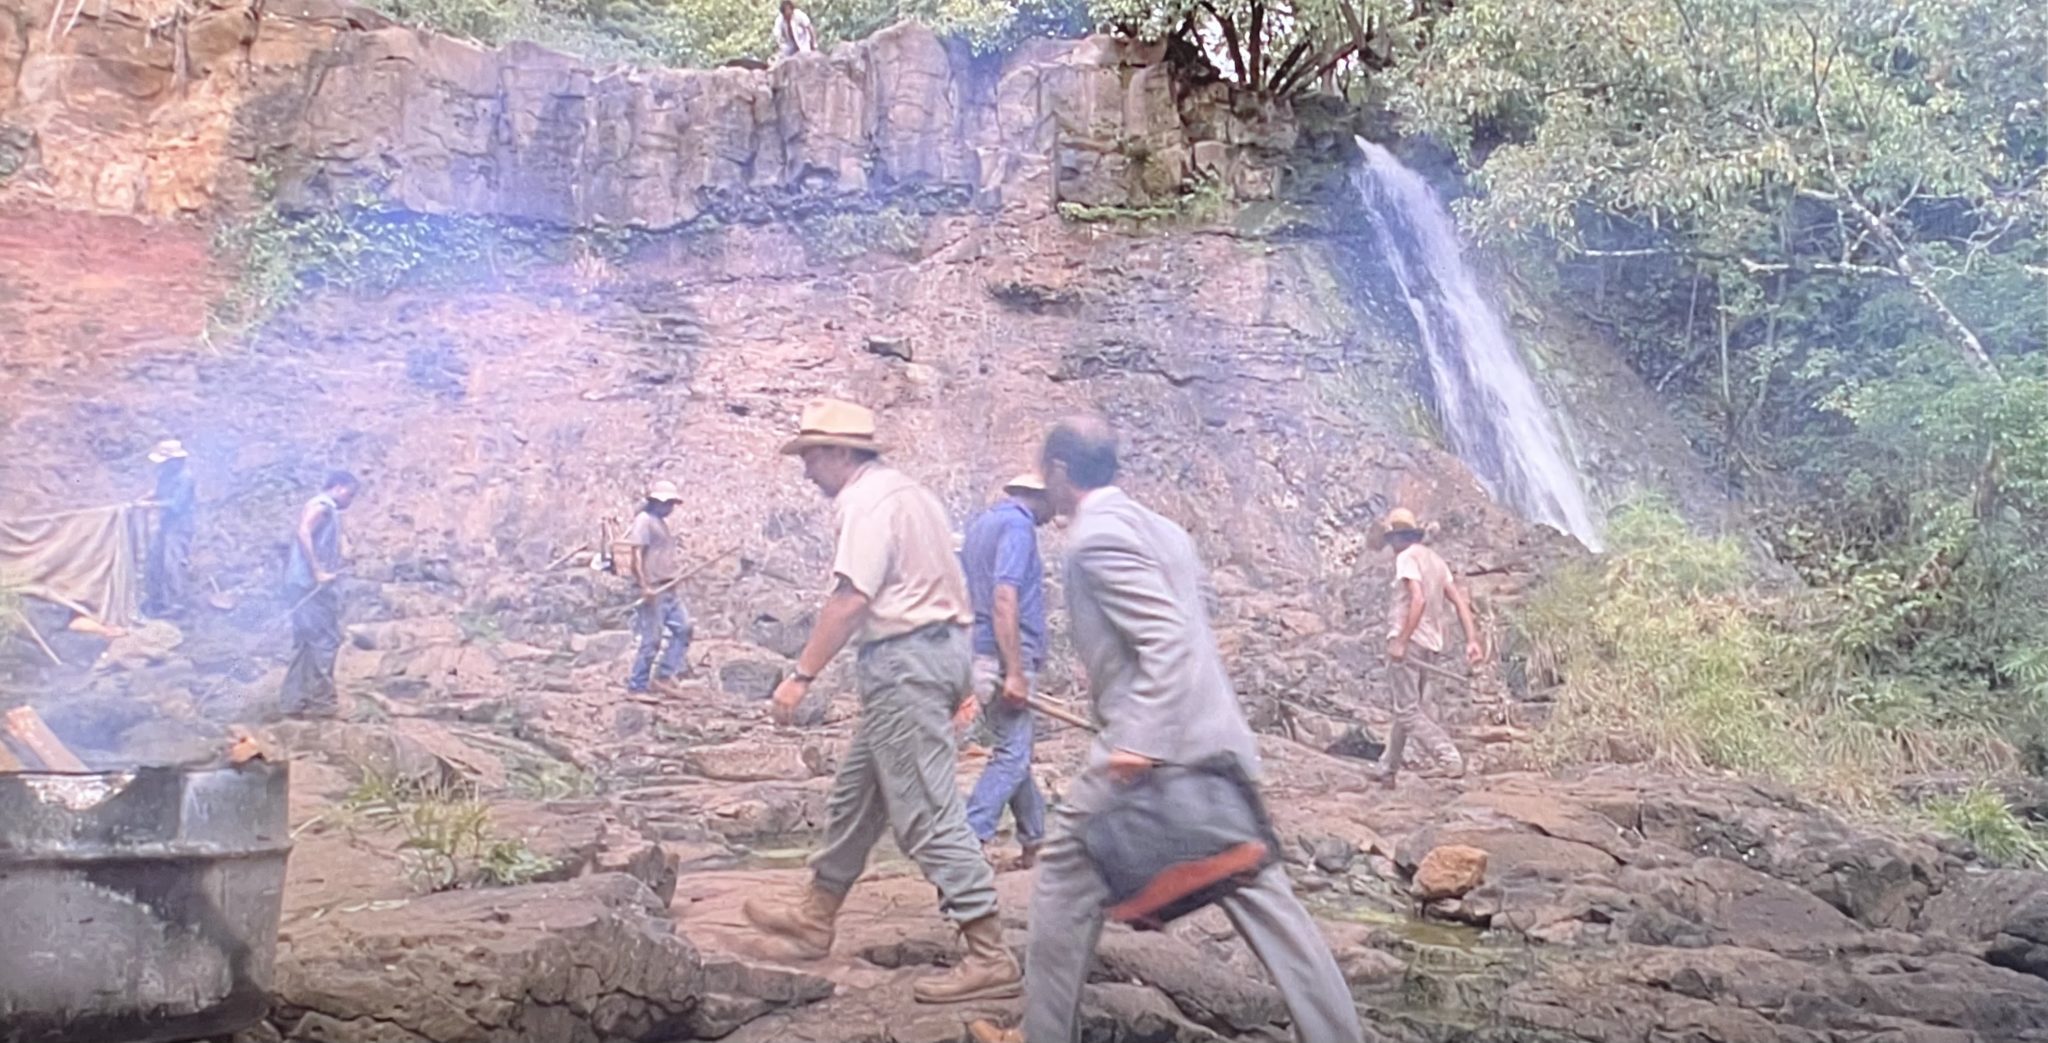
Because the vegetation (and likely the stream bank too) has changed over three decades, it’s a little hard to line up the shot directly but you can get approximately where the filmmakers were at the time they shot it by approaching the edge of the rocky bank.
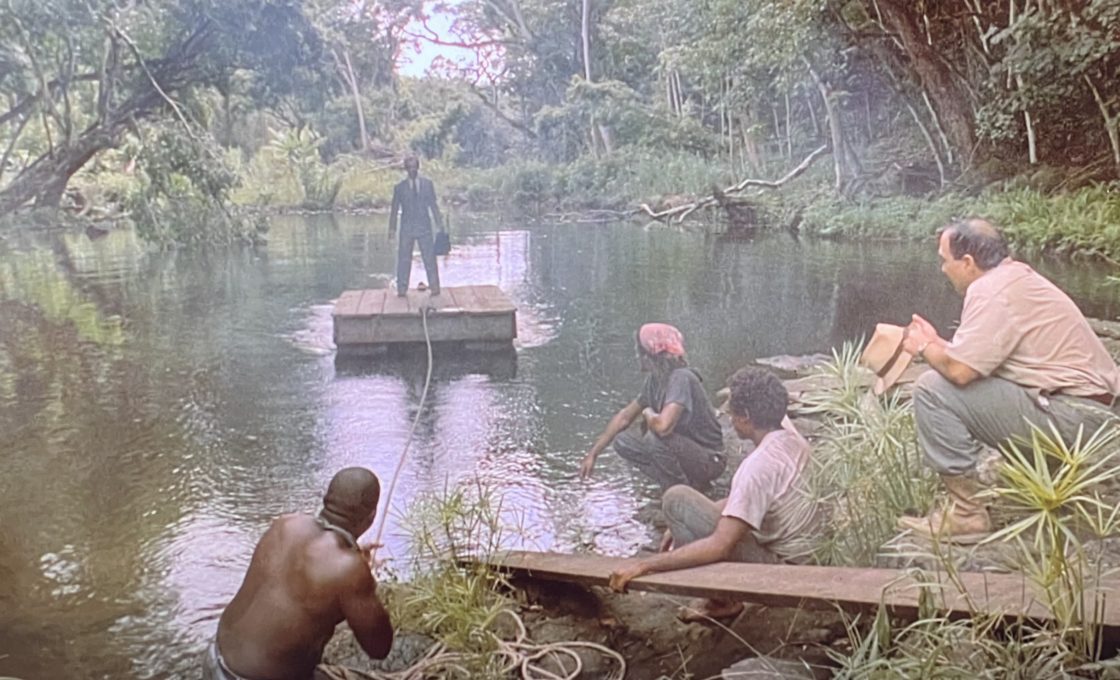
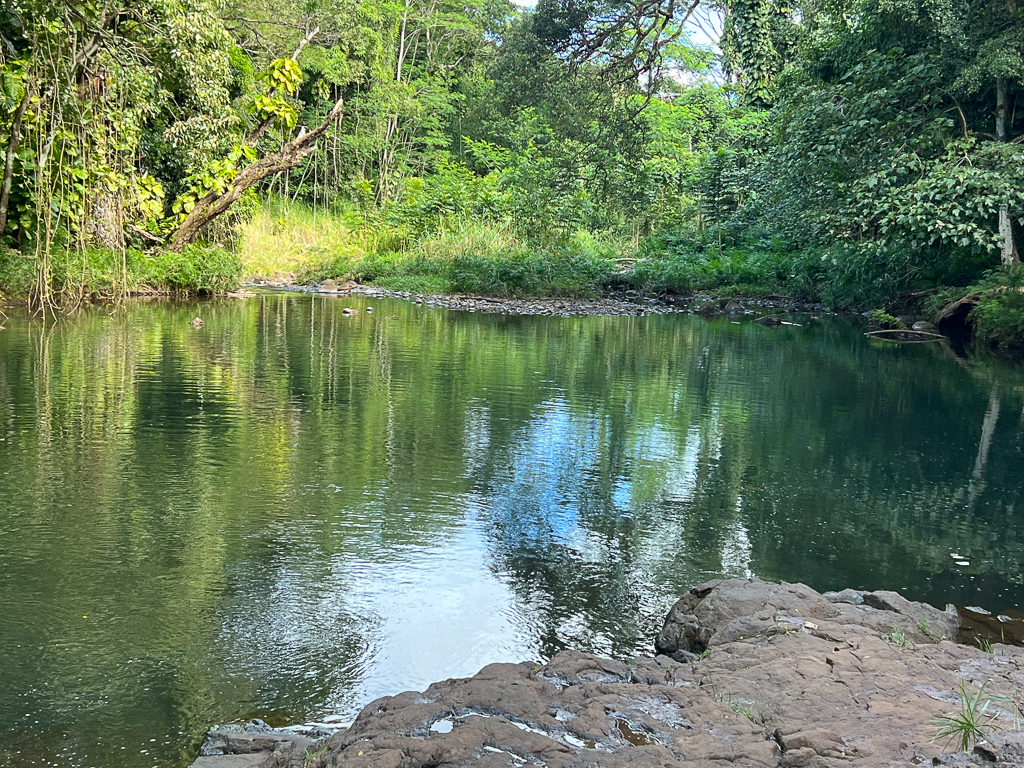
Directly behind the stream is where the amber mine was located.
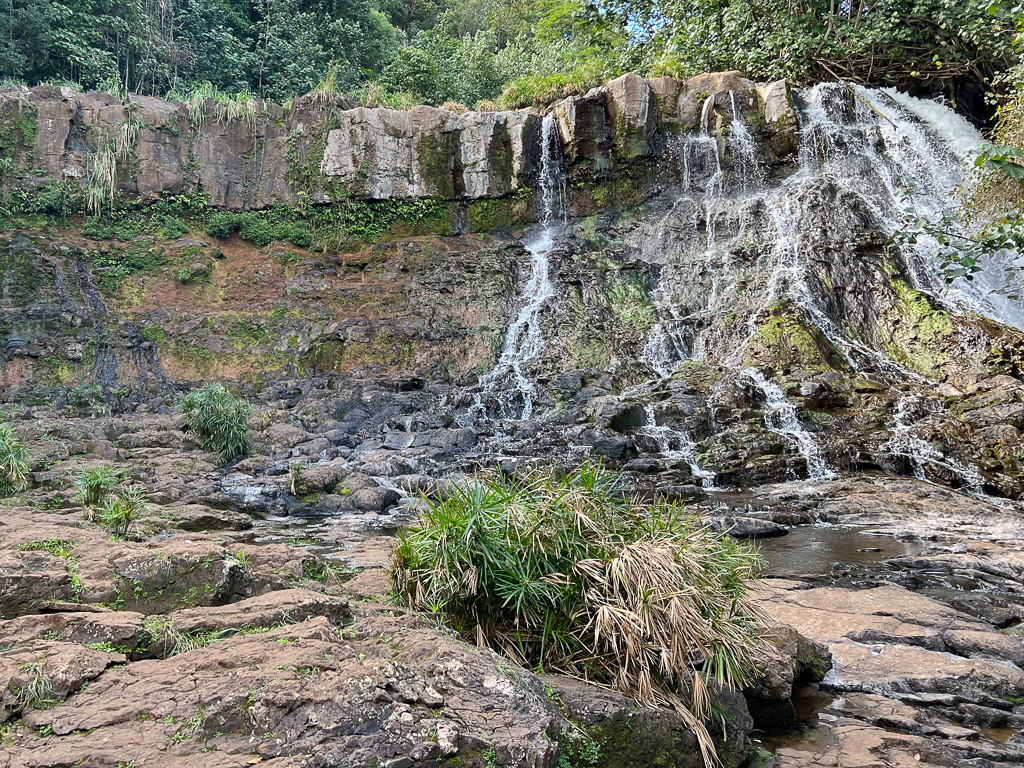
Do you notice that the waterfall on the right does not quite look like the waterfall pictured below?
That’s just because the waterfall flows differently now than it did three decades ago, probably due to erosion or flash floods.
For that reason, it’s a little bit harder to line up this shot but if you focus on the rocks at the top of the ledge, it’s a bit easier to line it up.
Also note that the cave/mine they go into was not really there.
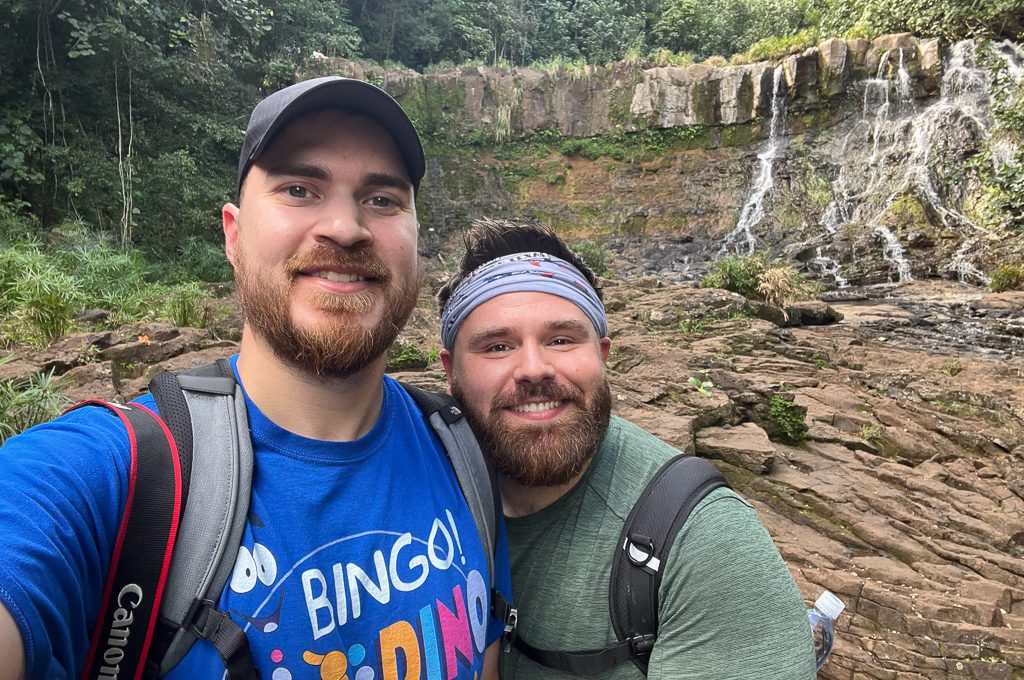
I had to bust out my dino DNA shirt for this one considering this was the spot to find dino DNA!
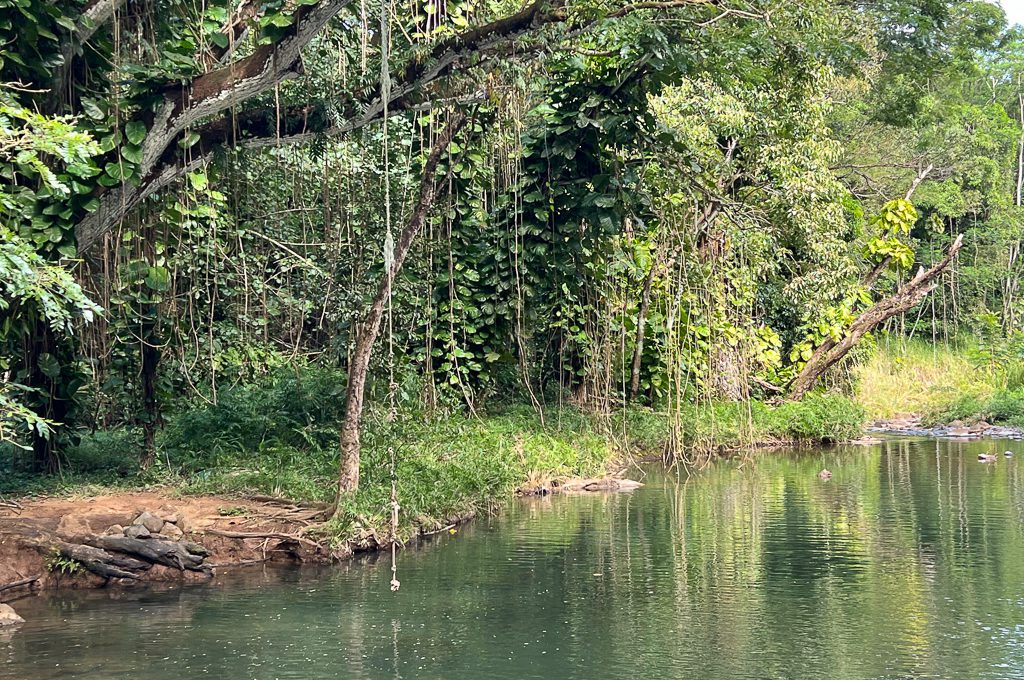
While you are down there you can also check out the rope swing.
Personally, I was very tempted to get into the water but after hearing about the septic tank leaks in the area and all of the potential bacteria in the water, I decided it just was not worth it.
You’ll head back the exact way you came.
Since the elevation gain is only a few hundred feet it’s not that bad going back but again it’s more about navigating the terrain without slipping or banging your head on a branch.
And again I think a GPS would be helpful. We ventured down one of the wrong trails at one point (although I do think that trail probably connected back to the main trail).
Final word
This is a fun shorter hike that is definitely not too strenuous although you need to be ready to deal with some of the steep and potentially slippery jungle terrain.
I’d highly recommend this hike for Jurassic Park fans as you get the check out one of the cool scenes tour the beginning of the movie.
Daniel Gillaspia is the Founder of UponArriving.com and the credit card app, WalletFlo. He is a former attorney turned travel expert covering destinations along with TSA, airline, and hotel policies. Since 2014, his content has been featured in publications such as National Geographic, Smithsonian Magazine, and CNBC. Read my bio.

Visitors: Please respect the lives of local residents living close to Ho’opi’i Falls. Don’t arrive before 8am. Please be quiet. Do NOT park at Kapahi Park and then walk down and back up Kapahi Road. This is not appreciated by residents. It causes more impact in this small neighborhood by causing multiple local dogs to bark. It is annoying. Please be considerate.
Correct parking: Drive halfway down Kapahi Road and park in the long gravel area on your left. There you will easily find the trailhead. Remember, this is a local residential area. You are now within earshot. Please don’t shout, or talk loud. Your voices carry far. Please respect the signs to Be Quiet. You may be on vacation but residents are not.
Understand: There are too many visitors a day coming to this small waterfall. The once green slopes along the trail have been worn down to bare dirt. Inconsiderate visitors have cut new trails where none ever existed. Visitors leave behind water bottles, muddy clothing, shoes and socks. Loud rescue vehicles and helicopters come calling. Would you like this scene in your neighborhood? Show respect for the residents, the greenery, trail, falls, and watershed!
Again – Arrive after 8am. Do not park at Kapahi Park. Be Quiet when you arrive. Just these small considerations will lessen your impact upon residents in this ‘worn out by too many visitors’ neighborhood. Mahalo.