Want to explore Easter Island’s famous Rapa Nui National Park and get captivated by its mysterious allure?
In order to do so, there is a fair amount of information you need to be aware of to make sure that you don’t make a costly mistake or fail to enjoy some of the best sites it has to offer.
Below, I will tell you everything you need to know about visiting Rapa Nui National Park!
Get your Rapa Nui National Park pass
If you want to explore all of the different sites on Easter island’s Rapa Nui National Park you’re going to first need to purchase a Rapa Nui National Park pass which will cost you about 74,500 CLP or about $90 USD. Kids between the ages of seven and 12 get a 50% discount.
If you’re from the US, this price probably seems pretty expensive considering that it is more expensive than the annual national park pass you can get that provides you access to all parks across the country!
The Rapa Nui National Park pass will be good for 10 days from your date of entry.
You can purchase your national park pass online here. (Note: I struggled to purchase the park pass with my mobile device so you may want to try this on a desktop.)
When you purchase your ticket you will need to carefully select your arrival date so that you don’t trigger the pass sooner than necessary. And make sure that you have your passport number handy because you will have to input it.
You can also purchase a park pass in person at the national park building located in the middle of town next to Feria Artesanal.
The drawback is that there could be a long line when you get there (as was the case with us) and they still don’t provide you with a physical map so I would just purchase it online.
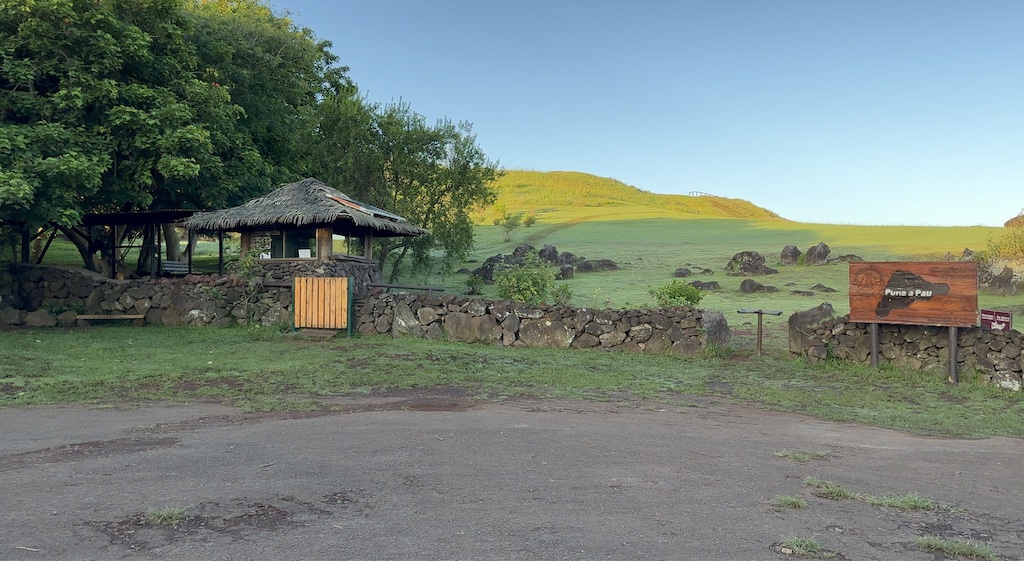
Rapa Nui National Park is not a single region of the island like you would expect a US national park to be. Instead, it is made up of different areas and consists of many checkpoints (like the one pictured below) where you will be asked to show your pass for entry.
That’s usually the case, at least.
Not all of the checkpoints required us to show a pass for each person.
You can print out your national park pass or you can keep it digital on your mobile device and show it. (I would recommend you do both.)
If you go with the digital option, take a screenshot of your park pass and then create a special album on your phone for your park passes. This will make it easy to pull it up since you most likely will not have service.
Related: Guide for getting through Santiago de Chile Airport (SCL) to Rapa Nui/Easter Island
Sites you can only visit once
There are a number of different sites for you to explore but it’s really important to know that you can only visit two of them one time during your stay. These are, as you would probably expect, two of the most popular sites:
- Rano Raraku (the quarry where they made most of the Moai)
- ORongo (the historic Village were participants of the Birdman competition lived)
I believe that if you purchase a second park pass, you can get entry into these a second time.
Also, I’m not sure exactly how they enforce this single-entry rule because at the checkpoints they simply were taking a photo of the QR codes of our pass, so it sounds like this is sort of an honor system thing since the scanning is not real time.
Bring your passport
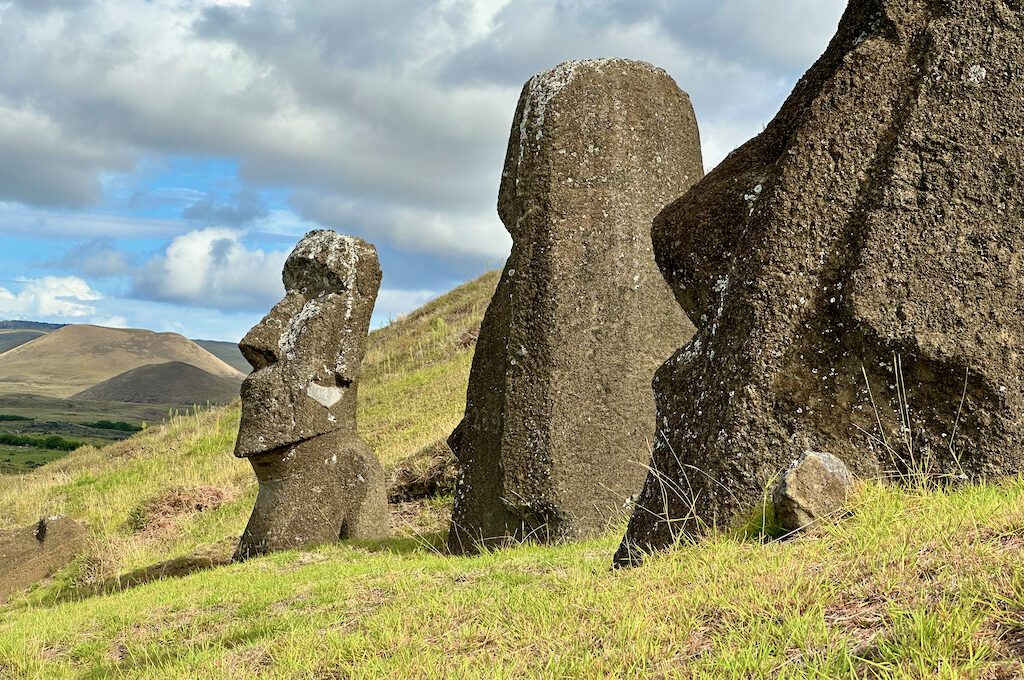
Some of the checkpoints will require you to show your passport while others will not. Also, some of the checkpoints that do require passports don’t always ask for them.
It’s a bit of a nuisance to carry around your passport and constantly retrieve it because it is just asking for you to accidentally misplace it but if you want to visit all of the sites you will need to carry it with you.
Get familiar with the different open hours
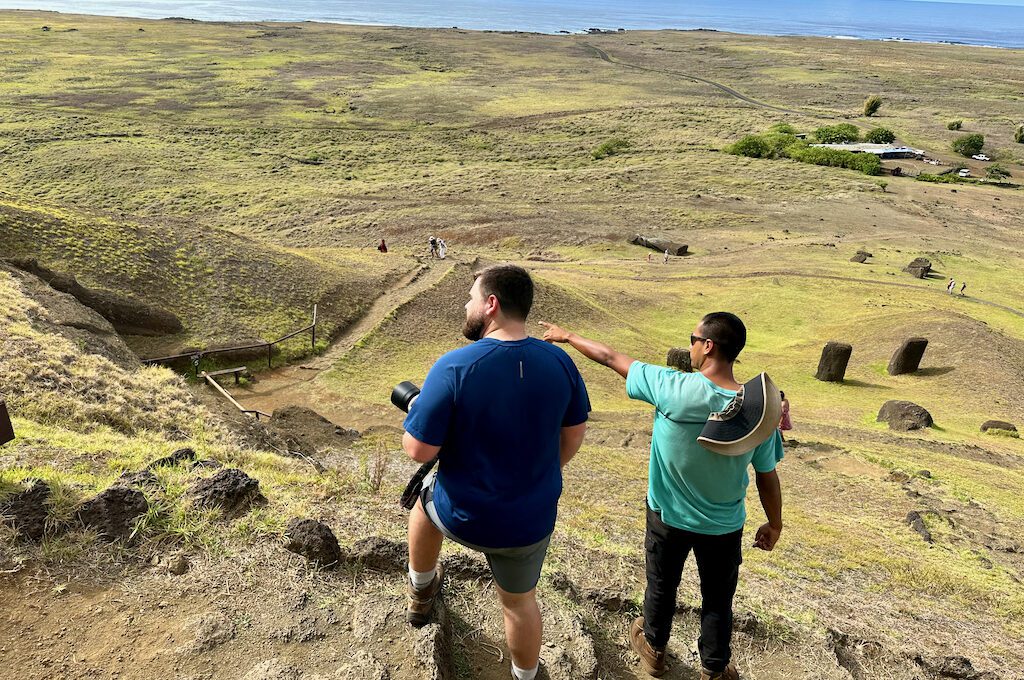
Most of the Rapa Nui National Park sites are open from about 9AM to 5:30 PM. For lots of people, 9AM is actually pretty late for national park open times which limits the time you can spend exploring with cool temps during hotter months.
However, sometimes the hours can vary.
For example, at the popular sunrise spot Ahu Tongariki, they might open the gate at 6 AM depending on whenever the person stationed at the checkpoint wakes up. (Sometimes it’s just a matter of someone knocking on the window of the checkpoint to wake them from their slumber.)
Some places also might have earlier open hours around 7AM.
And finally, it’s not always clear that access is not allowed even during off hours.
We wanted to do a hike to Tere vaka so we arrived at one of the checkpoints, Ahu A kivi, during the early hours before the checkpoint was open and proceeded to make our way to the trailhead.
Multiple guides told us that this would be okay but it did still feel like we were trespassing and like we might have to deal with some type of confrontation. So the boundaries are not always so clear.
Secure a (quality) guide/local
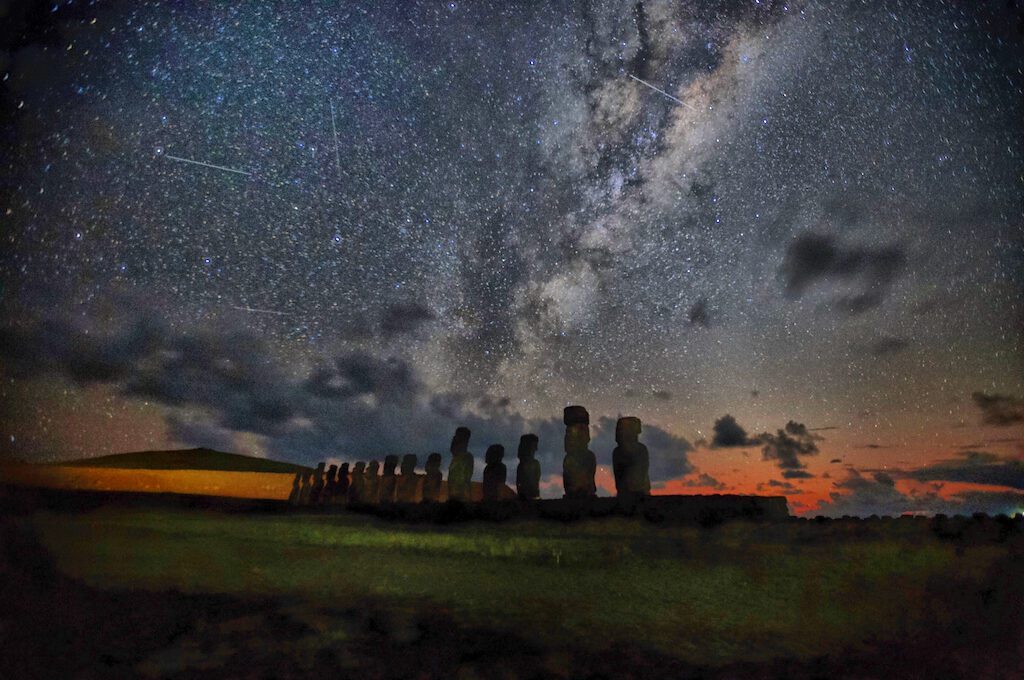
After Easter Island closed down for over two years during the pandemic, they re-opened with a new policy that requires you to be accompanied with a guide or local host for virtually all sites.
This, in my opinion is one of the biggest drawbacks of visiting Easter island. It’s understandable that they want to prevent damage to sites and yes some tourists are idiots but this makes visiting everything a lot more challenging.
The reason is that you cannot visit all of the sites that require a guide in one day so if you want to see everything (and not be rushed) you will have to tether yourself to a guide for at least two to three days.
That means that you have to pay for a guide which starts to add up in cost pretty quickly. If you wanted a private guide for two people for a full day, you’re looking at about $200 USD.
Also, if you are like us and enjoy traveling on your own this means that you will be forced to have someone join in with you for a substantial part of your trip. Something that sort of dampens the fun for more independent-oriented explorers.
You can search for accredited guides here and filter by things like language and nationality.
My advice would be to do some research or speak with your hotel reps to find a quality guide.
There is a lot of mystery on this island and you will undoubtedly find yourself wondering all sorts of questions as you explore these places.
Since you are required to have a guide, you might as well make sure that they are proficient in the language that you speak and that they really know what they are talking about.
Because this guide requirement is relatively new, there are lots of new guides that may not be so experienced and that can lead to an underwhelming experience. There’s nothing worse than feeling like you are more knowledgeable than your guide!
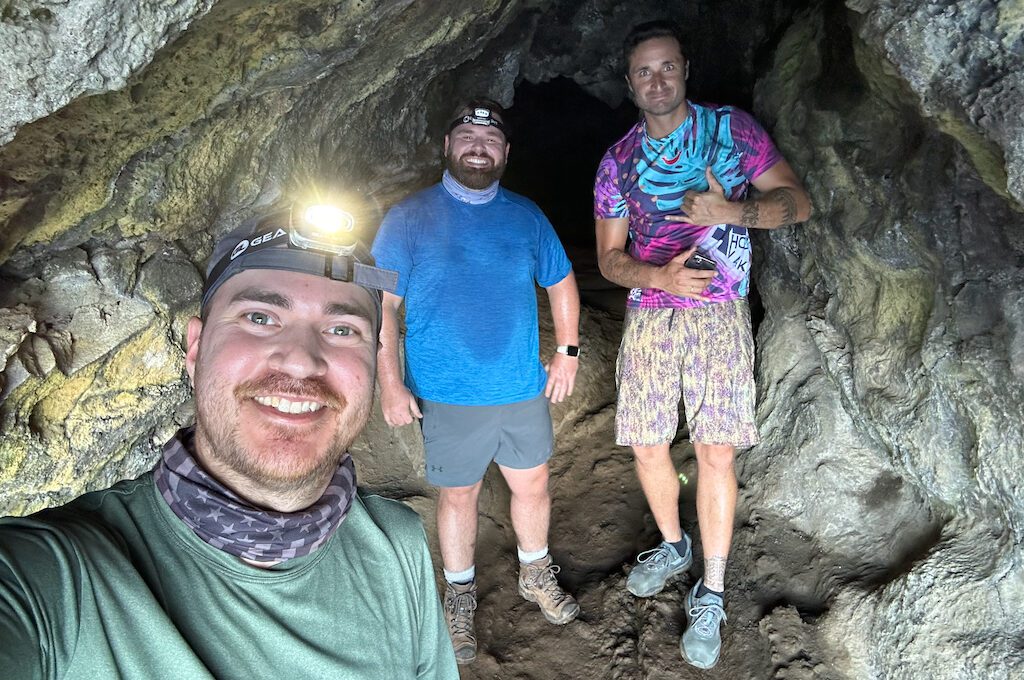
Figure out your itinerary
Related to the point above, you really want to spend some time figuring out your itinerary to make sure that you can see everything while you have a guide.
Easter Island can be a difficult place to communicate with people before you arrive.
In the weeks leading up to our visit, I had many different email threads that were never completed due to the other person not responding. So you might find it difficult to put together an itinerary that works with a potential guide.
One thing you can do when you arrive is go to the Tourism Information Office (SERNATUR) and pick up one of the maps or print out a map from the national park site.
Then, visually confirm with your guide all of the sites that you will be seeing so that you can start checking them off and making sure that you don’t forget about any of the key sites.
One thing: some of the guides will take you to sites that do not require a guide. While there are not many of those, you may want to avoid doing that because you can always check those out on your own, especially if you rent a car.
For example, you need a guide to see the Moai near the beach of Anakkena but you don’t need a guide to visit the beach itself. So I would recommend you to NOT spend time at the beach with your guide if you are trying to be efficient.
Time with your guide is precious so don’t “waste it” on sites where they are not required unless you know you will have ample time with them!
And finally, some guides will drive your rental car for you. Other times they will have a vehicle to take you around in. Make sure you always have clarification on that.
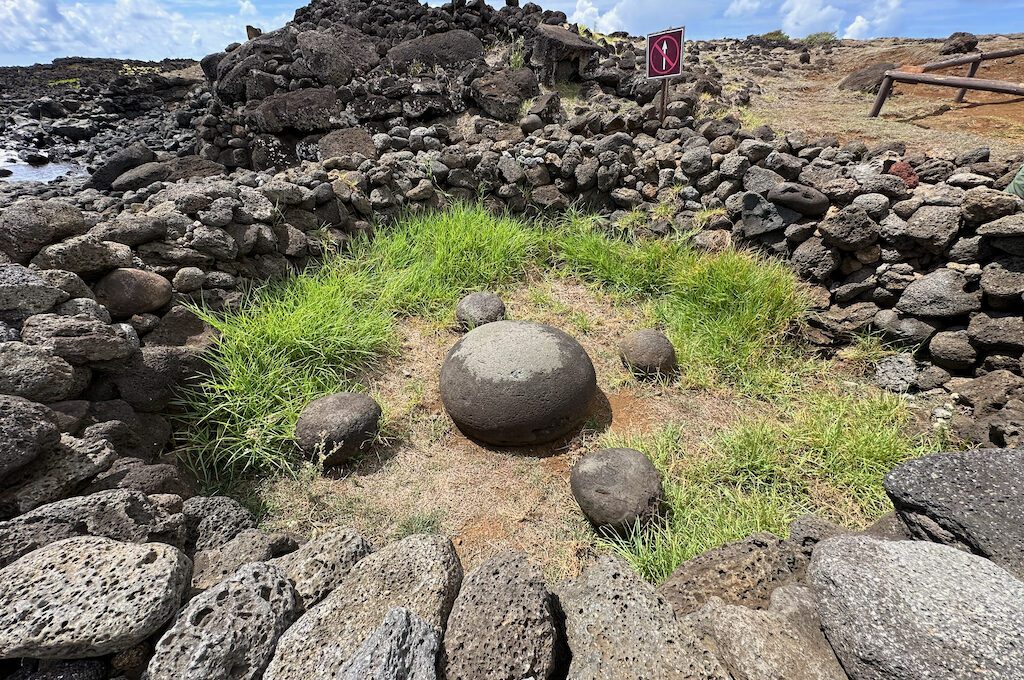
Be aware of the rules
You need to keep a safe distance from the ceremonial platforms (ahu), statues (moai), and petroglyphs (rock carvings).
Typically, you will see signs or rock borders that indicate as far as you can go. Sometimes these blend in with the terrain so you need to be very mindful anytime you approach the ahu. Err on the side of caution.
Avoid standing or sitting on these borders because this has led to confrontations in the past.
Also, do not touch the moai or any other archaeological sculptures, no matter how tempting it may be. They will consider that to be “damaging” the object which can get you in criminal trouble.
And remember that you are not allowed to take things like sand, stones, obsidians, or any other similar goods from the island.
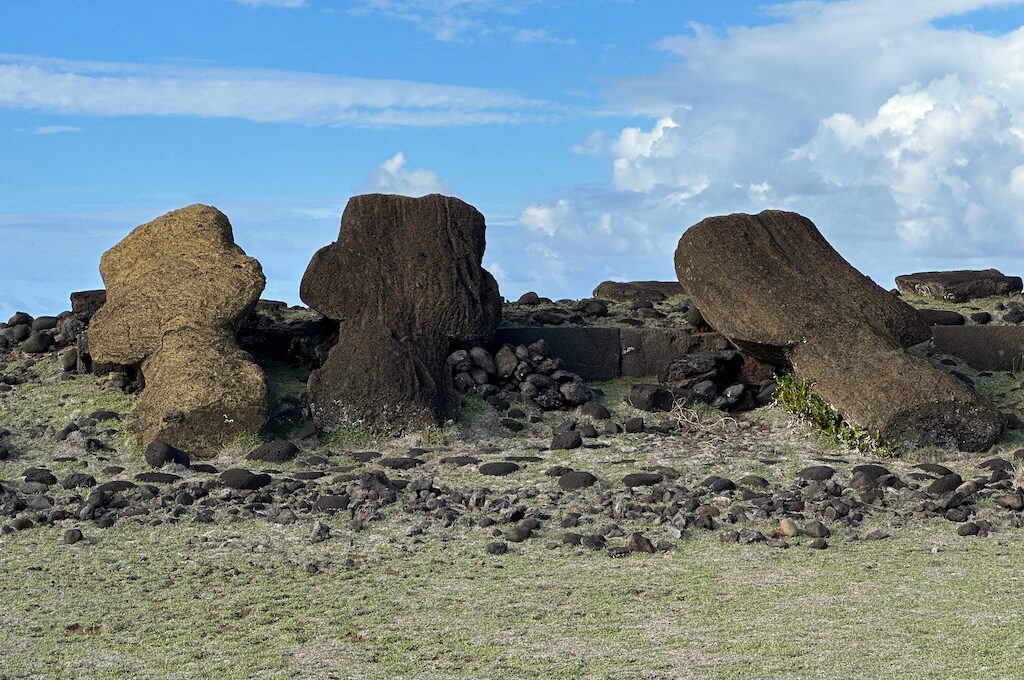
Final word
Easter Island’s Rapa Nui National Park is an incredible place to explore. The overwhelming sense of mystery is a huge draw and you will likely leave with more questions than answers after your visit.
But it’s also a place that requires a good amount of planning if you want to see it all in a cost efficient way.
Daniel Gillaspia is the Founder of UponArriving.com and the credit card app, WalletFlo. He is a former attorney turned travel expert covering destinations along with TSA, airline, and hotel policies. Since 2014, his content has been featured in publications such as National Geographic, Smithsonian Magazine, and CNBC. Read my bio.

Good Afternoon Daniel,
You mentioned in your article that you had an “awesome” guide. Would you please advise who you used? Also, how many days were you with him. And what was the cost? Any other insights/information is appreciated.
Thank you,
John