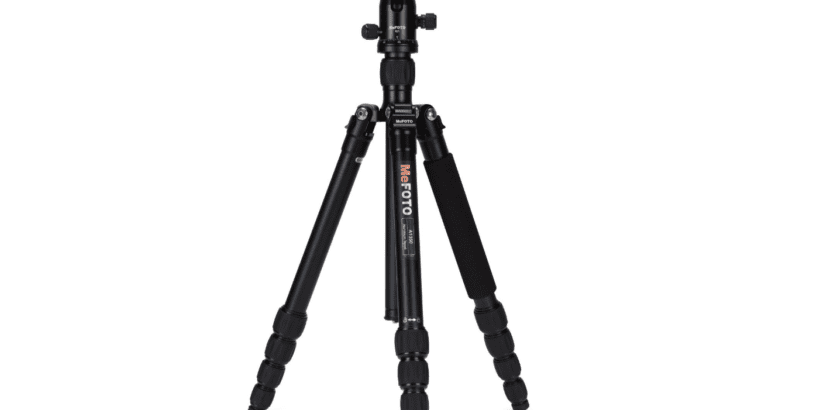
I’ve gone through many tripods over the past few years on my quest to find the best. After cycling through a number of cheap tripods, I decided it was time to invest a little bit more money and go with a well-reviewed tripod. So I bought the MeFOTO Aluminum Roadtrip Travel Tripod and I have not regretted it for a second. It’s light, compact, yet still sturdy enough for many of my slow-shutter shots and it’s gets the job done quite well. Here’s my review of what I believe is the best travel tripod.

The specifications
The build
- This is a very compact tripod but the build and all of the features feel very high quality. The aluminum and the rubber grips and spikes just feel like they’re solid and built to last. Also all of the legs stretch out and fold over and lock/unlock smoothly like you’d expect a well designed product to do. I firmly believe that you can sniff out a pretender just by playing around with the features and to me the MeFOTO instantly feels like a winner when you get it in your hands.
Weight
- The tripod only weighs 3.6 pounds. I absolutely love how lightweight this tripod is and the weight alone has made my travels so much easier.
Maximum weight it supports
- The maximum weight is 17.6 pounds.
Dimensions
- It can be as compact as 15.4 x 3 x 3 inches. (You get the tripod that compact by folding in its legs in the reverse.) Having a legit tripod tripod that can fold down into 15.4 inches is an absolute asset that makes traveling with it very practical and headache free.
Maximum height
- It can be extended all the way to 61.6 inches which I’ve only done a couple of times. I recommend using it at heights closer to 50 inches when using a heavy duty DSLR and lens. I’ve extended out the tripod to about 50 inches with my Canon 6D mounted several times and head great results — I’d just be careful about image blur on very window or vibrating surfaces when extending it our farther. With smaller cameras, I don’t think you’d ever have an issue. (I’ve also not used the spring loaded recessed hook, located in the bottom of the center-column, that allows you to hang additional weight from the tripod’s center of gravity for increased stability.)
Ballhead
- It comes with a precision matched “Q series ballhead, Arca-Swiss style compatibility quick release plate and integral bubble level to prevent uneven pans and head movements.” I’m not familiar with the different types of ballheads but I do find adjusting the ballhead on this tripod to be simple. It’s not hard to lock in the position you’re aiming for and it’s also easy to operate the quick-release.
Monopod
- Interestingly, you can convert the tripod into a monopod. I haven’t had the need to do that ever so I can’t comment on actually using that function but it is pretty cool to have that feature. To assemble it, you simply unscrew in the leg with the added pad on it (that has a monopod marking) and screw it into the center after taking out the spring loaded recessed hook. It’s very simple.
The legs
- The legs are “twist lock legs with anti-rotation system, paired with rubberized locking grips and enable fast and fumble-free set-up plus weather and dust resistance.” I like how easy they are to grip and manipulate to get your tripod at the height you want it to be. And so far, I haven’t had issues with weather causing any problems or erosiveness on any of the joints. They also are great for photographing on uneven surfaces as the legs angle out to whichever position you need them to be in.
Colors
The tripod comes in a number of different colors.
- Black, blue, gold, green, orange, purple, red or titanium.
Case
- Comes with a carry case for transport and protection.
Warranty
- Backed by MeFOTO’s 5 year warranty: 2 years at purchase + 3 years after registration.
Issues I needed addressed
When I began searching for a tripod, I had a few issues that I needed to address.
When it came to packing for flights, I pretty much had to store my old tripod in my stored luggage. I tried bringing it through security once and while they let me go through with it, they made an ordeal about it being so big. I don’t like causing scenes at airports so I had to figure out an alternative solution.
The other issue was bringing it with me when hiking. The size and weight of my old tripod would make it a burden to try to bring it with me on long hikes. That, and it wouldn’t fit into any of my bags without it protruding out the top. On really long hikes, that extra weight really added up and always tempted me to just leave the tripod at home.
Finally, just bring it on subways, busses, and other modes of public transportation was a hassle. I felt like it was always in the way and it was too big to stuff in my backpack so I always felt like it made me a target when we ventured out in some places, especially at night.
Issues resolved
All three of these issues were easily resolved with the MeFOTO Aluminum Roadtrip Travel Tripod.
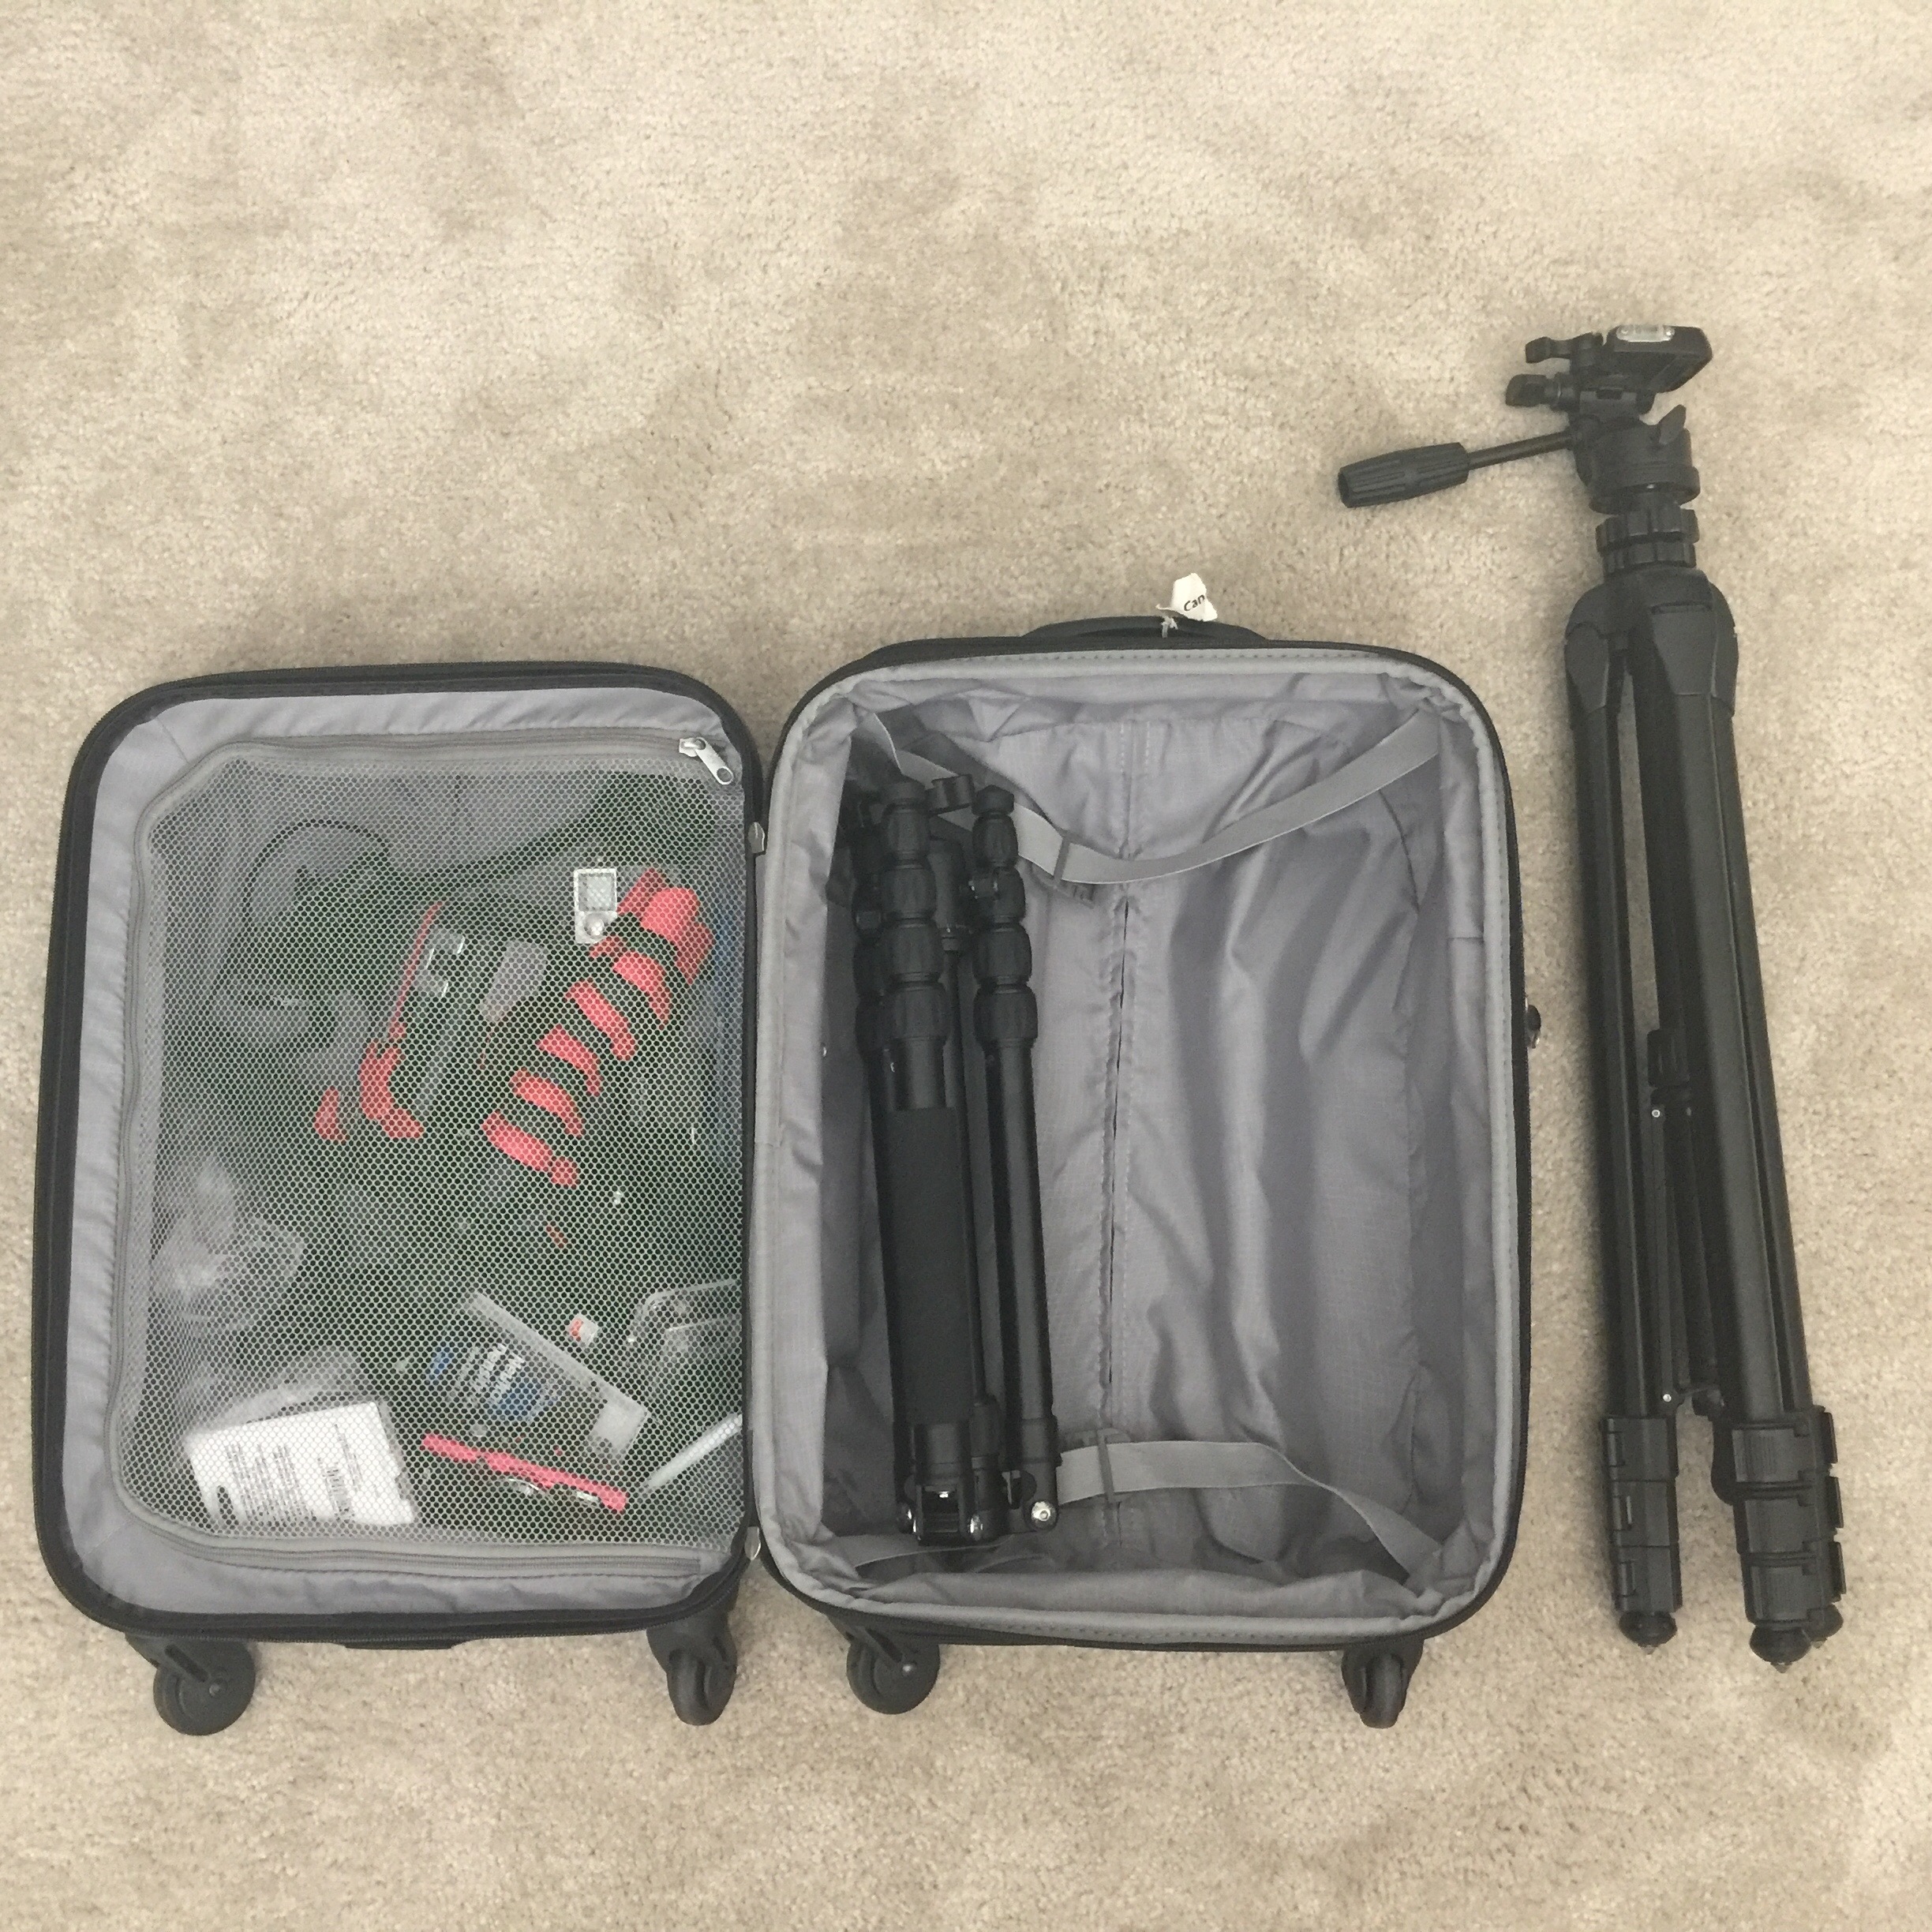
With the MeFOTO, I don’t have to think twice about taking it with me on a plane. It can easily fit into my backpack or carry-on bag (as seen above). I’ve gone through the airport security probably 30 times with this tripod in my bag and I’ve never encountered an issue. I’ve seen other MeFOTO users even attach the tripod to the outside of their backpacks when going through security, which seems like a good option if you want to save space or only have one bag.
As stated, the tripod only weighs 3.6 pounds and can be as compact as 15.4 x 3 x 3 inches. That’s very compact and pretty lightweight, too. Now, when it comes to trekking through a city or even hiking the weight and size of the tripod is a complete non-issue. If there’s even a chance I might be using it I bring it out with me which is in stark contrast to the attitude I had towards my much larger and heavier tripod before.
Slow-shutter capabilities
While I needed a travel tripod that was easy to carry around I also needed it to allow me to take superb slow-shutter photographs. This is my favorite way to photograph at times and so I needed a tripod I could actually trust.
I read through the reviews of a lot of light travel tripods that could do okay with slow-shutters but only for around 5 to 10 seconds. I sometimes use up to 30 second exposures, so that wouldn’t fly for me. Luckily, the MeFoto came through. Here are some real-life samples of me using the MeFoto tripod for slow shutter photographs.
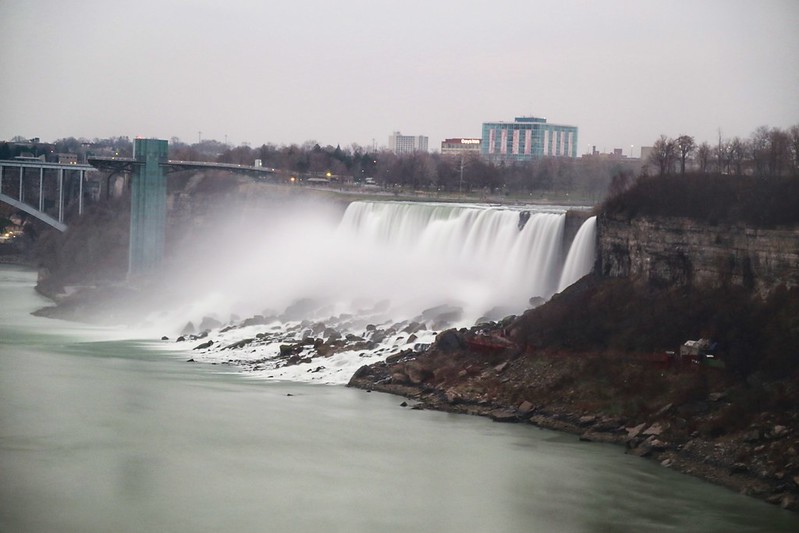
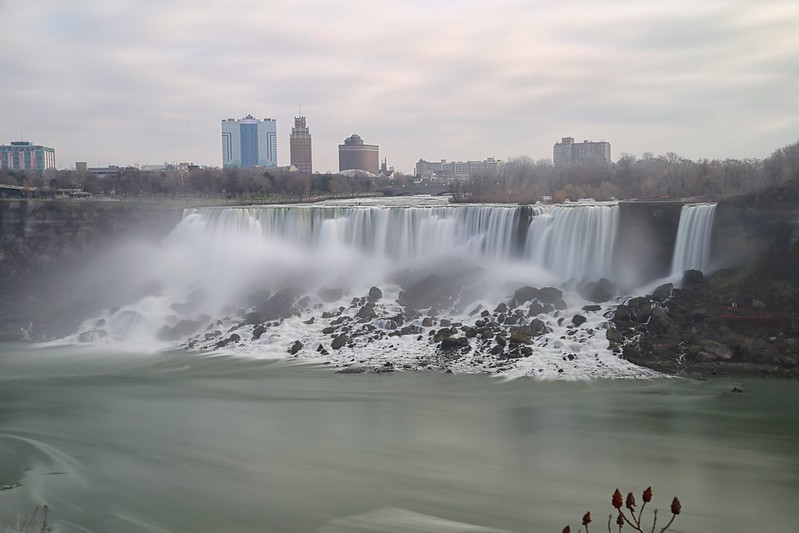
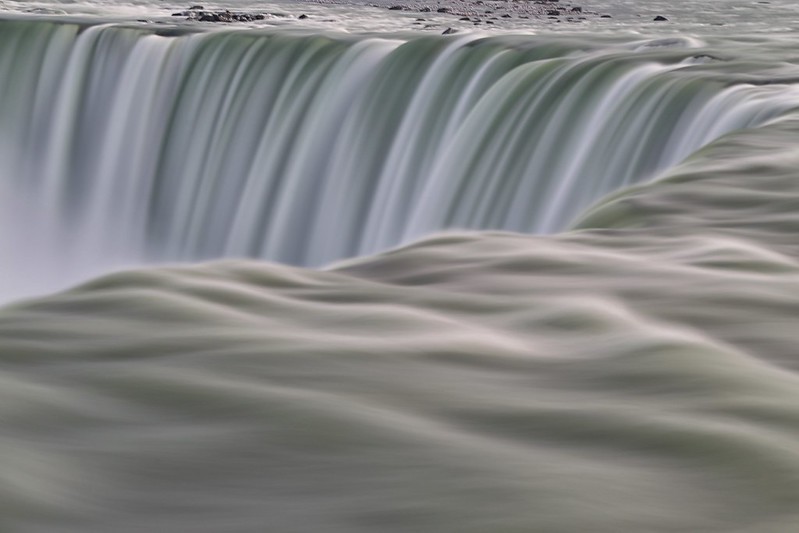
Photographing at Niagara Falls
This photo was taken at Niagara Falls. I used full 30 second exposures on a a very windy winter day at the falls. Despite the wind, the photographs still came out okay.

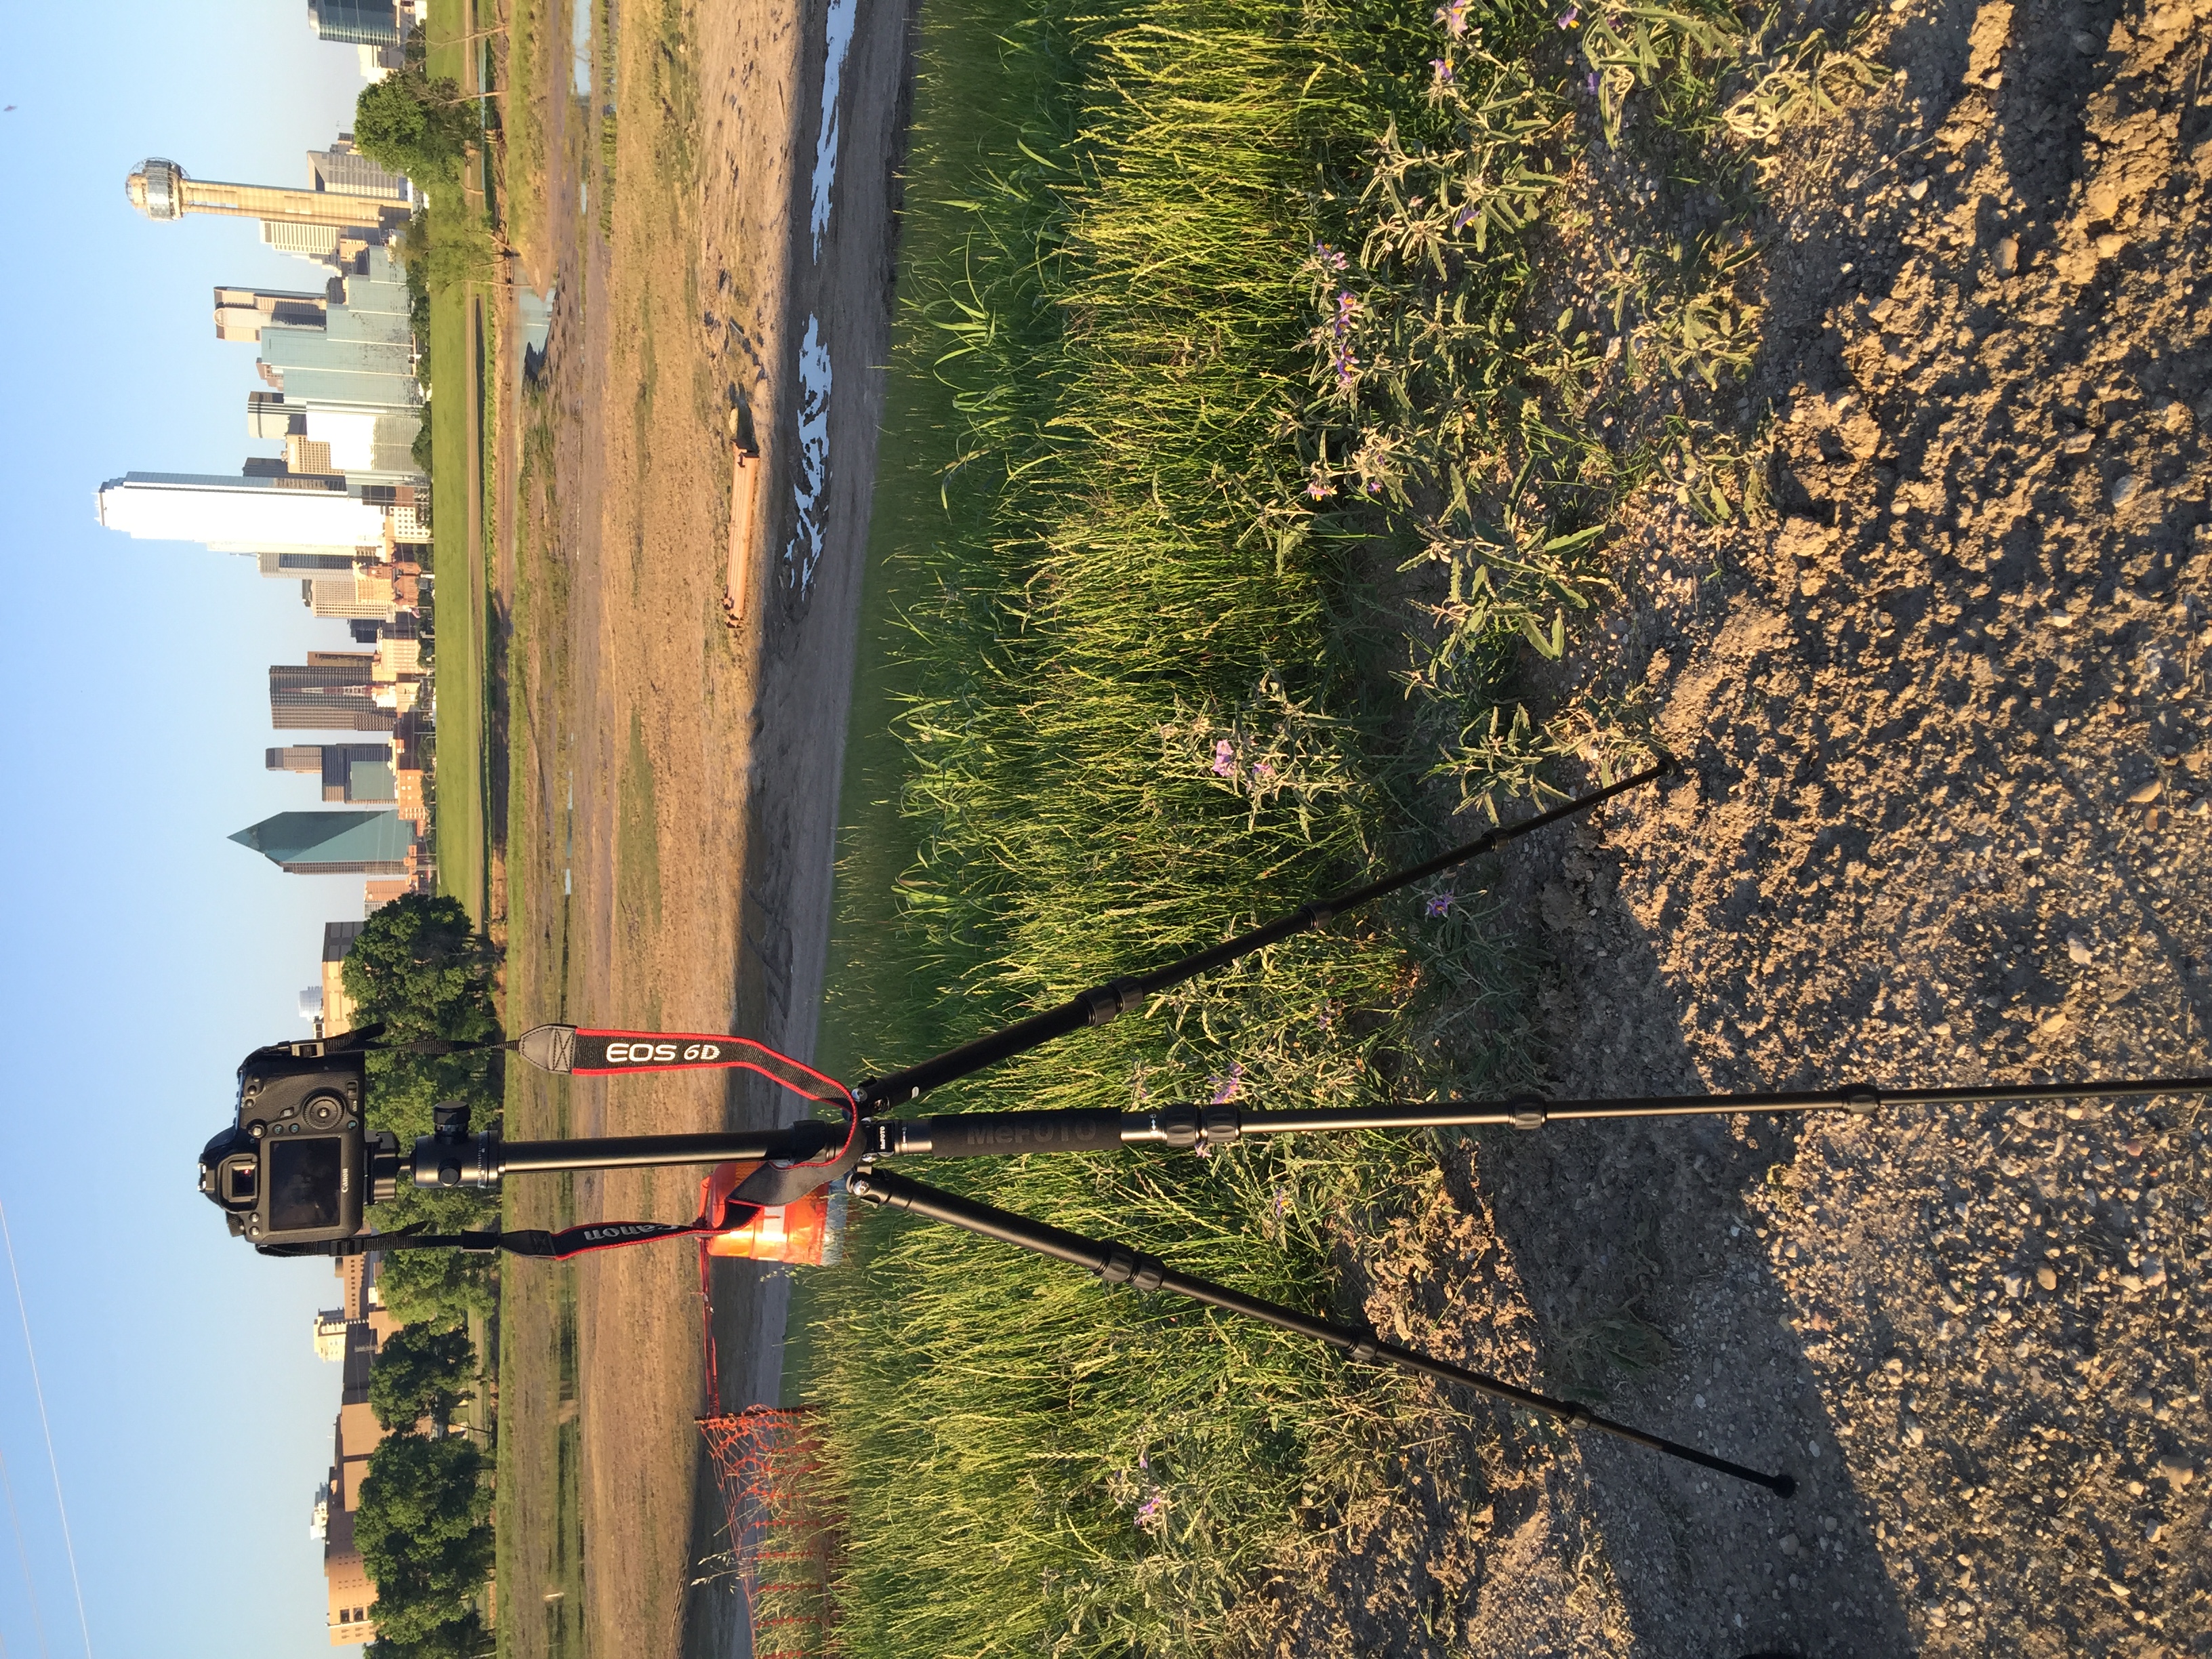
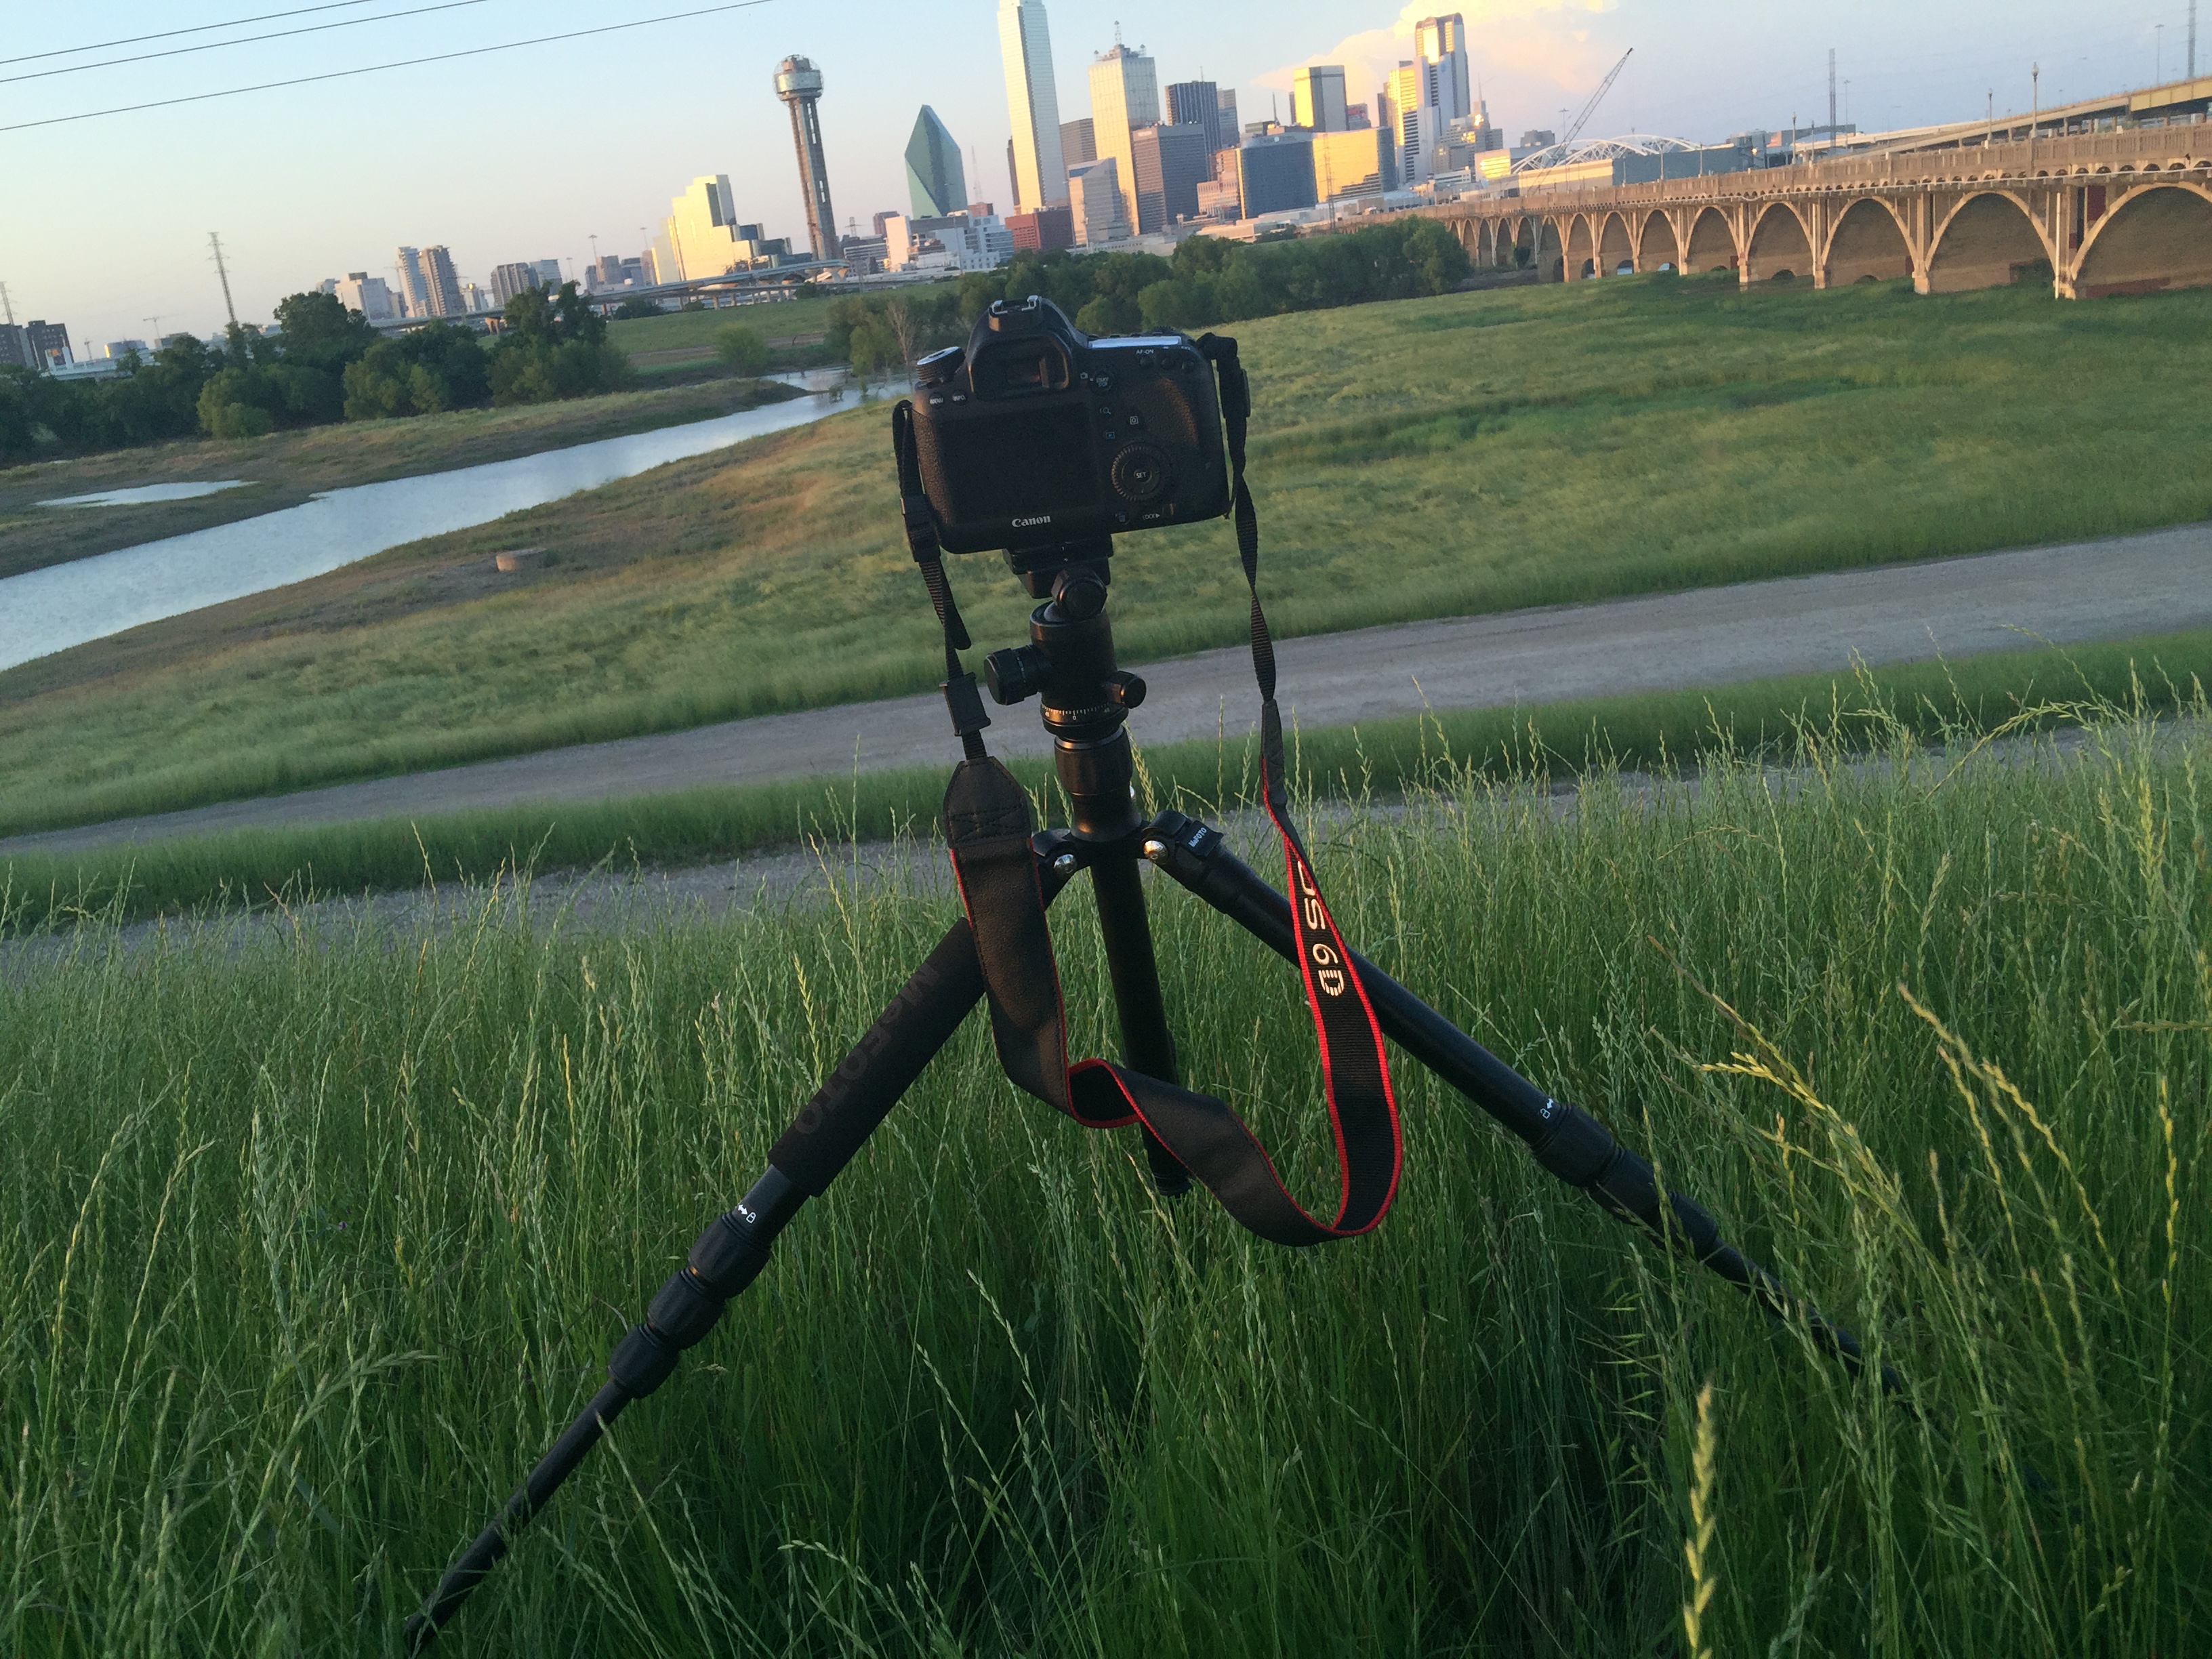
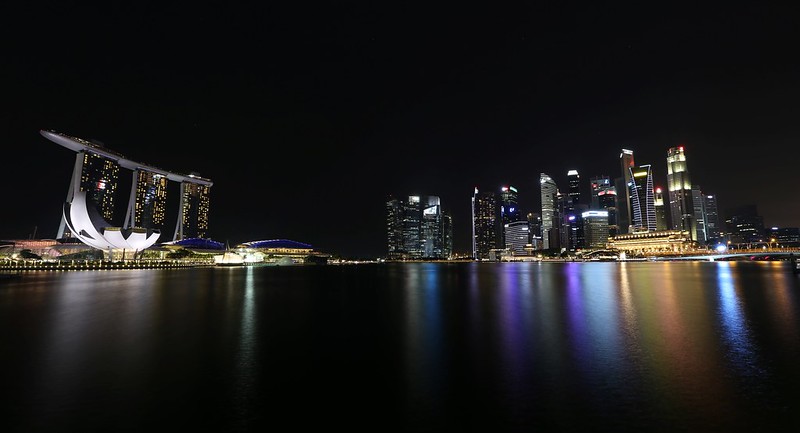
Photographing the Dallas Skyline on a vibrating bridge
One of the best tests I put the tripod to was in Dallas. I was photographing from a bridge that was pretty sturdy but as most bridges do it did seem to vibrate just enough to blur my photos if I didn’t anchor the support of the tripod just right. For these photos, I had to lower the neck of the tripod to eliminate blurring from the vibrations. That’s the one tip I have for using this tripod: try to keep the neck from extending too much especially if using a heavier DSLR.
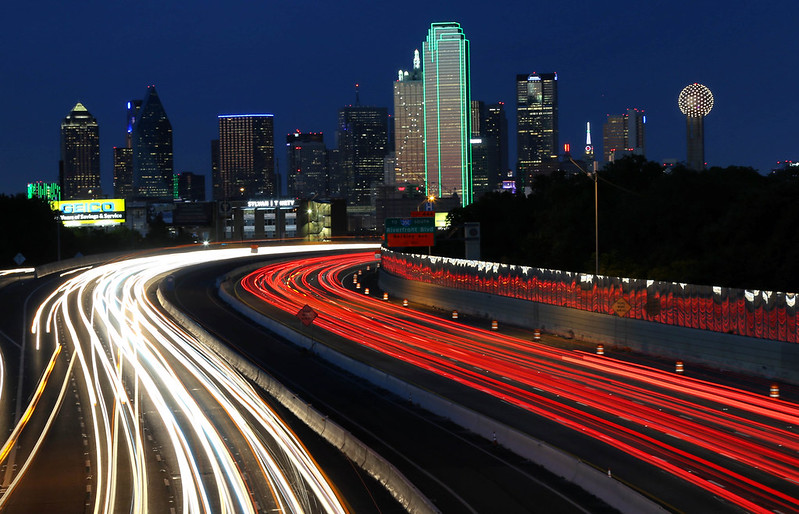
Still when you consider how heavy my DSLR and lens were, the vibrations of the bridge, the long shutter times, and the portability of the tripod, it’s easy to see that the tripod performed quite brilliantly. Keep in mind that I was zoomed all the way in at 105 mm and took the shot with a 20 second exposure. With those conditions in mind, I’d give the MeFOTO an A+.

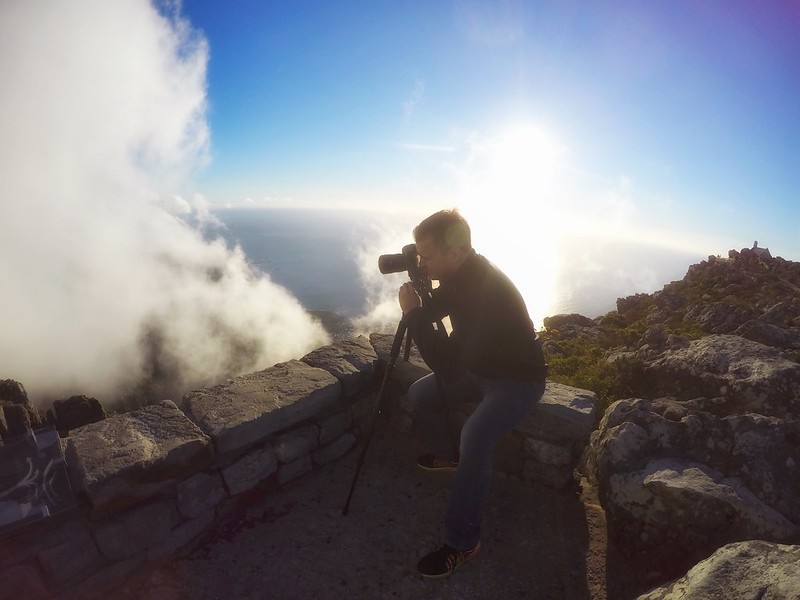
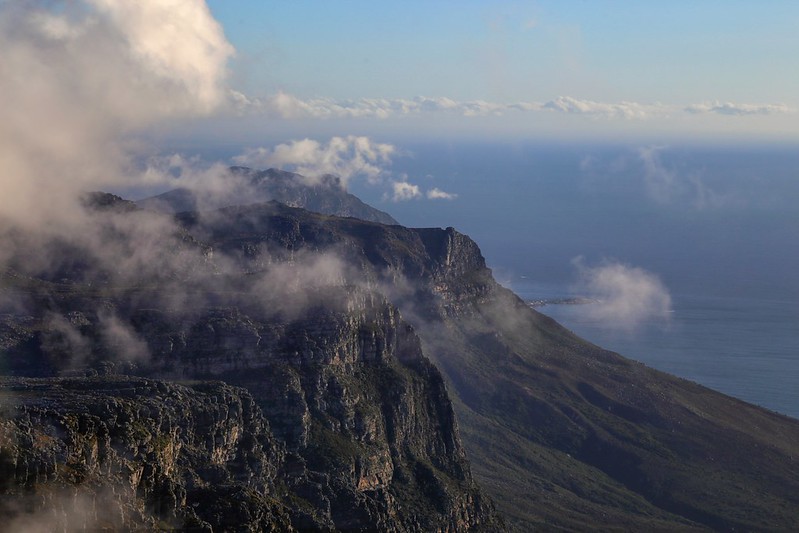
Photographing at Table Mountain, South Africa
I got to test out the tripod again at a higher altitude where winds were furious at over 3,000 feet. The tripod did great in providing support for my shots and I was able to get both wide angle and zoomed in shots. As you can tell in the photo below, I didn’t extend the neck out due to the high winds, so I’m not sure how it would’ve done with a full extension.
I’ve used the tripod countless other places, including several trips to the sandy beaches at the Caribbean which have resulted in it being exposed to some levels of sand and saltwater. Still, after one year it’s still holding up like a champ and I plan on continuing to use it for all of my future trips.
Even though I absolutely love my MeFOTO, it still has its limitations with slow-shutter photography. There’s just no way of replacing the capabilities of a heavy duty tripod in certain conditions. I personally don’t find that to be a problem, because I rarely find myself needing ultra-long shutter shots (longer than 30 seconds) or stabilization in places where the MeFOTO couldn’t get the job done for me. Still, for some who prefer tripods capable of more “heavy duty” capabilities for shots with very heavy or large lenses, the MeFOTO will likely best be purposed as a travel tripod and not a go-to tripod for every outing.
Final word
I’ve tested out the MeFOTO Aluminum Roadtrip Travel Tripod for over a year now and I’ve got to say that it’s met my very high expectations. When it comes to finding a portable tripod that’s made for travel, I really don’t think you can go wrong. I give the MeFOTO a full 5 stars and think the $200 I spent on mine was well worth it.
Daniel Gillaspia is the Founder of UponArriving.com and the credit card app, WalletFlo. He is a former attorney turned travel expert covering destinations along with TSA, airline, and hotel policies. Since 2014, his content has been featured in publications such as National Geographic, Smithsonian Magazine, and CNBC. Read my bio.